crwdns2915892:0crwdne2915892:0
For this guide, we will be breaking down the steps to find, remove, and replace the cooling fan component in the HP Pavilion 15-ca2073cl. Please make sure to pay close attention to the steps and details covered in this guide.
crwdns2942213:0crwdne2942213:0
-
-
Flip the laptop over.
-
Remove all the 6.5mm screws (black) and the 4.8mm long screws (silver) using the Phillips #00 screwdriver.
-
-
-
Use an iFixit opening tool to wedge in between the case and the body of the laptop.
-
Start from the front and work down both sides, disconnecting clips.
-
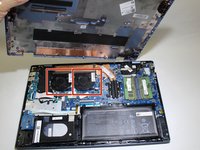
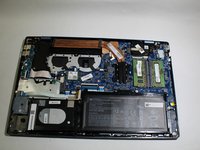
Remove the bottom case from the body.
If the cover is stuck, work the opposite side completly loose and the opposite side from the back. Then use you fingers to pry loose the stuck part from both sides of the stuck part.
-
-
-
-
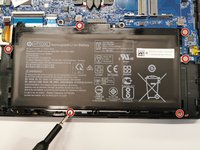
Remove six 4.8mm screws (silver) using the Phillips #00 screwdriver.
The center screw of the side with 3 screws is not attached to the battery and should be left in place.
The mounting screws online are different than those in my computer. Look for those attached to the black plastic tabs sticking out at the edges of the battery. Not all of them contain screws. If a screw is on one of the metal connections exclusively and not on the black plastic of the battery, it is not a screw that you touch. It's one that holds down metal shields or structural elements of the laptop. Two of the screws shown in the picture are either not part of the battery or were different in mine. For example, if you look carefully in the picture of the battery connections with the circles around them in this article, the center of the three on the far right narrow side is actually not connected to the battery at all. Look carefully.
-
-
-
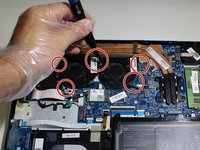
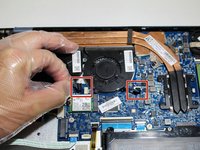
Remove the five silver 4.3 mm screws securing the fans using a Phillips #0 screwdriver.
-
-
-
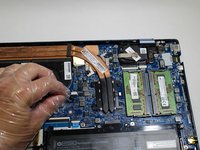
Remove the two cables from their connectors on the motherboard.
-
-
-
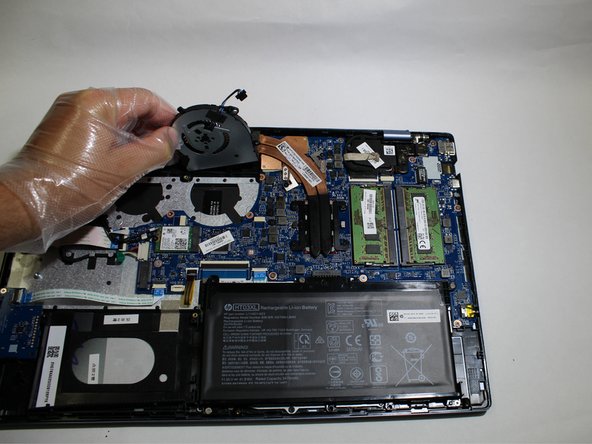
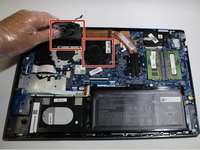
Lift and remove one cooling fan at a time from the laptop.
-


To reassemble your device, follow these instructions in reverse order.
To reassemble your device, follow these instructions in reverse order.

crwdns2947410:01crwdne2947410:0
Thank you for making this post.