crwdns2915892:0crwdne2915892:0
Using this guide, you should be able to replace the network card on your laptop. If you are having internet connectivity issues, this guide could be your best bet for fixing them. Do note that when replacing the part, make sure the gold connection pins are fully connected when putting the network card in place.
crwdns2942213:0crwdne2942213:0
-
-
Using the plastic opening tool, remove the top rubber feet on the back panel as it hides one of the screws we will be removing.
-
-
-
Using a PH0 screwdriver, unscrew the ten 4.4mm Phillips head screws located on the back panel.
-
-
-
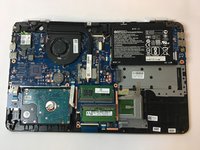
Using the plastic opening tool, remove the back cover of the laptop.
-
-
-
-
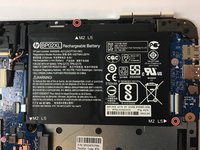
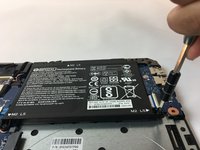
Using a PH0 screwdriver, unscrew the two 3.8mm PH0 Phillips head screws that hold the battery in place.
-
-
-
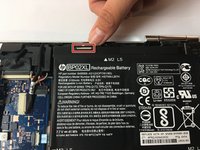
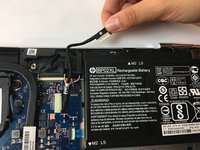
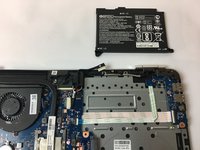
Carefully disconnect the cable connecting the top of the battery and remove the battery.
-
-
-
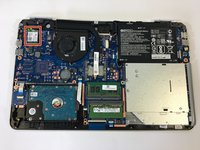
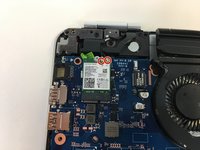
The network card is located at the top left corner of the motherboard.
-
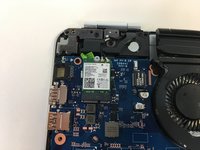
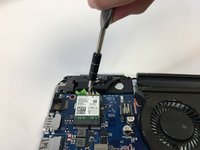
Unscrew the 4.4mm PH0 Phillips screw at the top of the network card.
-
-
-
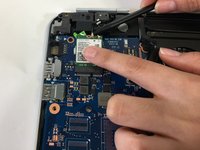
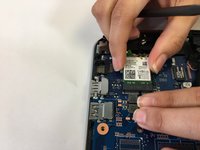
Using the spudger, remove the two gold pins at the top of the network card.
-
-
-
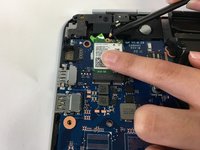
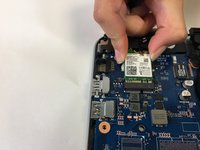
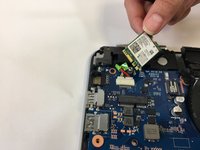
Lift up the network card and remove it from the motherboard connector.
-
To reassemble your device, follow these instructions in reverse order.
To reassemble your device, follow these instructions in reverse order.


