crwdns2915892:0crwdne2915892:0
This guide will show you how to access the cooling fan and replace it. The cooling fan is necessary to keep your laptop from overheating.
crwdns2942213:0crwdne2942213:0
-
-
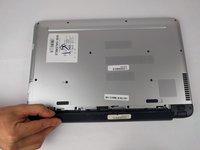
Slide the battery lock tab toward the center of the battery to the unlock position.
-
-
-
Slide the battery release switch to the right until the battery pops out.
-
-
-
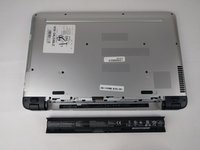
Grabbing the top edge of the battery, rotate it toward you and then lift upward to relieve the battery from its slot.
-
-
-
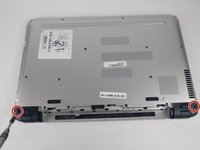
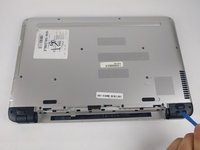
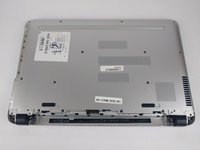
With the battery removed, remove both black plastic covers with a plastic opening tool. Unscrew both 7.5 mm screws from the tabs, using a PH1 screw driver. Using a plastic opening tool, pry off both covers.
-
-
-
-
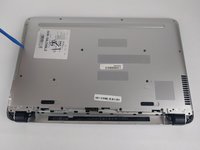
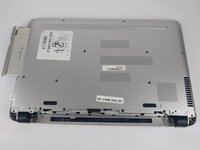
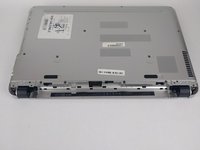
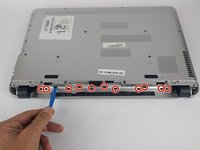
Remove all 16 of the 3.5 mm screws with a PH1 screwdriver and pry/slide the CD drive out of laptop.
-
-
-
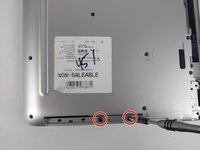
With the CD drive removed, unscrew the two 2mm silver screws with a PH00.
-
-
-
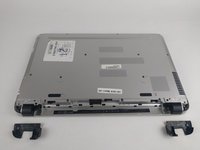
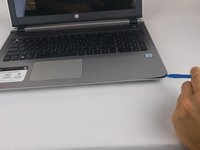
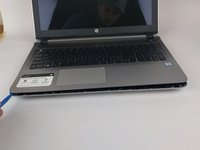
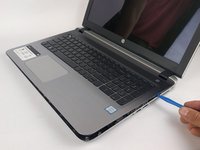
Using a plastic opening tool, begin to pry edge of case away from the laptop. Work around the edges until all sides, except back, are open.
-
-
-
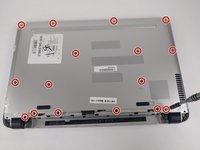
On the back side of the laptop, where the battery is, there are 12 black plastic clips. Use a plastic opening tool and pry all of these clips, unlatching them from the case.
-
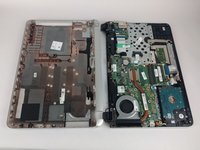
Once clips are free, open the laptop. Rotating the case off, around the hinges, works best to remove the case.
To unclip the back of the case, I found I only had to free the 8 smaller clips in the battery compartment. The 4 larger ones seemed to be guides for reassembly.
-
-
-
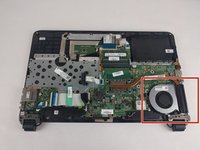
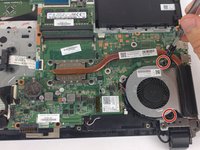
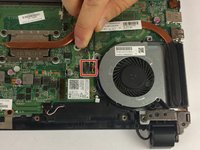
Use a PH00 screw driver to remove the two 3.5 mm screws holding the fan in place.
-
-
crwdns2935267:0crwdne2935267:0Tweezers$4.99
-
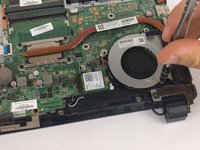
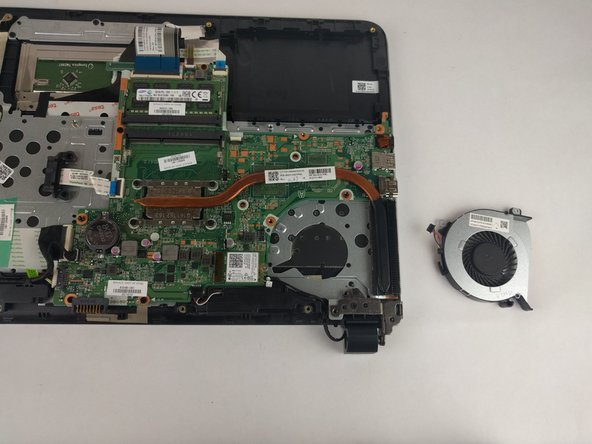
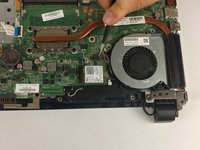
Use long nose tweezers to remove connector. Fan will lift out.
The connector is very small. Make a mental note of which way around it went in before removing it and make sure the replacement connector goes in the right way around. Care: make sure the wires do not obscure the screw hole to the top right of the connector. This female recess is for one of the screws removed in Step 5 and the wire could easily be damage on re-assembly.
-


To reassemble your device, follow these instructions in reverse order.
To reassemble your device, follow these instructions in reverse order.
crwdns2935221:0crwdne2935221:0
crwdns2935229:02crwdne2935229:0

crwdns2915084:0crwdne2915084:0

USF Tampa, Team S6-G3, Eyestone Spring 2018 crwdns2935289:0USF Tampa, Team S6-G3, Eyestone Spring 2018crwdne2935289:0
USFT-EYESTONE-S18S6G3
crwdns2931471:03crwdne2931471:0
crwdns2935297:07crwdne2935297:0
crwdns2947410:01crwdne2947410:0
Thank you for this Alex. Very clear instructions. Saved me a costly trip for a repair!
Before starting, open the CD drawer and leave it open. This makes Step 5 - sliding out the CD drive - far easier. If left closed, prying open the CD drive can damage it. Power down the laptop and begin.
Stuart - crwdns2934203:0crwdne2934203:0