crwdns2915892:0crwdne2915892:0
This guide is used for a battery replacement for the HP Pavilion 13-s128nr. The HP Pavilion 13-s128nr is also known as the HP Pavilion x360. A faulty battery will cause the laptop to not work properly. Use this troubleshooting page to know if the battery needs to be replaced. Before beginning this guide, make sure the laptop is powered off.
crwdns2942213:0crwdne2942213:0
-
-
Use the iFixit opening tool to take off the rubber caps.
-
Remove the screws using the Phillips #0 screwdriver.
-
-
-
Use the Jimmy to pry around the seam of the laptop.
-
Remove the back panel of the laptop.
-
-
-
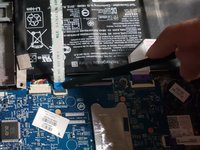
Using the iFixit opening tool to lift the tabs holding in the cables connecting the keyboard to the motherboard.
-
Pull the cable from the motherboard.
-
-
-
-
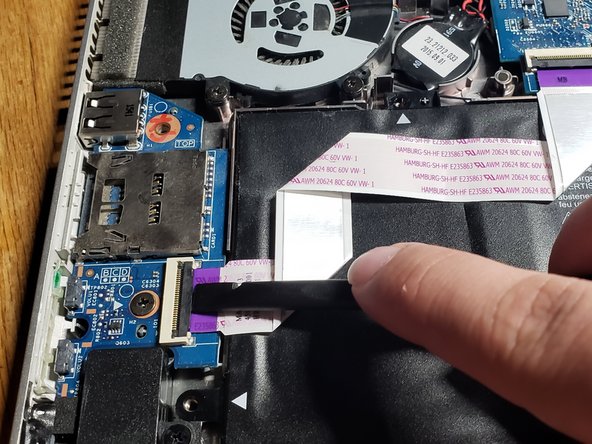
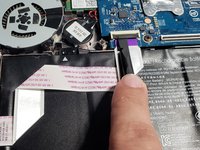
Lift upwards on the black tabs the purple strip is connected to.
-
Gently pull the purple strip out of its place.
-
-
-
Using the Phillips #0 screwdriver, remove the five screws holding the battery in place.
-
-
-
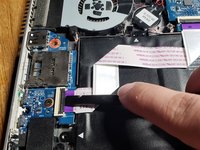
Pull the white cable connected to the motherboard out using the iFixit opening tool.
-


To reassemble your device, follow these instructions in reverse order.
To reassemble your device, follow these instructions in reverse order.
crwdns2935221:0crwdne2935221:0
crwdns2935227:0crwdne2935227:0
crwdns2915084:0crwdne2915084:0

University of North Texas, Team S3-G4, Thomas Spring 2020 crwdns2935289:0University of North Texas, Team S3-G4, Thomas Spring 2020crwdne2935289:0
UNT-THOMAS-S20S3G4
crwdns2931471:03crwdne2931471:0
crwdns2935297:02crwdne2935297:0