crwdns2933423:0crwdne2933423:0

HP Officejet Pro 8600 Plus Front Panel Replacement

crwdns2942213:0crwdne2942213:0

  1. HP Officejet Pro 8600 Plus Front Panel Replacement, Front Panel: crwdns2935265:01crwdnd2935265:01crwdnd2935265:02crwdne2935265:0 HP Officejet Pro 8600 Plus Front Panel Replacement, Front Panel: crwdns2935265:01crwdnd2935265:02crwdnd2935265:02crwdne2935265:0
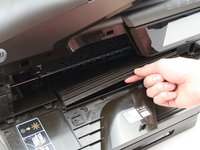
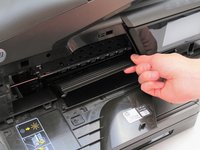
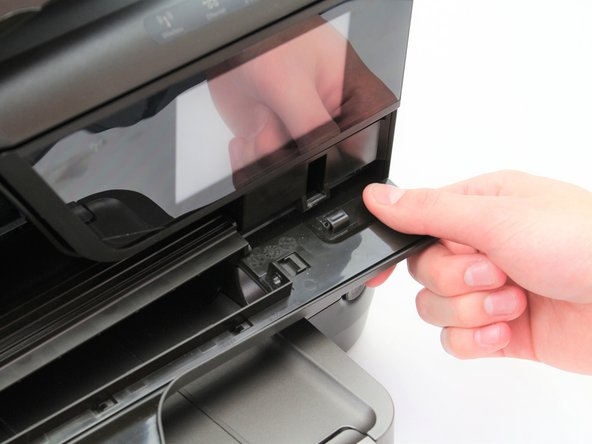
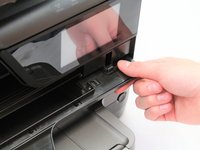
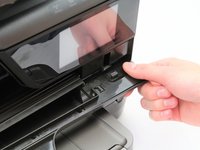
    • Open the front panel door by pulling forward on the slot located on the front-left side of the printer.

  2. HP Officejet Pro 8600 Plus Front Panel Replacement: crwdns2935265:02crwdnd2935265:01crwdnd2935265:02crwdne2935265:0 HP Officejet Pro 8600 Plus Front Panel Replacement: crwdns2935265:02crwdnd2935265:02crwdnd2935265:02crwdne2935265:0
    • Insert the plastic opening tool into the right socket connecting the front panel door to the hinge guide.

    • Pry the socket open, lifting the door hinge guide out of place.

  3. HP Officejet Pro 8600 Plus Front Panel Replacement: crwdns2935265:03crwdnd2935265:01crwdnd2935265:02crwdne2935265:0 HP Officejet Pro 8600 Plus Front Panel Replacement: crwdns2935265:03crwdnd2935265:02crwdnd2935265:02crwdne2935265:0
    • Pull the door-hinge guide to the right to detach its left socket.

    • Lift the door-hinge guide upward and away from the front panel door.

  4. HP Officejet Pro 8600 Plus Front Panel Replacement: crwdns2935265:04crwdnd2935265:01crwdnd2935265:02crwdne2935265:0 HP Officejet Pro 8600 Plus Front Panel Replacement: crwdns2935265:04crwdnd2935265:02crwdnd2935265:02crwdne2935265:0
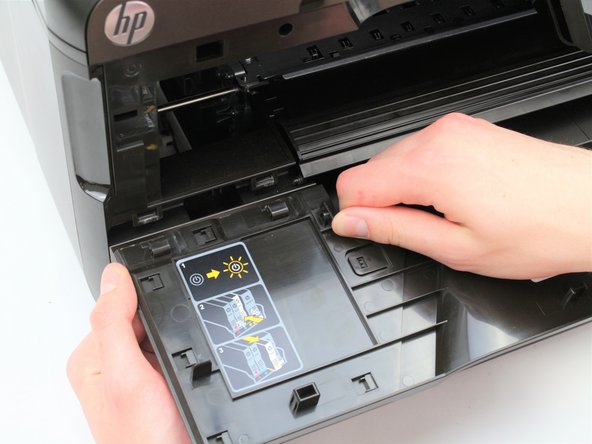
    • Grab the front panel door close to its hinge on the right side.

    • Pull the front panel door away from the printer toward you.

    • Extra force may be required to pull the door from its hinge.

  5. HP Officejet Pro 8600 Plus Front Panel Replacement: crwdns2935265:05crwdnd2935265:01crwdnd2935265:03crwdne2935265:0 HP Officejet Pro 8600 Plus Front Panel Replacement: crwdns2935265:05crwdnd2935265:02crwdnd2935265:03crwdne2935265:0 HP Officejet Pro 8600 Plus Front Panel Replacement: crwdns2935265:05crwdnd2935265:03crwdnd2935265:03crwdne2935265:0
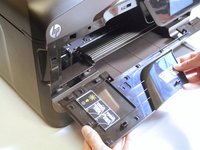
    • Grab the front panel door close to its two hinges on the left side.

    • Pull the front panel door away from the printer toward you.

    • Extra force may be required to pull the door from its hinges.

crwdns2915888:0crwdne2915888:0

To reassemble your device, follow these instructions in reverse order.

crwdns2935229:02crwdne2935229:0

Maegan Betz

crwdns2935283:004/18/18crwdne2935283:0

301 crwdns2915208:0crwdne2915208:0

crwdns2935295:0crwdne2935295:0

crwdns2915084:0crwdne2915084:0

Cal Poly, Team S16-G4, Livingston Spring 2018 crwdns2935289:0Cal Poly, Team S16-G4, Livingston Spring 2018crwdne2935289:0

CPSU-LIVINGSTON-S18S16G4

crwdns2931471:04crwdne2931471:0

crwdns2935297:010crwdne2935297:0

crwdns2944067:00crwdne2944067:0

crwdns2917038:0crwdne2917038:0

crwdns2936625:0crwdne2936625:0:

crwdns2936751:024crwdne2936751:0 0

crwdns2936753:07crwdne2936753:0 14

crwdns2936753:030crwdne2936753:0 31

crwdns2942667:0crwdne2942667:0 3,659