crwdns2915892:0crwdne2915892:0
The speaker in your printer could wear out and stop working. This guide will show how to replace the speaker if it stops working. This process will require soldering skills because unplugging the speaker from the control board is a very difficult process.
crwdns2942213:0crwdne2942213:0
-
-
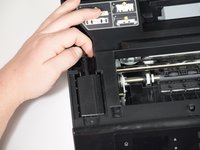
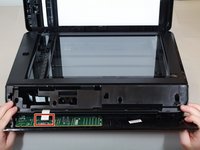
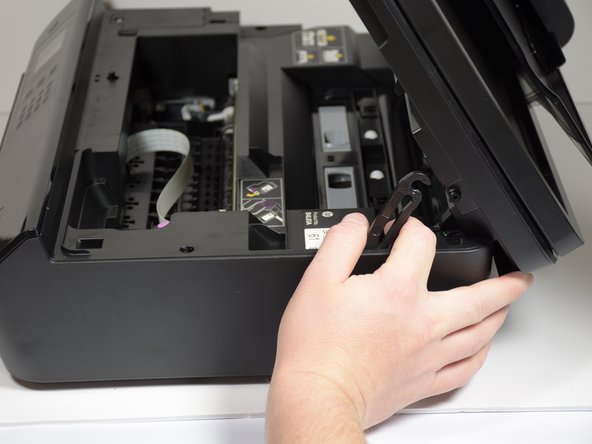
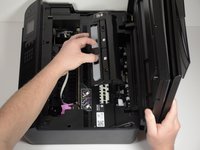
Lift the hood of the printer.
-
-
-
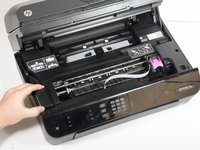
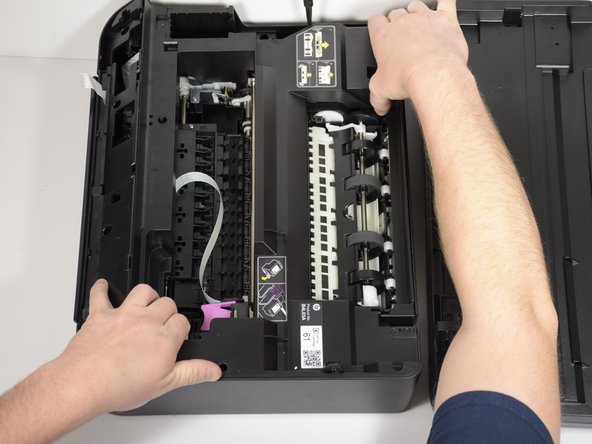
Remove the panels covering the power brick and cord.
-
-
-
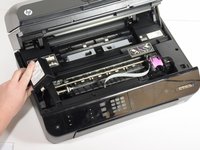
Remove the cord from the power supply.
-
-
-
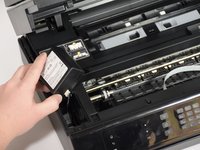
Slide the power supply out from the chassis.
-
-
-
-
Remove final cable from power supply.
-
-
-
Peel the model sticker off the cover.
-
This will expose the T10 screw securing the panel.
-
-
-
Remove the single 12mm-T10 screw securing the front panel to the printer body.
-
Loosen the panel cover from the printer body.
-
-
-
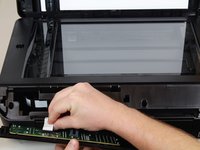
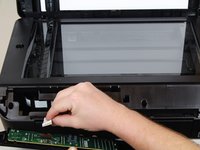
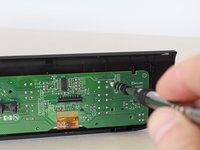
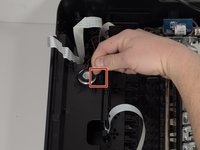
Gently remove the No-Fuss ribbon cable from the front panel.
-
-
-
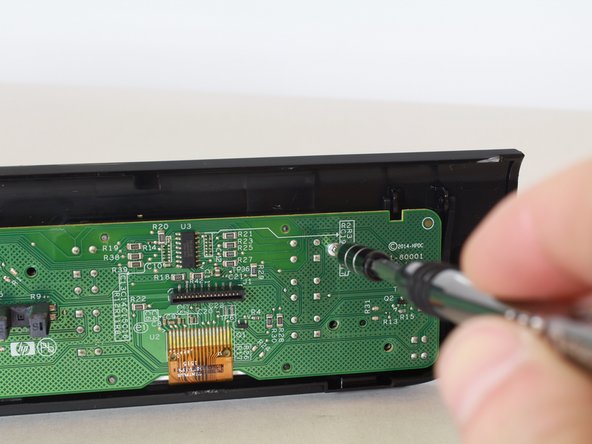
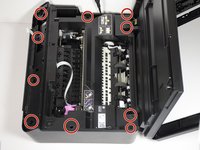
Remove the seven 8mm screws using the Torx T6 screwdriver.
-
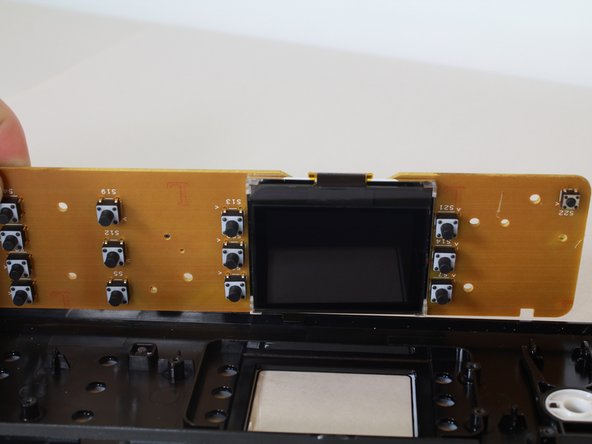
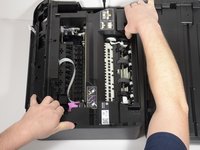
Remove the motherboard from the front-panel housing.
-
-
-
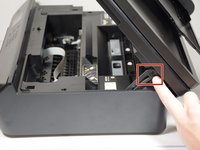
Remove the clip that keeps the printer lid from opening all the way with your hands by pulling away from the post on the lid.
-
-
-
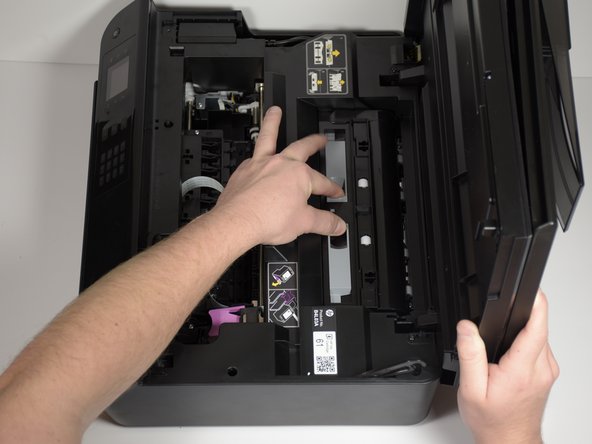
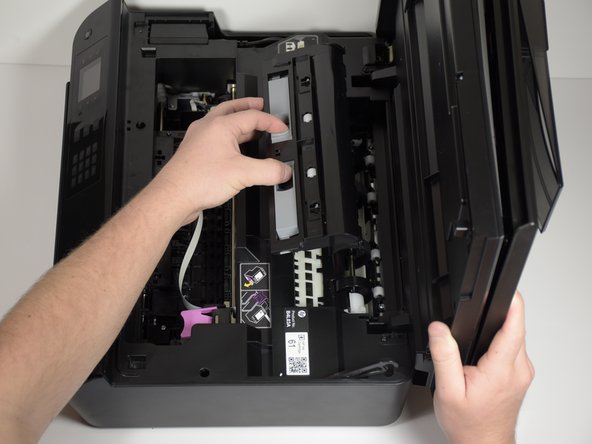
Remove the paper feed rollers by using your fingers to pinch the indentations together while pulling up.
-
-
-
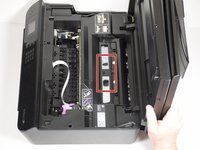
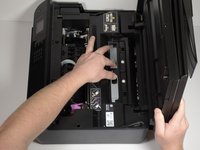
Remove the ten 11mm-T10 screws with the screwdriver.
-
-
-
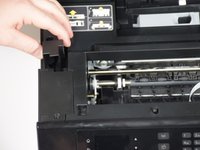
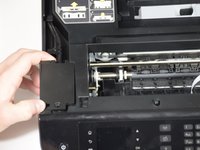
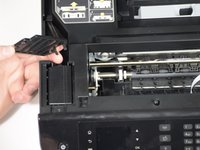
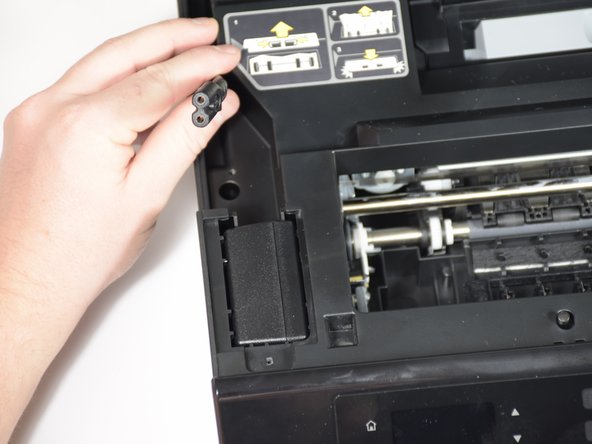
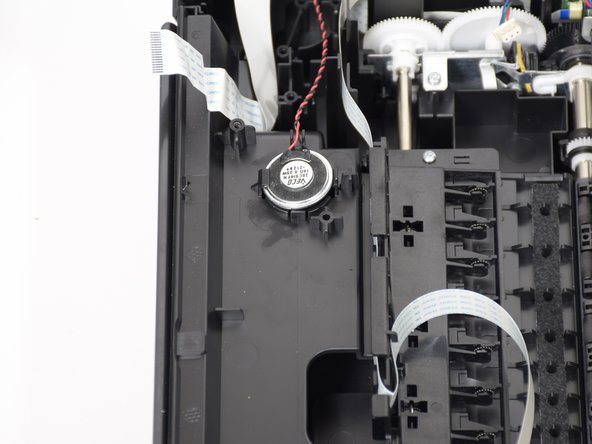
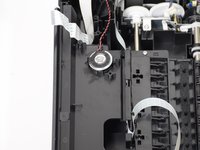
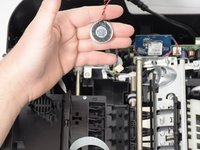
Push the clip holding the speaker in away from the speaker while pulling up on the speaker.
-
At this point you must cut and solder on your new speaker.
-


To reassemble your device, follow these instructions in reverse order.
crwdns2935287:0crwdne2935287:0

Cal Poly, Team S18-G3, Livingston Winter 2018 crwdns2935289:0Cal Poly, Team S18-G3, Livingston Winter 2018crwdne2935289:0
CPSU-LIVINGSTON-W18S18G3
crwdns2931471:04crwdne2931471:0
crwdns2935297:018crwdne2935297:0