crwdns2915892:0crwdne2915892:0
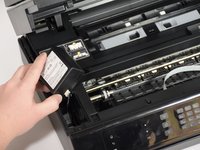
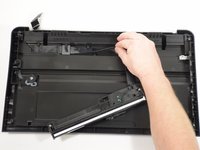
The scanner head is necessary for copying and faxing. Follow the guide to replace this crucial part.
crwdns2942213:0crwdne2942213:0
-
-
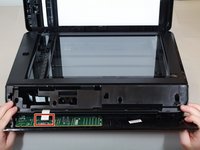
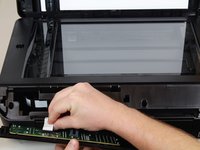
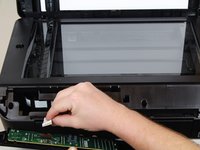
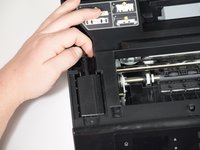
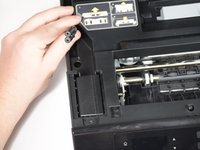
Peel the model sticker off the cover.
-
This will expose the T10 screw securing the panel.
-
-
-
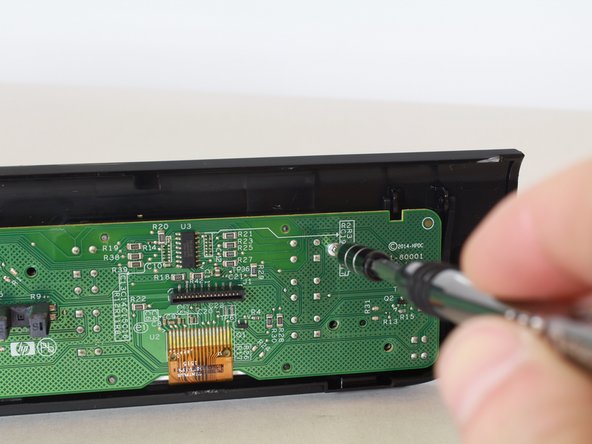
Remove the single 12mm-T10 screw securing the front panel to the printer body.
-
Loosen the panel cover from the printer body.
-
-
-
Gently remove the No-Fuss ribbon cable from the front panel.
-
-
-
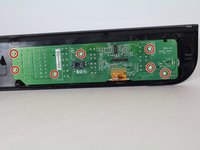
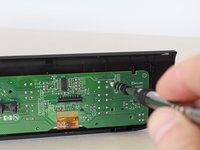
Remove the seven 8mm screws using the Torx T6 screwdriver.
-
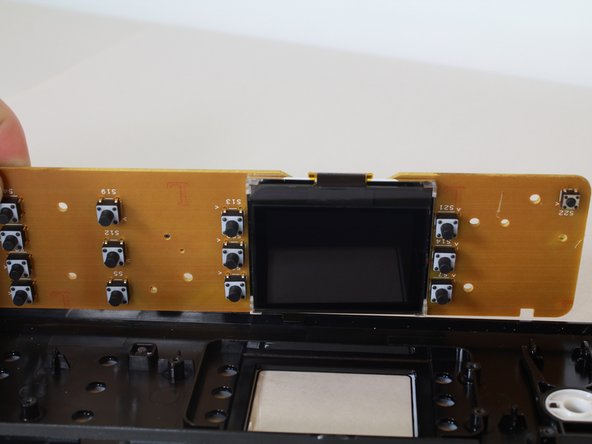
Remove the motherboard from the front-panel housing.
-
-
-
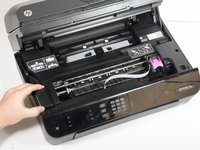
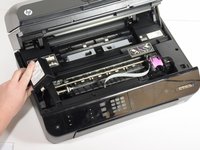
Lift the hood of the printer.
-
-
-
-
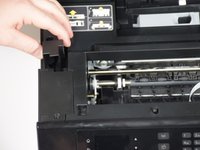
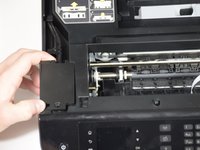
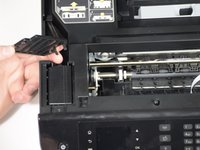
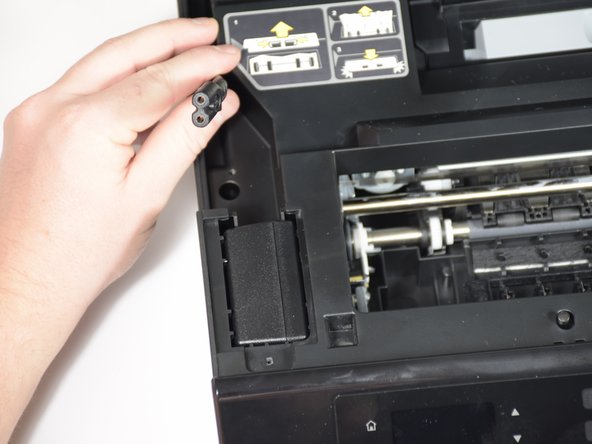
Remove the panels covering the power brick and cord.
-
-
-
Remove the cord from the power supply.
-
-
-
Slide the power supply out from the chassis.
-
-
-
Remove final cable from power supply.
-
-
-
Remove eight T10 1mm screws from the top hood of the printer.
-
-
-
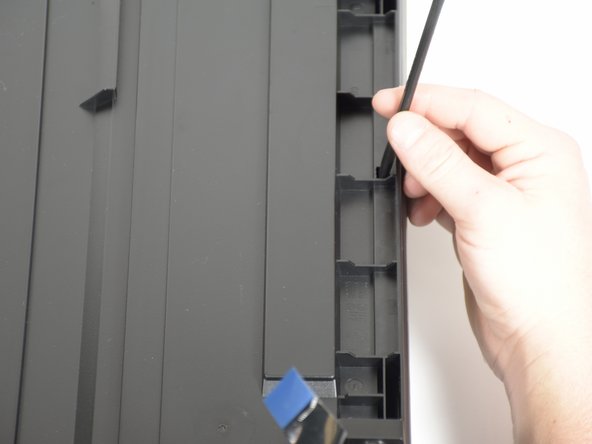
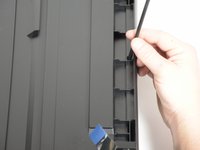
Use the nylon spudger to pry the tab.
-
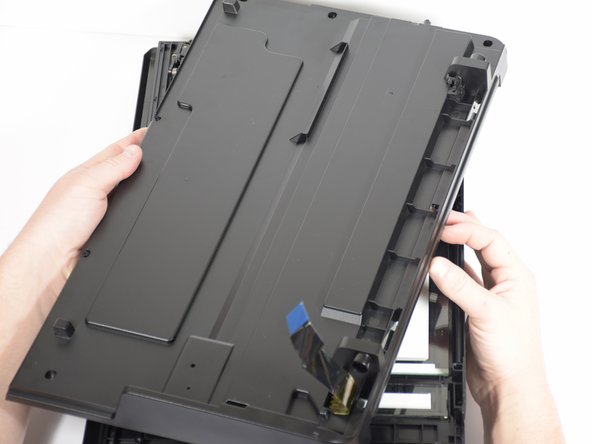
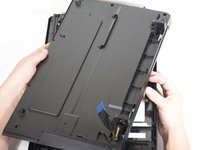
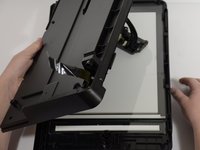
Lift up the entire panel.
-
-
-
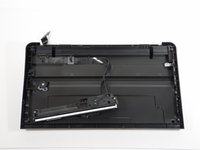
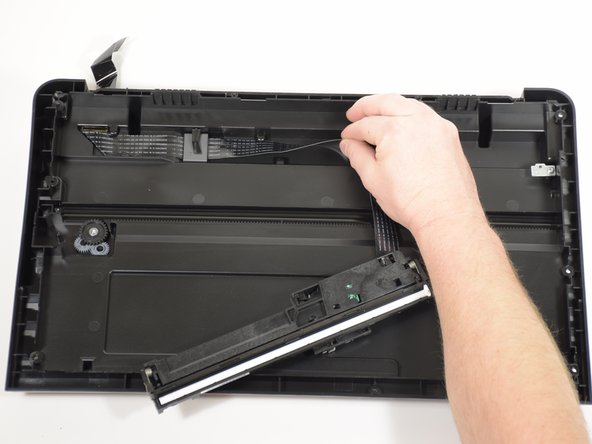
Start with the scanner head in place.
-
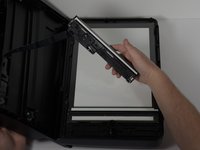
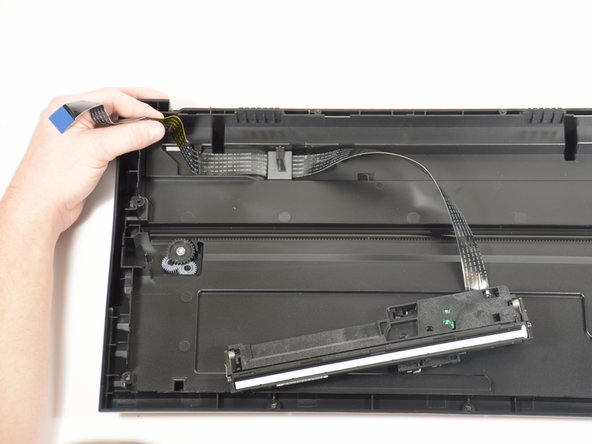
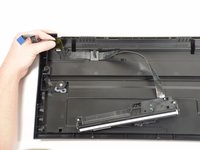
Unwind the ribbon from the track.
-
Detach ribbon completely.
-
To reassemble your device, follow these instructions in reverse order.
To reassemble your device, follow these instructions in reverse order.


