crwdns2933423:0crwdne2933423:0

HP Notebook 15-db003ca RAM Replacement

crwdns2942213:0crwdne2942213:0

  1. HP Notebook 15-db003ca RAM Replacement, RAM: crwdns2935265:01crwdnd2935265:01crwdnd2935265:01crwdne2935265:0
    • Place the powered-off laptop on a clean workspace.

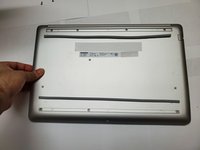
  2. HP Notebook 15-db003ca RAM Replacement: crwdns2935265:02crwdnd2935265:01crwdnd2935265:01crwdne2935265:0
    • Flip the laptop over such that the backside of it is facing you.

    • Grab a Phillips #1 screwdriver.

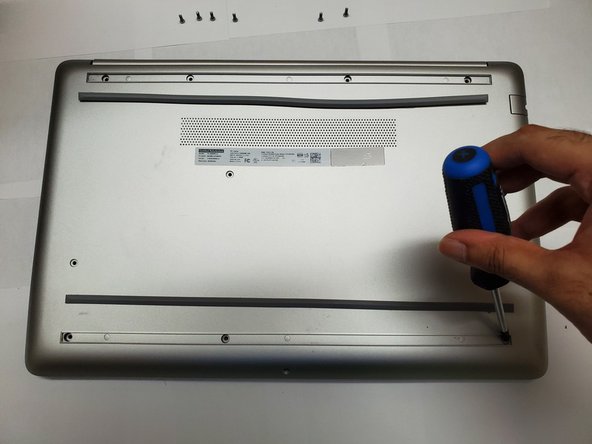
  3. HP Notebook 15-db003ca RAM Replacement: crwdns2935265:03crwdnd2935265:01crwdnd2935265:01crwdne2935265:0
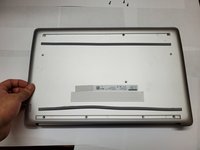
    • Remove the four 9 mm screws from the back panel using a Phillips #1 screwdriver.

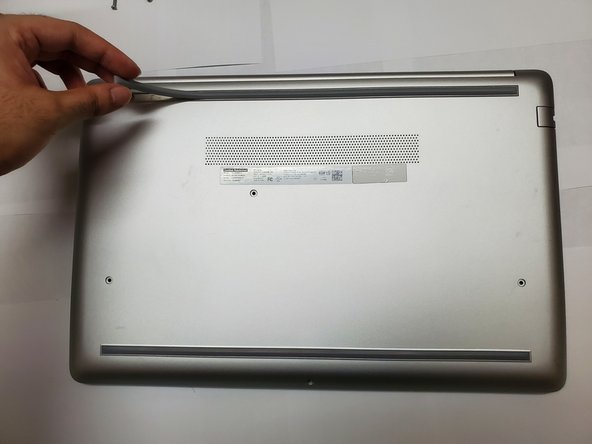
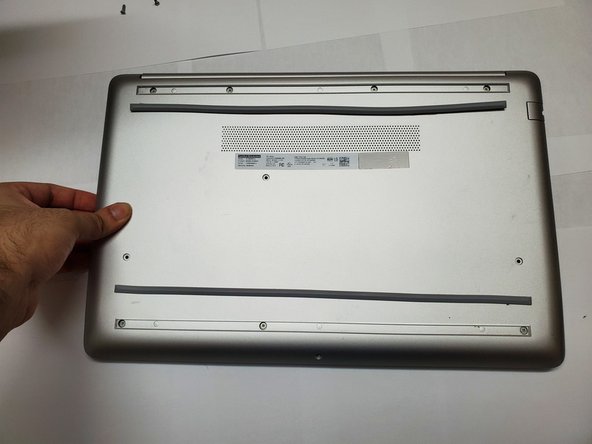
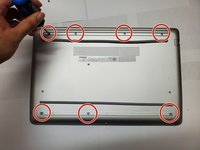
  4. HP Notebook 15-db003ca RAM Replacement: crwdns2935265:04crwdnd2935265:01crwdnd2935265:03crwdne2935265:0 HP Notebook 15-db003ca RAM Replacement: crwdns2935265:04crwdnd2935265:02crwdnd2935265:03crwdne2935265:0 HP Notebook 15-db003ca RAM Replacement: crwdns2935265:04crwdnd2935265:03crwdnd2935265:03crwdne2935265:0
    • Peel the two strips to uncover more screws.

    • Place the strips near where they were removed.

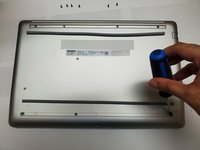
  5. HP Notebook 15-db003ca RAM Replacement: crwdns2935265:05crwdnd2935265:01crwdnd2935265:02crwdne2935265:0 HP Notebook 15-db003ca RAM Replacement: crwdns2935265:05crwdnd2935265:02crwdnd2935265:02crwdne2935265:0
    • Remove the remaining seven 9 mm screws using a Phillips #1 screwdriver.

  6. HP Notebook 15-db003ca RAM Replacement: crwdns2935265:06crwdnd2935265:01crwdnd2935265:03crwdne2935265:0 HP Notebook 15-db003ca RAM Replacement: crwdns2935265:06crwdnd2935265:02crwdnd2935265:03crwdne2935265:0 HP Notebook 15-db003ca RAM Replacement: crwdns2935265:06crwdnd2935265:03crwdnd2935265:03crwdne2935265:0
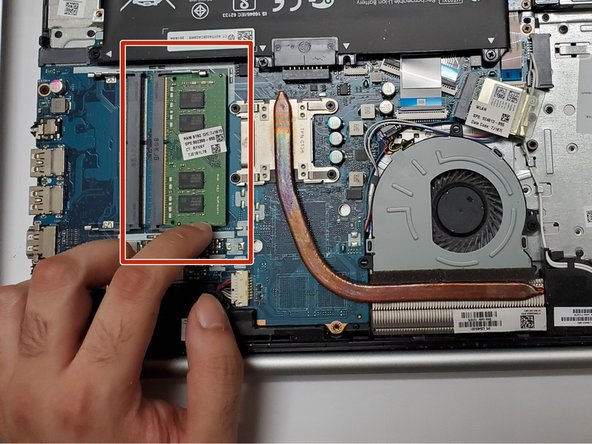
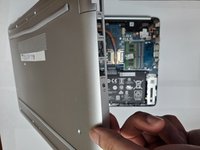
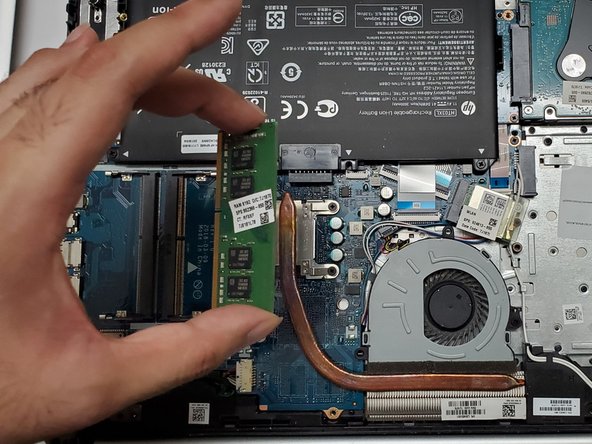
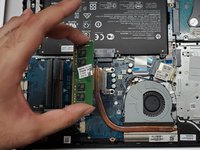
    • Remove the back panel and locate the RAM stick.

  7. HP Notebook 15-db003ca RAM Replacement: crwdns2935265:07crwdnd2935265:01crwdnd2935265:02crwdne2935265:0 HP Notebook 15-db003ca RAM Replacement: crwdns2935265:07crwdnd2935265:02crwdnd2935265:02crwdne2935265:0
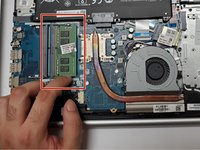
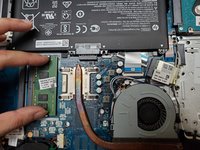
    • Push the RAM to remove it from its slot like shown in the picture.

    • When reassembling, ensure the memory is inserted into the slot and pushed until it clicks into place.

crwdns2915888:0crwdne2915888:0

To reassemble your device, follow these instructions in reverse order.

crwdns2935227:0crwdne2935227:0

Srivatsan Talkad

crwdns2935283:001/17/23crwdne2935283:0

145 crwdns2915208:0crwdne2915208:0

crwdns2935295:0crwdne2935295:0

crwdns2915084:0crwdne2915084:0

York University, Team M-9, Allen Summer 2023 crwdns2935289:0York University, Team M-9, Allen Summer 2023crwdne2935289:0

YORK-ALLEN-SU23SMG9

crwdns2931471:02crwdne2931471:0

crwdns2935297:07crwdne2935297:0

crwdns2944067:00crwdne2944067:0

crwdns2917038:0crwdne2917038:0

crwdns2936625:0crwdne2936625:0:

crwdns2936751:024crwdne2936751:0 0

crwdns2936753:07crwdne2936753:0 7

crwdns2936753:030crwdne2936753:0 24

crwdns2942667:0crwdne2942667:0 221