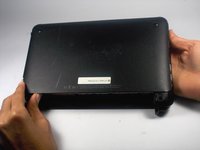
crwdns2915892:0crwdne2915892:0
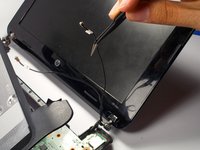
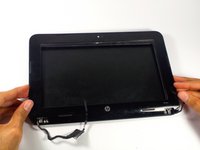
If your screen is damaged, flicking, or cracked, use this guide to replace the screen.
crwdns2942213:0crwdne2942213:0
-
-
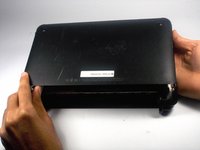
With the bottom of the HP Mini facing up, slide both switches inward towards each other.
-
-
-
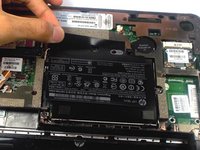
With the left switch still pushed inward, pull the battery towards you to remove it from the computer.
-
-
-
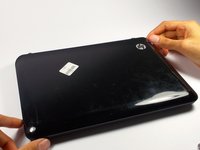
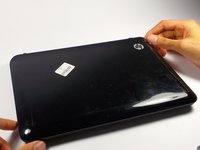
Pull upward from under the back cover via the missing battery area.
-
-
-
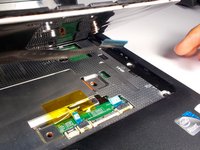
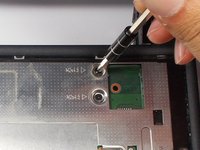
Remove the three 4.0 mm screws with the keyboard indicator next to them using a Phillips #1 screw driver.
-
-
-
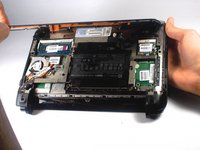
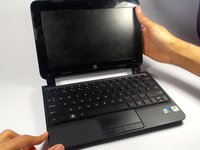
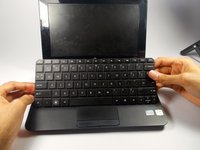
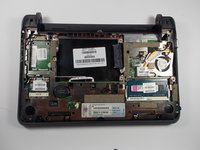
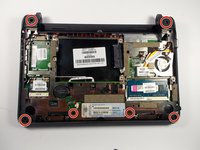
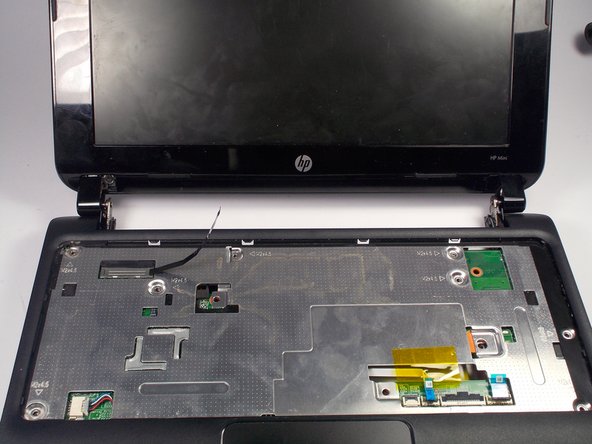
Flip the laptop over, and open it up.
-
-
-
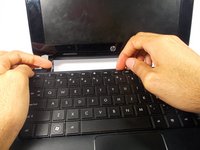
With the keyboard facing you, pull the black bezel upward until its loose.
-
-
-
Move and hold the bezel slightly towards the screen while lifting the keyboard from the top.
-
-
-
Pull up the keyboard from the bottom corners exposing the keyboard cable.
-
-
-
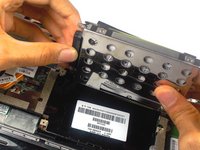
Lift the black holder connected to the keyboard cable until it points up.
-
-
-
Gently pull the keyboard cable from the socket.
-
-
-
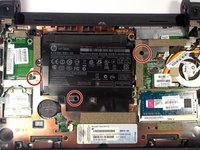
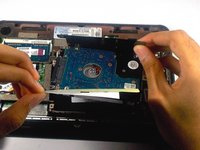
Remove the three 5.0 mm screws holding the hard drive cage in place using a Phillips #1 screw driver.
-
-
-
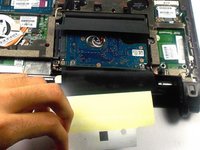
Lift the hard drive cage by pulling the tape upward.
-
Start by pulling the tape from the side with the keyboard symbol.
-
-
-
-
Unplug the cable connecting to the hard drive.
-
-
-
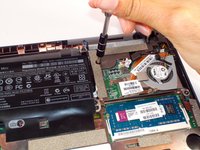
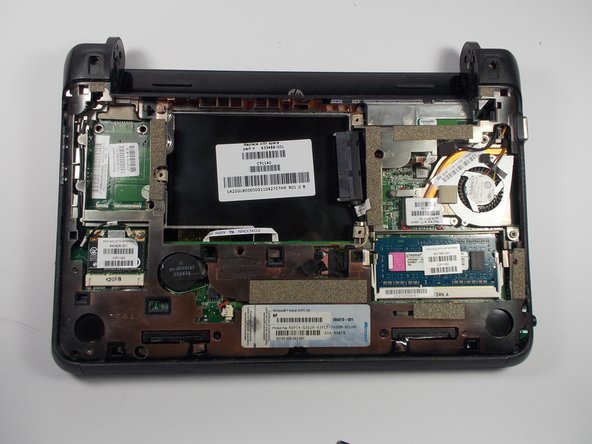
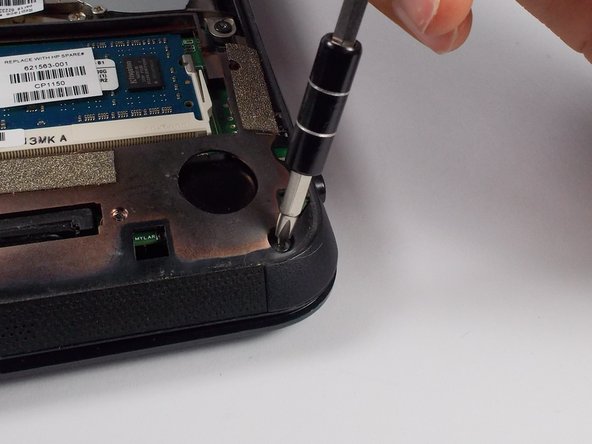
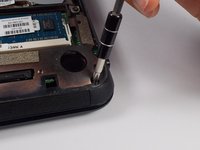
Remove the 8 5.0 mm screws under the keyboard using a Phillips #1 screw driver.
-
-
-
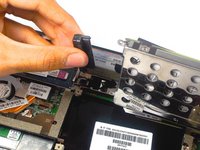
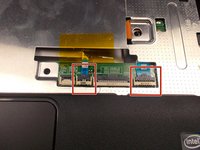
Lift the two black holders upward located next to the socket for the keyboard close to the tracked pad.
-
-
-
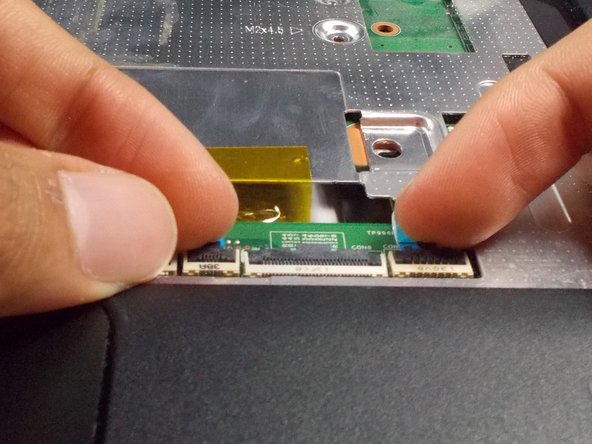
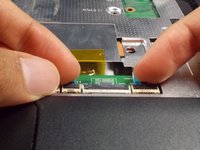
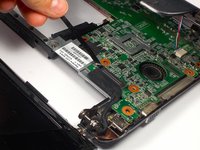
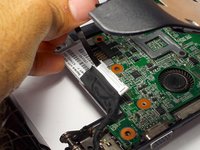
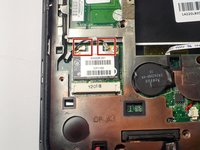
Remove the two connectors for the motherboard from their sockets.
-
-
-
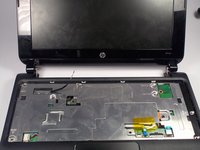
Close the laptop by bringing the screen down.
-
Flip the laptop over to the other side.
-
-
-
Remove the 6 5.0 mm screws holding the back plate together using a Phillips #1 screw driver.
-
-
-
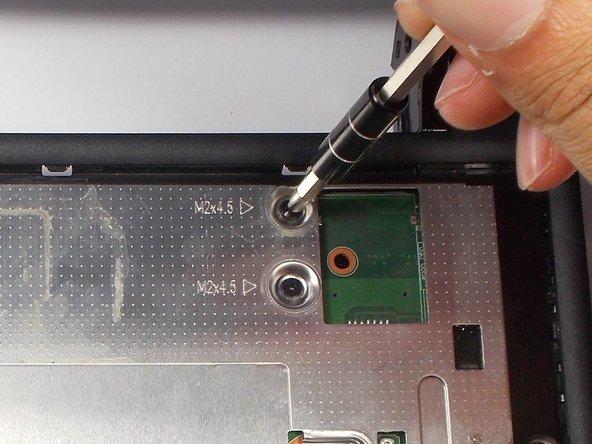
Remove the 2 3.0 mm screw head holding the plastic piece in place using a Phillips #1 screw driver.
-
Located on the left and right side where the battery was removed.
-
-
-
Pull the black plastic pieces that the screws was holding inward.
-
The pieces are located on the left and right corners connecting the bottom and top of the HP Mini.
-
-
-
Flip the laptop back over.
-
Open it by lifting the screeen.
-
-
-
Right next to the previous plastic piece, remove the other two plastic pieces.
-
-
-
Using the plastic prying tool, pry the front plate of the bottom part of your HP Mini.
-
-
-
Lift up the front plate where the keyboard was.
-
-
-
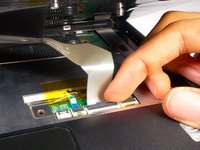
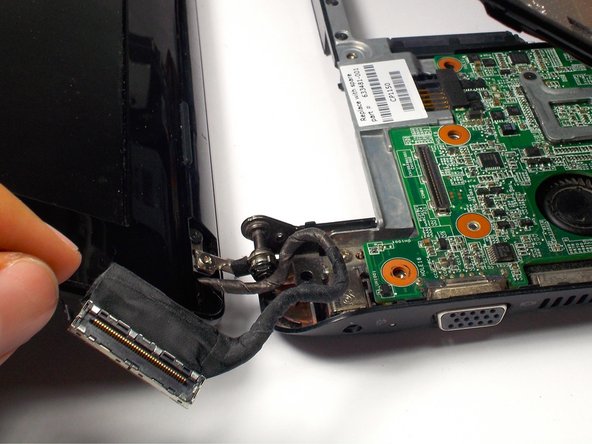
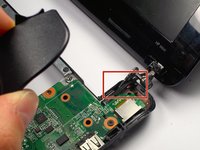
Remove the display cable from the motherboard located on the top left corner under where the keyboard was by pulling on the black tab.
-
Move the cable.
-
-
-
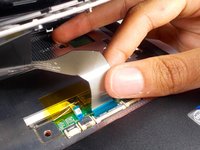
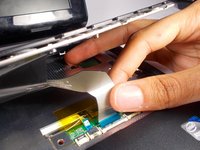
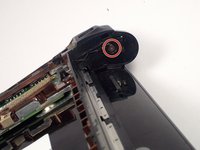
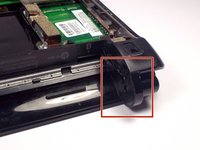
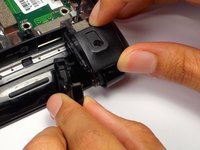
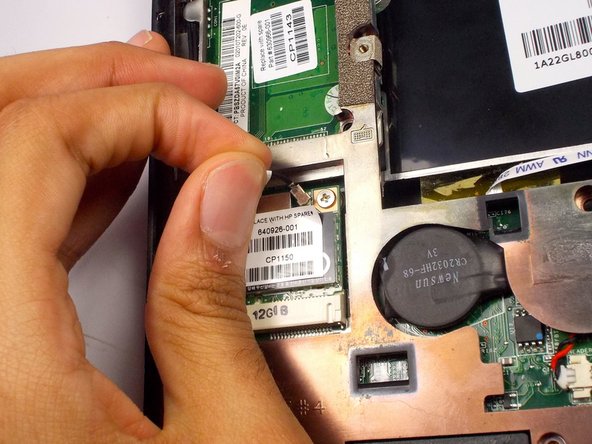
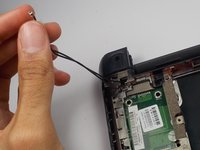
Remove the webcam cables from the motherboard.
-
Located on the back side of the laptop in the bottom left corner.
-
-
-
Flip over the computer, and open the laptop.
-
Lift up the front plate on the top right corner.
-
-
crwdns2935267:0crwdne2935267:0Tweezers$4.99
-
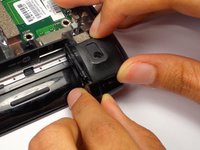
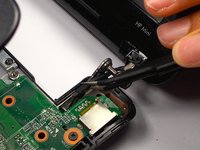
Pull the cables for the web cam out using tweezers.
-
-
-
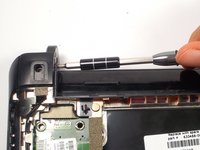
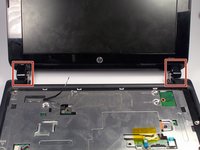
Remove the 2 3.0 mm screws on both sides of the bottom of the display using a Phillips #1 screwdriver.
-
-
-
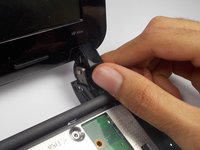
Remove the black plastic piece that the screw was holding on both sides.
-
This will reveal another screw.
-
-
-
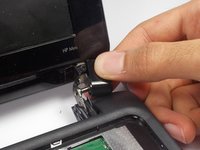
Remove the 2 3.0 mm screws on both sides using a Phillips #1 screw driver.
-
-
-
Pry the front plate using the plastic opening tool by pushing along the border of the front and back plate.
-
Make sure to pry from the sides, top and bottom as the corners will come undone themselves.
-
-
-
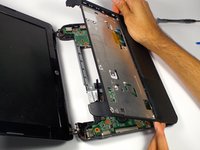
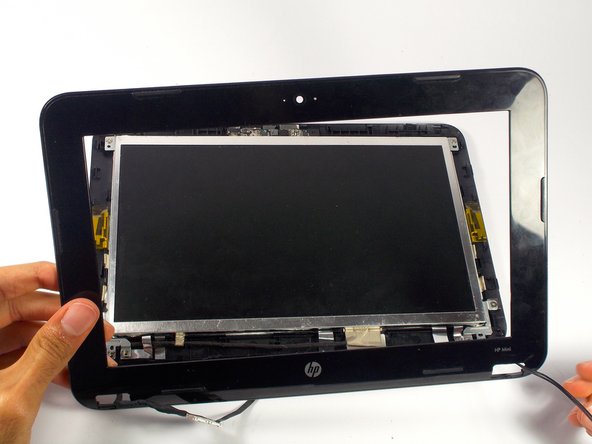
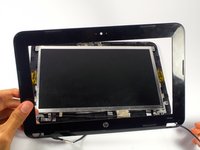
Remove the front plate.
-
Pull the cables through the holes.
-
-
-
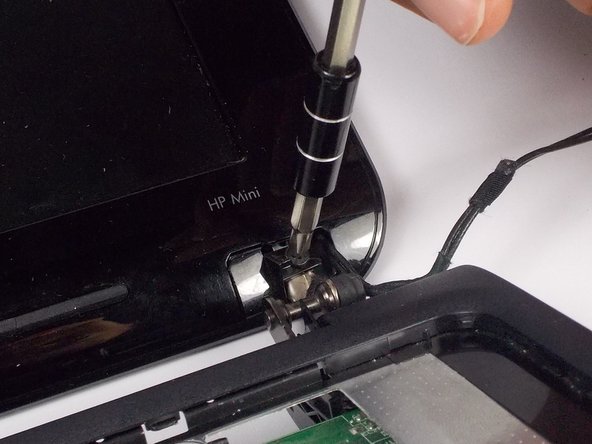
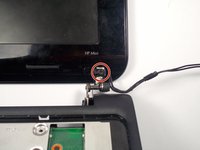
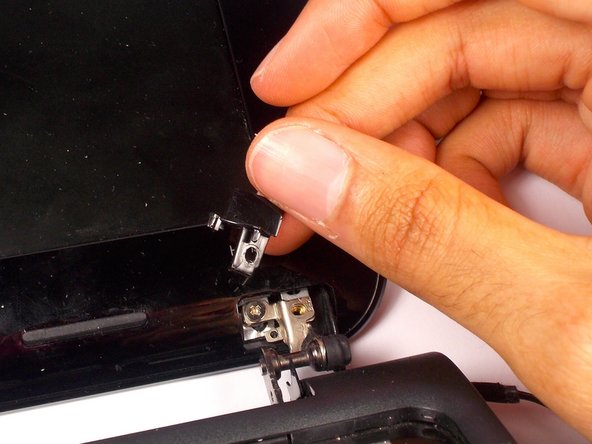
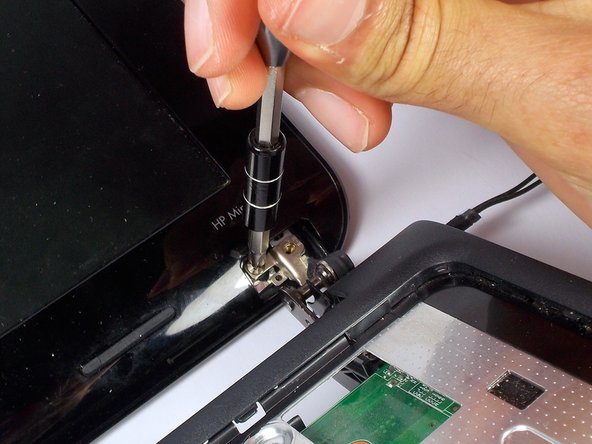
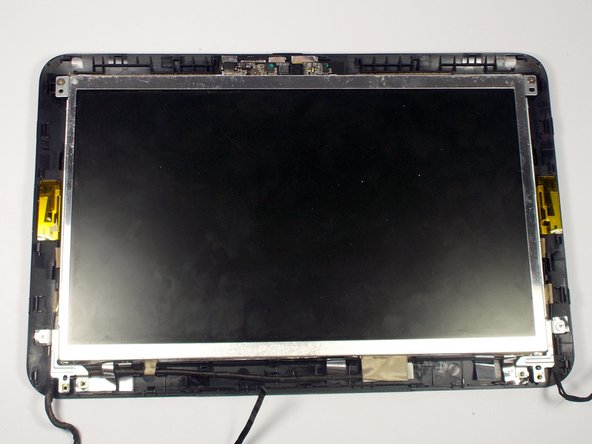
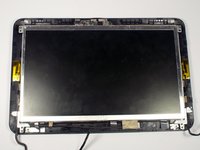
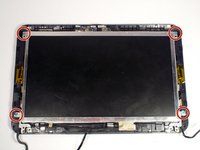
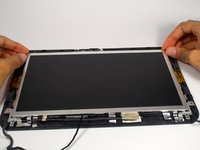
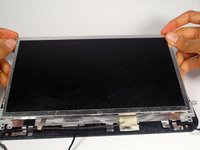
Remove the 4 4.0 mm screws holding the screen in place using a Phillips #1 screw driver.
-
-
-
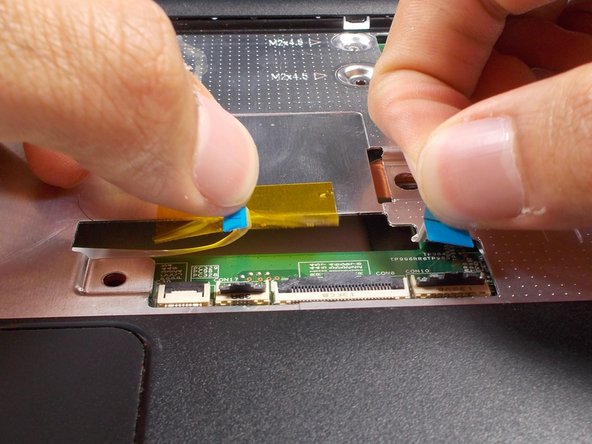
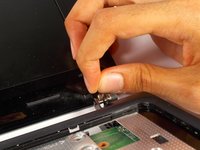
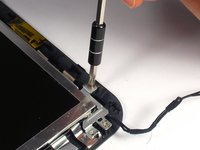
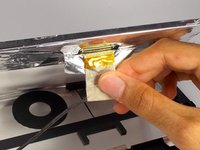
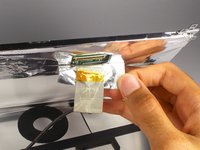
Under the screen, peel off the tape near the cable completely, so you can see the socket for the cable.
-


To reassemble your device, follow these instructions in reverse order.
To reassemble your device, follow these instructions in reverse order.
crwdns2915084:0crwdne2915084:0

UMass Dartmouth, Team 4-1, Catania Spring 2016 crwdns2935289:0UMass Dartmouth, Team 4-1, Catania Spring 2016crwdne2935289:0
UMASSD-CATANIA-S16S4G1
crwdns2931471:04crwdne2931471:0
crwdns2935297:07crwdne2935297:0
crwdns2947410:01crwdne2947410:0
Tengo una pregunta en pantalla habrá alguna otra que sea compatible con esta hp sin ser el mismo modelo?