crwdns2915892:0crwdne2915892:0
These steps will show how to replace the power plug from the printer. This guide may be used if the prongs of the plug are broken or if a new power supply is needed all together.
crwdns2942213:0crwdne2942213:0
-
-
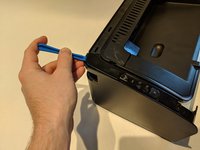
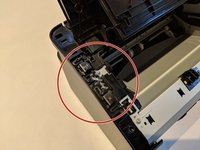
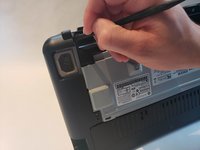
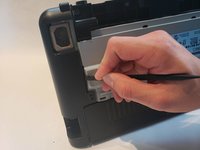
Flip printer on it's back. Using the plastic spudger, pry off front panel. There will be two main points to focus as shown.
-
-
-
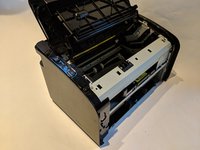
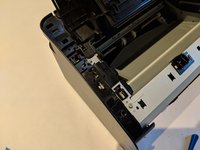
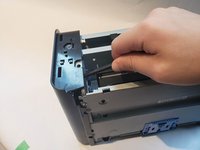
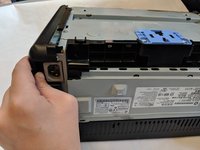
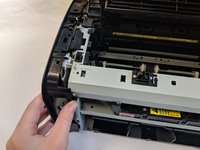
Now that the pry points are free lift up the front panel.
-
-
-
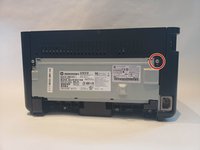
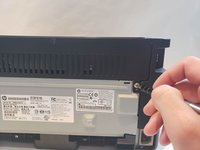
Unscrew the #1 Phillips screw 6mm on the back of the printer.
-
-
-
Using the plastic spudger, remove the button housing from the top left of printer.
-
-
-
-
Once the housing is removed, remove the three buttons.
-
-
-
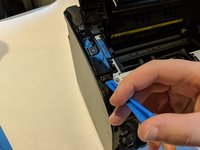
Use the plastic spudger to remove the side panel. There are three main prying points as shown.
-
-
-
With all pry points free, remove the side panel.
-
-
-
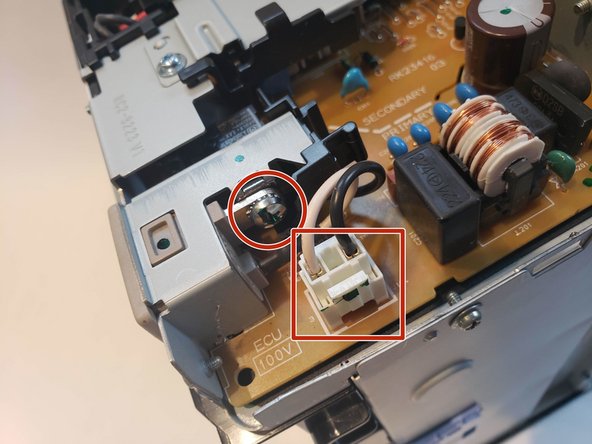
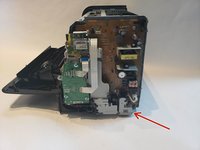
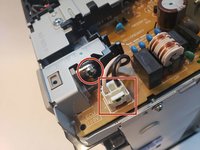
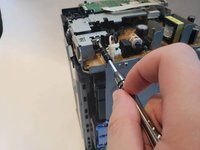
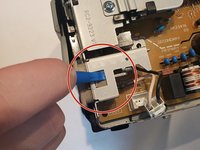
The power plug will be held together with one Phillips screw 7mm and wire connection.
-
-
-
Unplug wire connector and unscrew the Phillips 7mm screw with #1 Phillips screw driver.
-
-
-
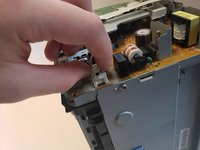
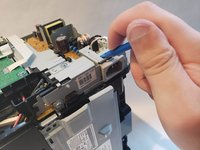
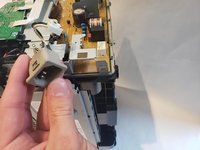
Apply pressure using spudger on top of the power plug to release it from metal housing. While doing that pull the power plug out.
-
To reassemble your device, follow these instructions in reverse order.
To reassemble your device, follow these instructions in reverse order.
crwdns2935221:0crwdne2935221:0
crwdns2935229:04crwdne2935229:0


