crwdns2915892:0crwdne2915892:0
These steps will show how to replace the motherboard from the printer. This guide may be used if the printer is experiencing systematic errors, was short circuited, or has issues connecting to devices.
crwdns2942213:0crwdne2942213:0
-
-
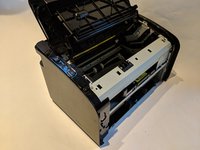
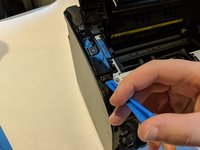
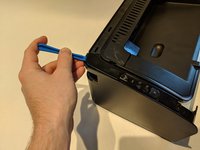
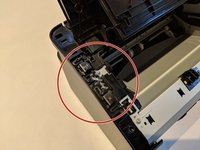
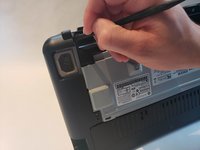
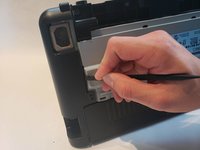
Flip printer on it's back. Using the plastic spudger, pry off front panel. There will be two main points to focus as shown.
-
-
-
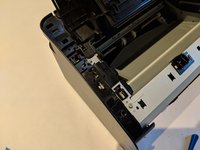
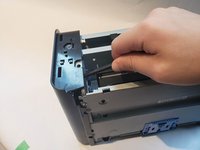
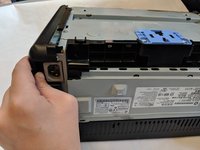
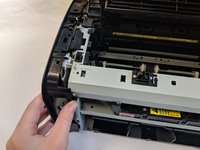
Now that the pry points are free lift up the front panel.
-
-
-
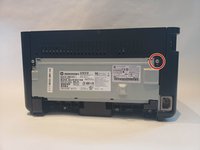
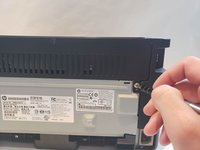
Unscrew the #1 Phillips screw 6mm on the back of the printer.
-
-
-
-
Using the plastic spudger, remove the button housing from the top left of printer.
-
-
-
Once the housing is removed, remove the three buttons.
-
-
-
Use the plastic spudger to remove the side panel. There are three main prying points as shown.
-
-
-
With all pry points free, remove the side panel.
-
-
-
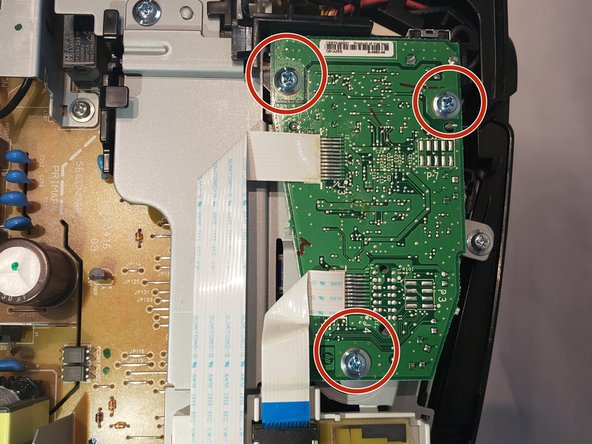
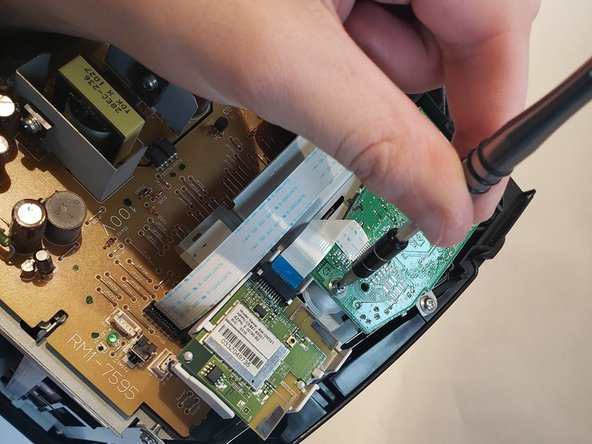
Remove three #1 Phillips 6mm screws with the #1 Phillips screwdriver.
-
-
crwdns2935267:0crwdne2935267:0Tweezers$4.99
-
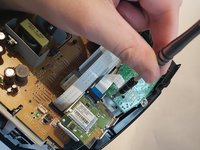
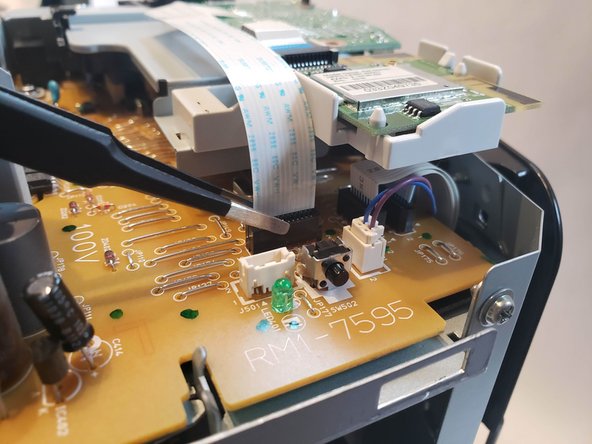
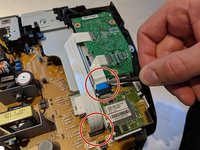
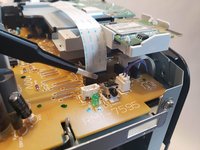
Using a pair of blunt nose tweezers, disconnect both ribbon wires.
-
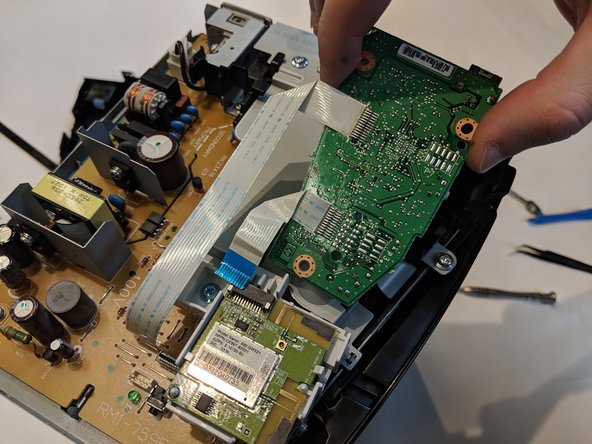
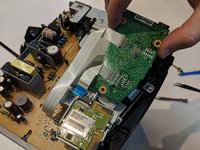
With both ribbon wires removed we can lift the motherboard out of its housing.
-
To reassemble your device, follow these instructions in reverse order.
To reassemble your device, follow these instructions in reverse order.
crwdns2935221:0crwdne2935221:0
crwdns2935229:05crwdne2935229:0


