crwdns2915892:0crwdne2915892:0
These steps will show how to replace the left side panel from the printer. This prerequisite guide will be used for the power plug removal, motherboard removal, and half of the drive belt removal guides.
crwdns2942213:0crwdne2942213:0
-
-
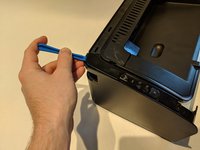
Flip printer on it's back. Using the plastic spudger, pry off front panel. There will be two main points to focus as shown.
-
-
-
Now that the pry points are free lift up the front panel.
-
-
-
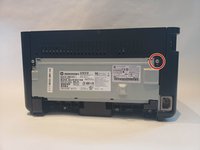
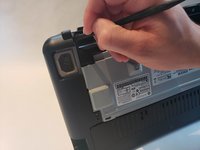
Unscrew the #1 Phillips screw 6mm on the back of the printer.
-
-
-
-
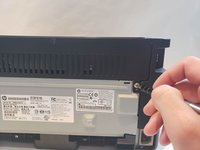
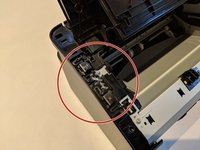
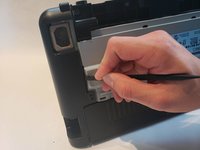
Using the plastic spudger, remove the button housing from the top left of printer.
-
-
-
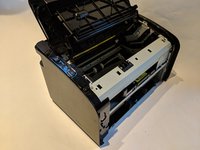
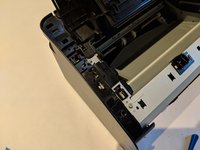
Once the housing is removed, remove the three buttons.
-
-
-
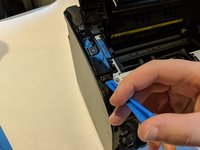
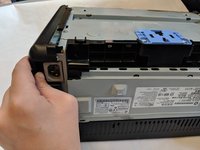
Use the plastic spudger to remove the side panel. There are three main prying points as shown.
-
-
-
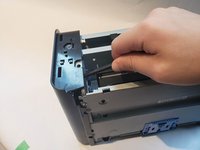
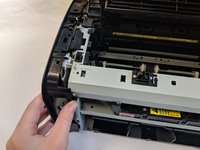
With all pry points free, remove the side panel.
-


To reassemble your device, follow these instructions in reverse order.
To reassemble your device, follow these instructions in reverse order.
crwdns2935221:0crwdne2935221:0
crwdns2935229:03crwdne2935229:0
crwdns2915084:0crwdne2915084:0

UW Stout, Team S6-G4, Ogden Fall 2018 crwdns2935289:0UW Stout, Team S6-G4, Ogden Fall 2018crwdne2935289:0
UWSTOUT-OGDEN-F18S6G4
crwdns2931471:04crwdne2931471:0
crwdns2935297:012crwdne2935297:0
crwdns2947410:01crwdne2947410:0
How to replace the HP 2055 motherboard