crwdns2915892:0crwdne2915892:0
This is a simple guide to replace the headphone jack if it is loose or broken. You will need an anti-static wristband, a Philips head 1 screwdriver, and a blue nylon opening tool to complete this replacement guide.
crwdns2942213:0crwdne2942213:0
-
-
Flip the laptop over to expose the underside.
-
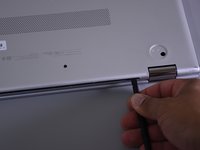
Remove the two grip pads with blue plastic opening tool by inserting the tool between the laptop and the pads and slowly lifting up.
-
-
-
Remove the two 8 mm Phillips Head screws that were under the grip pads using a Phillip's Head 1 Screwdriver.
-
-
-
Remove the six 5 mm Torx screws using a T5 Torx Screwdriver.
-
-
-
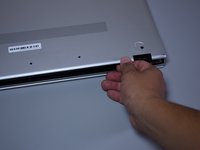
Use the nylon spudger to pop off the bottom cover by inserting it into the heat vent and twisting to the left or right.
-
-
-
-
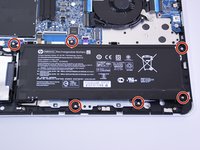
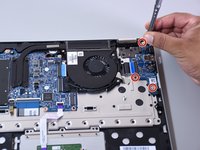
Use the Phillips Head 1 Screwdriver to remove the six 4 mm screws.
-
-
-
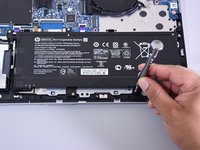
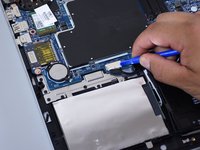
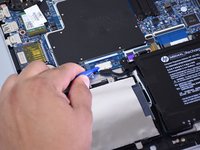
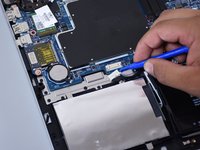
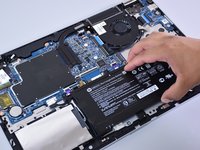
Disconnect the battery port from the motherboard by gently lifting it on both sides with the plastic opening tool.
-
Lift up the port with the tool.
-
-
-
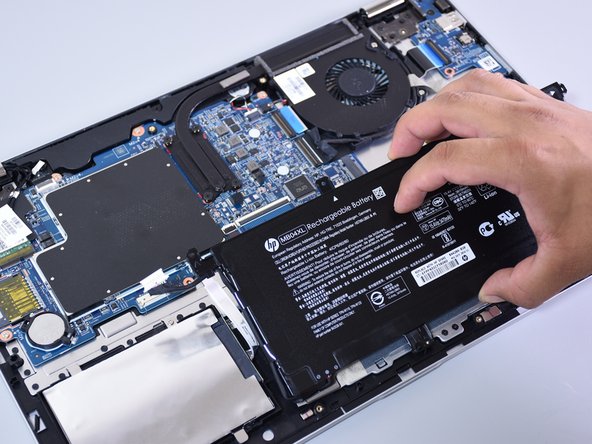
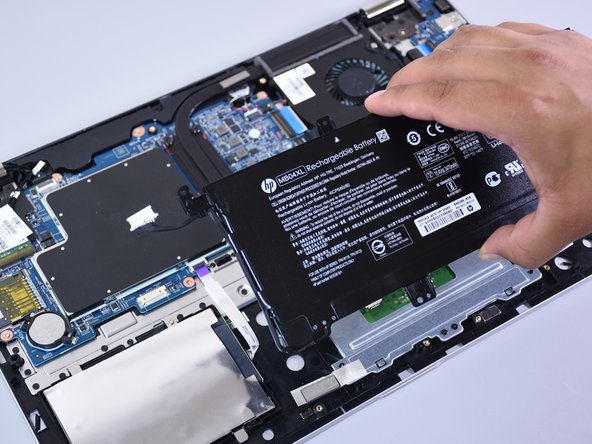
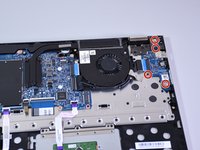
Lift the battery out of the laptop with your hands.
-
-
crwdns2935267:0crwdne2935267:0Anti-Static Wrist Strap$7.95
-
Make sure you are wearing an anti-static wrist strap.
-
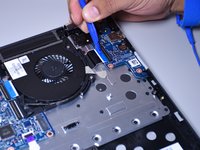
Remove the four screws from the blue board that contains the headphone jack using the Phillips head 1 screwdriver (one 4 mm black screw, one 3 mm black screw, and two 4.5 mm silver screws).
-
-
-
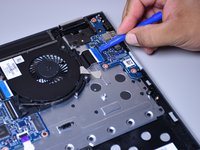
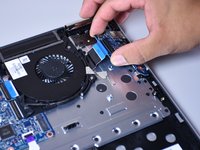
Insert the plastic opening tool underneath the connector on the black flexible flat cable with the blue plastic stripe.
-
Lift the opening tool to open the connector.
-
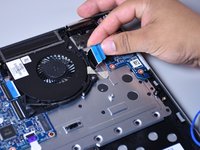
Use your fingers to slide the ribbon cable out of the connector.
-
-
-
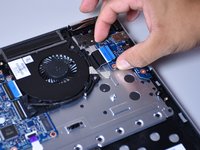
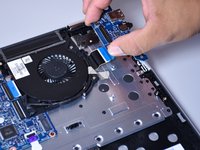
Hold the left side of the board between your fingers.
-
Lift the edge upwards enough to clear the other components in the way.
-
Slide and rotate to lift the board out of the designated slot for the board.
-


To reassemble your device, follow these instructions in reverse order.
crwdns2935221:0crwdne2935221:0
crwdns2935227:0crwdne2935227:0
crwdns2935287:0crwdne2935287:0

Cal Poly, Team S4-G3, Livingston Fall 2017 crwdns2935289:0Cal Poly, Team S4-G3, Livingston Fall 2017crwdne2935289:0
CPSU-LIVINGSTON-F17S4G3
crwdns2931471:04crwdne2931471:0
crwdns2935297:09crwdne2935297:0