crwdns2915892:0crwdne2915892:0
When displays get old they may have groups of pixels that die or have all of them die making it impossible to see anything. Replace the display using our guide.
crwdns2942213:0crwdne2942213:0
-
-
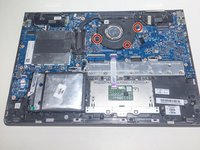
On the back panel of the device, remove the four (4) M2.5xL6 screws at the top of the photo using a Phillips #0 screwdriver.
-
Unscrew the three (3) screws at the bottom of the photo using a T5 Torx screwdriver.
-
-
-
To remove the back cover, use the black spudger to lift up on the edges of the cover.
-
Use a suction cup to assist in lifting the back cover
-
-
-
Use the Philips #0 screwdriver to remove six (6) M2.0x3.2 screws from battery.
-
-
-
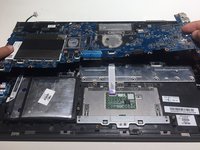
Using the Philips #0 screwdriver, remove the final screw from the battery connected to the SSD storage unit.
-
-
-
Lift and pull the front of the battery up and out (away from the connector) to remove.
-
-
-
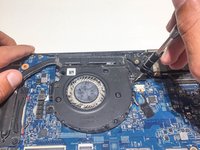
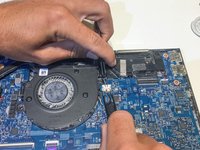
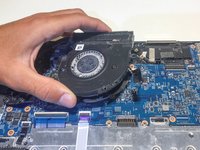
Using a Philips #0 screwdriver, remove the three M2x4 screws located around the cooling fan as shown in this picture.
-
-
-
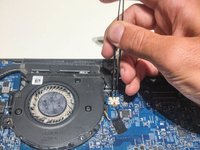
crwdns2935267:0crwdne2935267:0Tweezers$4.99
-
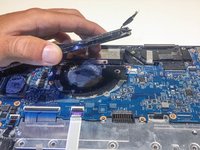
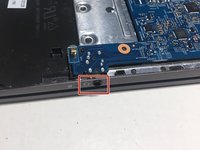
Remove the connector clip with the tweezers.
-
-
-
Remove the four spring loaded screws with a Philips #1 screwdriver.
-
-
-
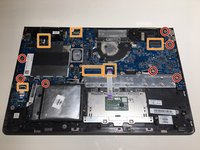
Using a Phillips #1, remove the seven M2.0x3.2 screws.
-
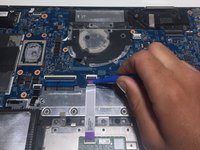
Undo the six connections using the blue opening tool.
-
-
-
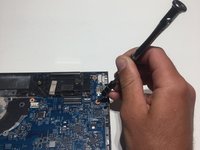
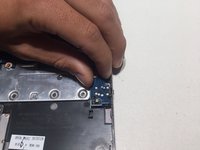
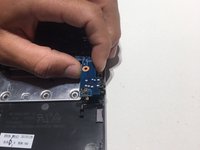
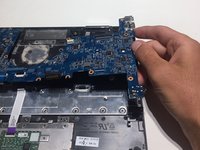
Carefully remove the aux port from the frame of the computer as shown.
-
-
-
Pull the mother board up and away from frame of the computer.
-
-
crwdns2935267:0crwdne2935267:0Tweezers$4.99
-
Use the tweezers to remove the cords from their restraints.
-
Lift the speakers out of the laptop.
-
-
-
Remove the three 4.4 mm screws from each hinge using a Phillips #0 screwdriver.
-
-
-
Use the spudger to detach the the screen from the display.
-
-
-
Disconnect the wire from the ports and take out the white sheet.
-


To reassemble your device, follow these instructions in reverse order.
To reassemble your device, follow these instructions in reverse order.

crwdns2915084:0crwdne2915084:0

The Citadel Military College of South Carolina, Team 3-23, Eggleston Fall 2021 crwdns2935289:0The Citadel Military College of South Carolina, Team 3-23, Eggleston Fall 2021crwdne2935289:0
CMCSC-EGGLESTON-F21S3G23
crwdns2931471:03crwdne2931471:0
crwdns2935297:03crwdne2935297:0