crwdns2915892:0crwdne2915892:0
CPU Cooling Fan Part Number
686901-001 DC28000BFS0
The CPU Cooling Fan allows for continuous cooling of the CPU also known as the brain of a computer inside a laptop to not overheat and burn the user.
This CPU Cooling Fan can be prone to issues of overheating due to clogging or a faulty fan. If you believe the fan is not faulty and only needs cleaning, you can remove the fan and cleanse it with a computer duster.
This guide will go step-by-step on how to remove a clogged or faulty cooling fan.
Check out the Troubleshooting guide for other issues that could be related to the fan.
CAUTION: Placing the computer on a cloth surface such as your lap, a bed, or a couch cushion, can restrict or completely block the airflow. Prolonged air restriction causes overheating and potential damage.
CAUTION: DO NOT continue to use the computer when a fan is not working correctly. Overtime, exposure to consistently high temperatures can damage other important internal components.
crwdns2942213:0crwdne2942213:0
-
-
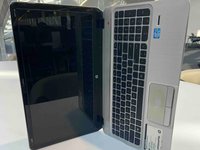
Flip the laptop over onto it's top with the back facing you
-
-
-
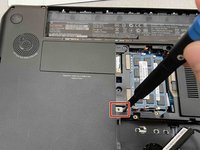
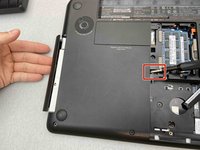
Pull the slide release tab to the left to free the battery.
-
Once the slide release is all the way over, a red icon should be visible.
-
-
-
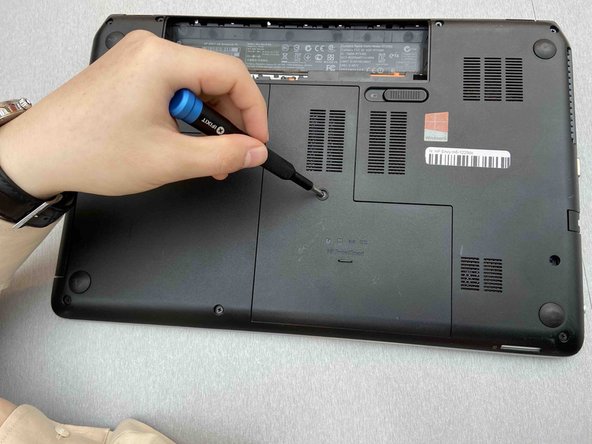
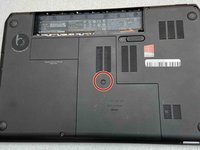
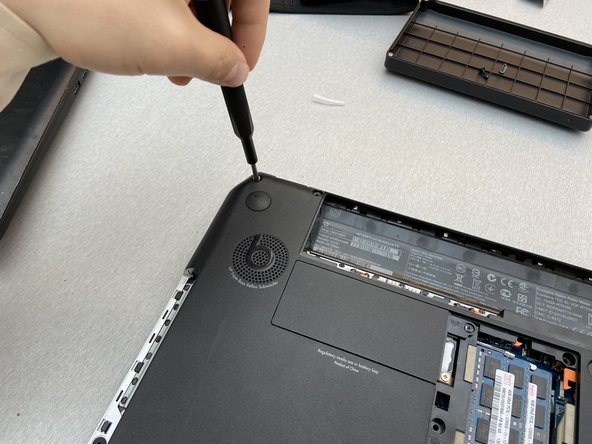
Remove the center screw using a Phillips #1 screwdriver.
-
-
-
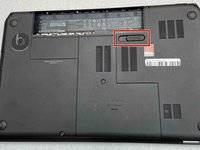
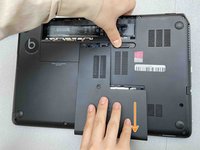
Move the battery slide release latch to the side while pulling the service cover forward.
-
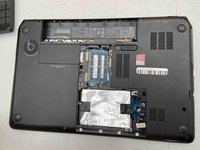
Pull the service cover straight up and out to remove.
-
-
-
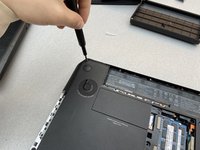
Use a Phillips #1 screwdriver to remove the single screw holding the optical drive
-
-
-
-
Use a spudger to apply pressure to the tab, while simultaneously pulling out the optical drive.
-
-
-
Pull the optical drive out of the base of the laptop.
-
-
-
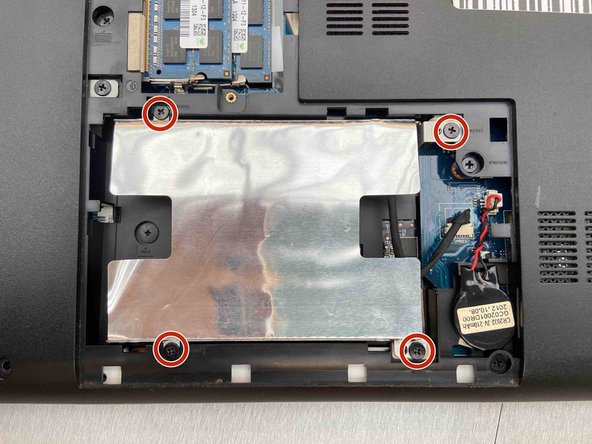
Remove the four Phillips #1 screws from the hard drive bracket.
-
-
-
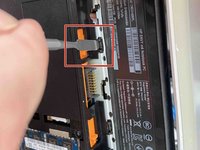
Disconnect the cable from the side of the hard drive and move to the side.
-
Remove the hard drive.
-
-
-
Remove the two Phillips #1 screws that secure the keyboard to the laptop.
-
-
-
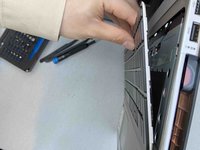
Make the device stand onto its left side with the device open.
-
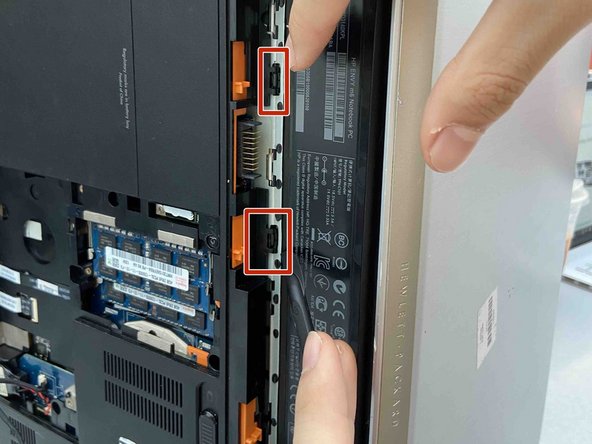
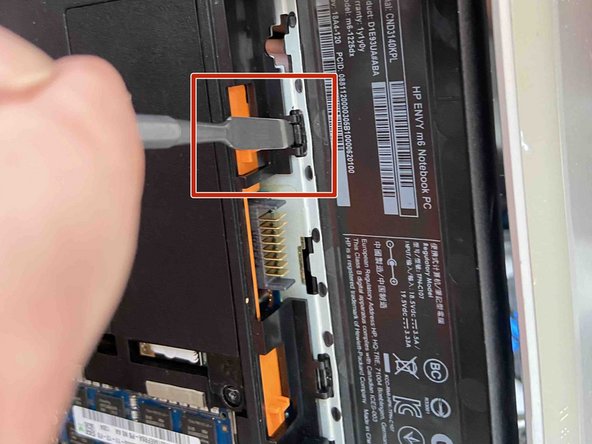
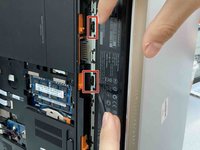
Turn the laptop and look into the empty battery slot for two release holes.
-
Insert a metal spudger into the release holes and apply pressure to the back of the keyboard until it comes loose of the laptop.
-
-
-
Gently lift the keyboard away from the laptop.
-
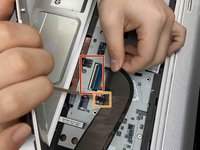
Lift up the cable holder and remove the cable connection from the base of the laptop.
-
Lift up the locking tab of the ZIF connector and remove the keyboard backlight cable.
-
-
-
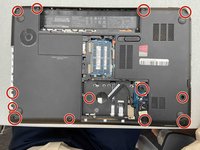
Remove the 13 screws on the bottom of the laptop that secure the top cover using a Phillips #1 screwdriver.
-
-
crwdns2935267:0crwdne2935267:0Tweezers$4.99
-
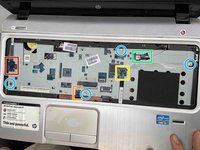
Disconnect Power button board cable using a pair tweezers.
-
Disconnect Touch Pad button board cable using a pair tweezers.
-
Disconnect Fingerprint reader board cable using a pair tweezers.
-
Disconnect Right speaker cable using a pair tweezers.
-
Remove the 4 screws using a Phillips #1 screwdriver.
-
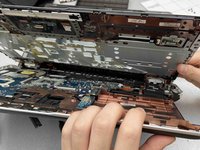
Apply force to the base of the cover to pop if off from the laptop base.
-
-
-
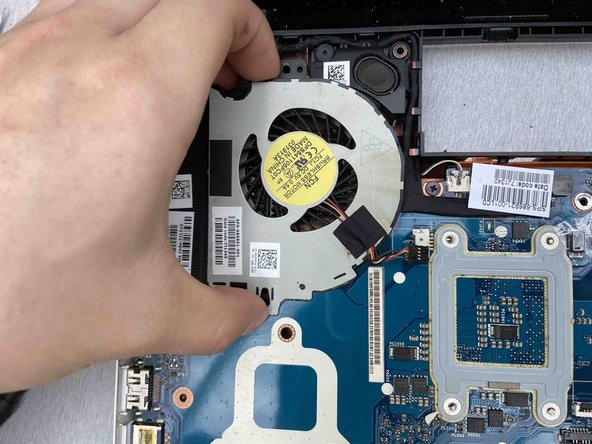
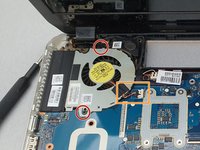
Remove the two screws holding the cooling fan down with a Phillips #1 screwdriver.
-
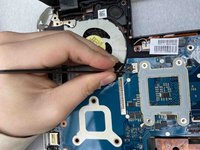
Disconnect the cooling fan cable using a pair tweezers.
-
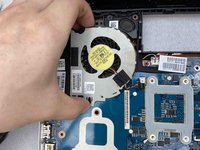
Gently lift the cooling fan.
-


To reassemble your device, follow these instructions in reverse order.
To reassemble your device, follow these instructions in reverse order.
crwdns2915084:0crwdne2915084:0

Embry-Riddle Aeronautical University, Team S14-G3, Lamothe Spring 2020 crwdns2935289:0Embry-Riddle Aeronautical University, Team S14-G3, Lamothe Spring 2020crwdne2935289:0
ERAU-LAMOTHE-S20S14G3
crwdns2931471:05crwdne2931471:0
crwdns2935297:05crwdne2935297:0