crwdns2915892:0crwdne2915892:0
If your computer turns on but nothing is displayed on the LCD, it might be time to replace it. This guide will walk you through each step.
crwdns2942213:0crwdne2942213:0
-
-
Remove the twelve 9 mm Phillips #00 screws.
-
-
-
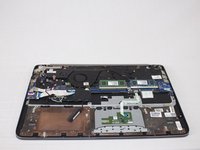
Use the plastic opening tool and your hands to remove the bottom cover.
-
-
-
Disconnect the battery power cable from the motherboard.
-
-
-
Remove the six 6 mm Phillips #00 screws from the battery.
-
-
-
-
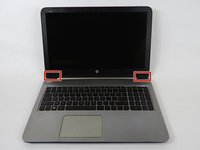
Remove the stickers from the bottom left and right corner of the device with a plastic opening tool.
-
-
-
Remove the two 2.5mm Phillips #00 screws found underneath the previously removed stickers.
-
-
-
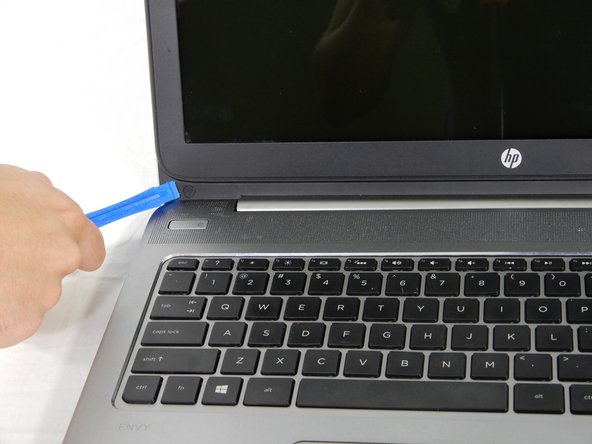
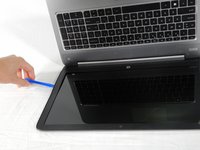
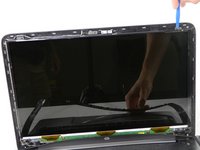
Use the plastic opening tool to pry the bezel free from the LCD housing.
-
-
-
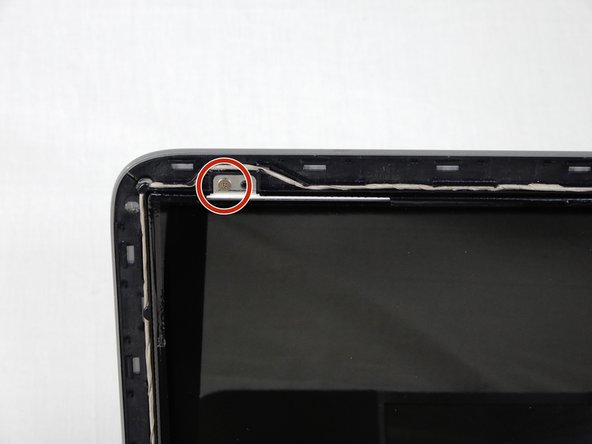
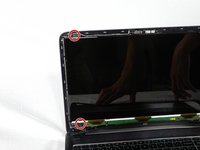
Remove the four 2.5mm Phillips #00 screws located in each corner of the LCD screen.
-
-
-
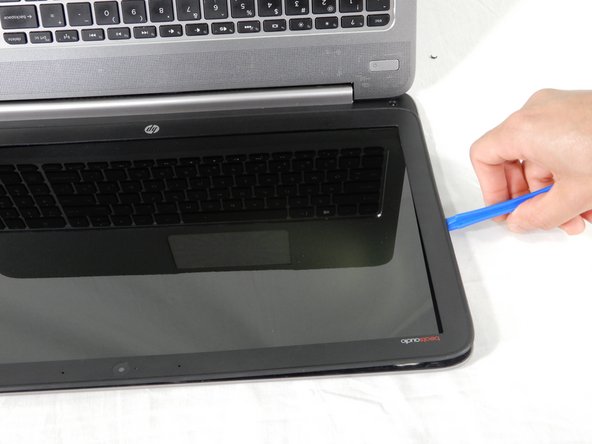
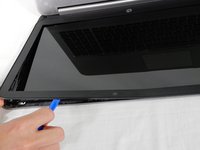
Use the plastic opening tool to remove the LCD screen from its housing.
-
Lay the LCD screen flat on the keyboard.
-
-
-
Disconnect the cable which connects the LCD to the motherboard.
-
Pul the LCD screen out.
-


To reassemble your device, follow these instructions in reverse order.
To reassemble your device, follow these instructions in reverse order.
crwdns2935221:0crwdne2935221:0
crwdns2935229:02crwdne2935229:0
crwdns2915084:0crwdne2915084:0

USF Tampa, Team S1-G4, Nance Spring 2018 crwdns2935289:0USF Tampa, Team S1-G4, Nance Spring 2018crwdne2935289:0
USFT-NANCE-S18S1G4
crwdns2931471:04crwdne2931471:0
crwdns2935297:015crwdne2935297:0