crwdns2915892:0crwdne2915892:0
We will be showing you how to replace your screen if it is broken or damaged. This is a fairly long process which requires you to be careful.
crwdns2942213:0crwdne2942213:0
-
-
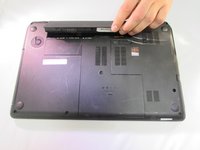
Lay the device face down to begin.
-
-
-
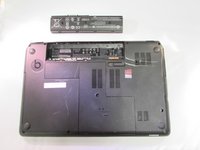
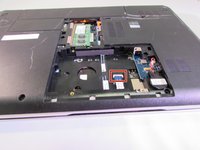
Slide the release mechanism to the left to release the battery.
-
-
-
Using a Phillips #1, remove the 8 10.6mm screws.
-
Also using a Phillips #1, remove the 8.6mm screw.
-
-
-
Slide the center panel down to remove it.
-
-
-
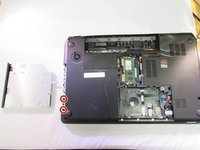
Using a Phillips #1, remove the 3.5mm screw.
-
Using a Phillips #1, remove the four 10.6mm screws.
There is another screw to remove here, to the left of the big circle under the HDD
-
-
-
Pull the disk drive out to remove it.
-
-
-
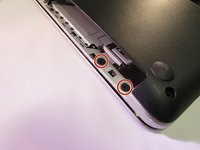
Using a Phillips #1, remove the two 2.4mm screws.
-
-
crwdns2935267:0crwdne2935267:0Tweezers$4.99
-
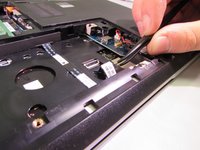
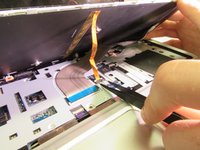
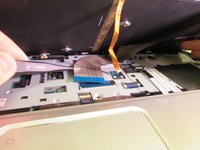
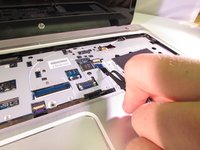
Flip the black tab up on the clamp that holds the ribbon cable in place.
-
Pull the cable back with your fingers or a pair of tweezers.
-
-
-
-
Flip the computer back over
-
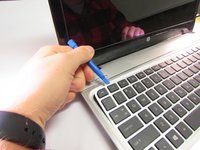
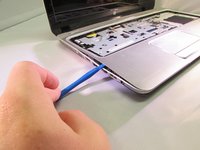
Use the plastic opening tool to pry the keyboard up .
-
-
-
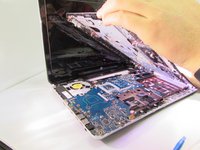
Carefully lift the keyboard up.
-
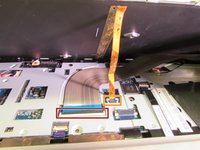
Flip up the black tab holding the large ribbon cable down.
-
Push both sides of the small white tab forward to release the small ribbon cable.
-
Pull both the cables out to remove them.
-
Remove the keyboard.
-
-
-
Flip the small white tab up to release the ribbon cable.
-
Pull to remove.
-
Repeat the same steps for the other cable.
-
-
-
Using a Phillips #1, remove the four 5.6mm silver screws.
-
-
-
Use the plastic opening tool to pry the face plate off the rest of the frame.
-
Once you pry all of the snaps up lift the face plate off.
-
-
-
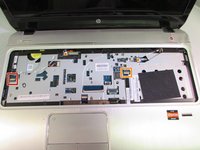
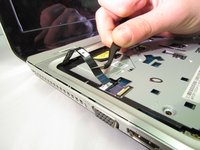
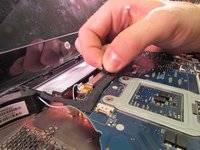
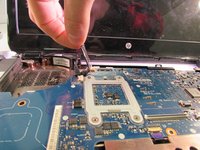
Pull up on the black tab to unplug the cable that goes into the screen
-
-
-
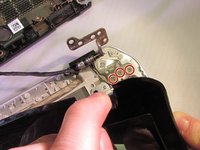
Using a Phillps #1, remove the two 5.6mm silver screws from the base of the first hinge.
-
-
-
Also using a Phillips #1, remove the two 5.6mm silver screws from the base of the second hinge.
-
-
-
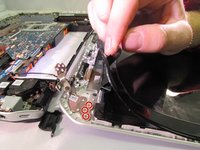
Using a plastic opening tool, carefully start prying the frame of the screen up
-
-
-
Remove the three 1.9mm silver screws from the base of the screen frame using the Phillips 00 screwdriver.
-
-
-
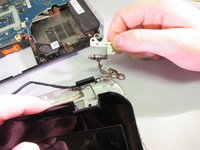
Carefully pry the edge of the frame up to expose the other half of the first hinge.
-
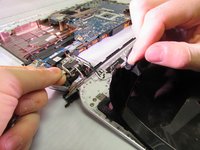
Using a Phillips #1, remove the three 2.8mm silver screws.
-
Pull the hinge out.
-
-
-
Care full pry up the other corner of the frame
-
Using a Phillips #1, remove the three 2.8mm silver screws
-
Pull the hinge out.
-
-
-
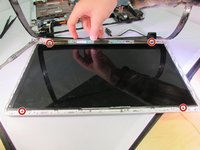
Using a Phillips #00, remove the four 2.3 mm black screws.
-
Lift the screen and frame out of the computer body.
-
-
-
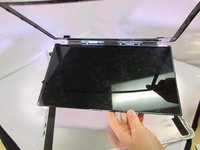
Flip the screen over
-
There is a black cable that is connected to the screen through the frame.
-
Pull back the tape that holds the cable in
-
Pull the cable out to remove it.
-
-
-
Pull the black tape that is attached to the frame off of the screen
-
To reassemble your device, follow these instructions in reverse order.
To reassemble your device, follow these instructions in reverse order.
crwdns2935221:0crwdne2935221:0
crwdns2935229:05crwdne2935229:0
crwdns2947410:01crwdne2947410:0
Pueden decirme qué modelos de pantalla son compatibles con la Envy m6 1205dx? necesito cambiar el mio y veo varios para Envy m6 diferentes


