crwdns2933423:0crwdne2933423:0

HP Envy 5660 LCD Replacement

crwdns2942213:0crwdne2942213:0

  1. HP Envy 5660 LCD Replacement, LCD: crwdns2935265:01crwdnd2935265:01crwdnd2935265:01crwdne2935265:0
    • Lift the scanner to open up the printer cartridge access area.

  2. HP Envy 5660 LCD Replacement: crwdns2935265:02crwdnd2935265:01crwdnd2935265:02crwdne2935265:0 HP Envy 5660 LCD Replacement: crwdns2935265:02crwdnd2935265:02crwdnd2935265:02crwdne2935265:0
    • Remove the two 12 mm screws with a T10 bit.

  3. HP Envy 5660 LCD Replacement: crwdns2935265:03crwdnd2935265:01crwdnd2935265:03crwdne2935265:0 HP Envy 5660 LCD Replacement: crwdns2935265:03crwdnd2935265:02crwdnd2935265:03crwdne2935265:0 HP Envy 5660 LCD Replacement: crwdns2935265:03crwdnd2935265:03crwdnd2935265:03crwdne2935265:0
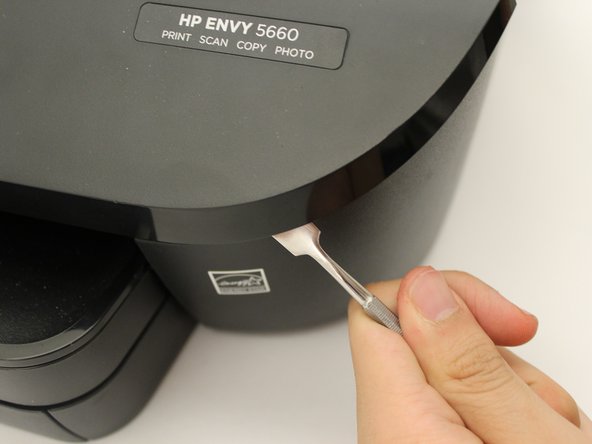
    • Use a metal spudger to pry open the front panel.

    • Work your way all the way around the front panel doing the same.

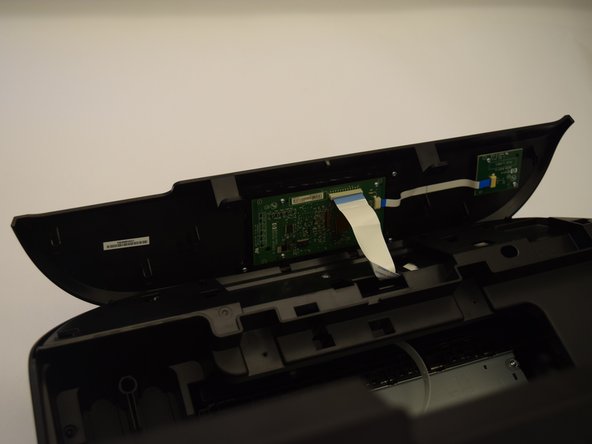
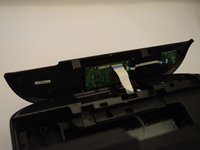
    • Gently flip the cover over, exposing the motherboard.

    • There will be loud popping sounds when the cover is being separated from the rest of the printer.

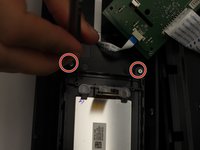
  4. HP Envy 5660 LCD Replacement: crwdns2935265:04crwdnd2935265:01crwdnd2935265:02crwdne2935265:0 HP Envy 5660 LCD Replacement: crwdns2935265:04crwdnd2935265:02crwdnd2935265:02crwdne2935265:0
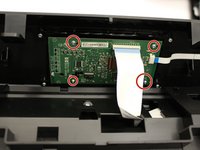
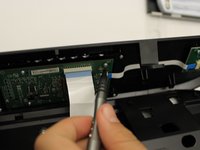
    • Remove the four 4.5 mm screws from the motherboard with a T6 bit.

    • Gently remove the motherboard from the top of the LCD, but make sure the ribbon cables are still attached.

    • Beware damaging the white ribbon cable.

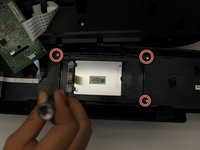
  5. HP Envy 5660 LCD Replacement: crwdns2935265:05crwdnd2935265:01crwdnd2935265:02crwdne2935265:0 HP Envy 5660 LCD Replacement: crwdns2935265:05crwdnd2935265:02crwdnd2935265:02crwdne2935265:0
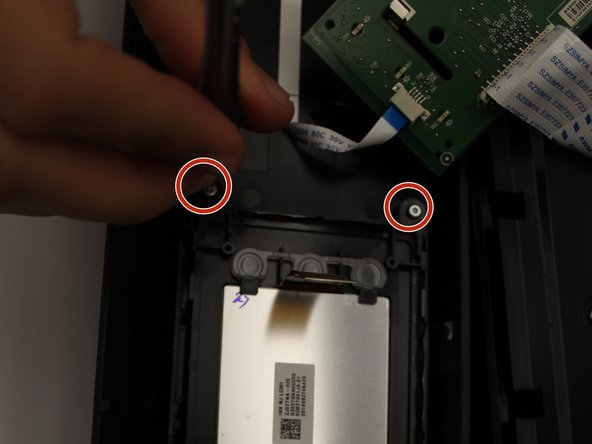
    • Remove the four 5 mm screws with a T6 bit, allowing you to separate the LCD from the cover,

  6. HP Envy 5660 LCD Replacement: crwdns2935265:06crwdnd2935265:01crwdnd2935265:01crwdne2935265:0
    • Place the metal spudger underneath the LCD and gently lift up to remove the LCD.

crwdns2915888:0crwdne2915888:0

To reassemble your device, follow these instructions in reverse order.

crwdns2935227:0crwdne2935227:0

Ryan Steakley

crwdns2935283:001/23/18crwdne2935283:0

781 crwdns2915208:0crwdne2915208:0

crwdns2935297:05crwdne2935297:0

crwdns2915084:0crwdne2915084:0

Cal Poly, Team S1-G6, Livingston Winter 2018 crwdns2935289:0Cal Poly, Team S1-G6, Livingston Winter 2018crwdne2935289:0

CPSU-LIVINGSTON-W18S1G6

crwdns2931471:04crwdne2931471:0

crwdns2935297:010crwdne2935297:0

crwdns2944067:02crwdne2944067:0

Great description but there is a part needed - the LCD. Is that part available? How do I get it?

Thanks,

PJE

pateckelberry - crwdns2934203:0crwdne2934203:0

Ditto, I'm in the same position, did you ever find the part/LCD replacement screen?

Tessa Robles - crwdns2934203:0crwdne2934203:0

crwdns2917038:0crwdne2917038:0

crwdns2936625:0crwdne2936625:0:

crwdns2936751:024crwdne2936751:0 0

crwdns2936753:07crwdne2936753:0 2

crwdns2936753:030crwdne2936753:0 18

crwdns2942667:0crwdne2942667:0 1,117