crwdns2915892:0crwdne2915892:0
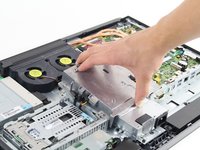
This guide is to be used in the case of a power supply that has begun to give out. Power supply failure can be recognized through symptoms such as slower run time, or issues with pace of processing,
crwdns2942213:0crwdne2942213:0
-
-
Place computer with the screen down on a flat surface.
-
Push the two locking latches to the unlocked position.
-
Push the cover toward the top of the computer and lift up.
-
-
-
Press locking latch on the bottom of the base of the stand.
-
Pull the plastic cover off of the stand.
-
-
-
Use a Torx T15 driver and stick it through the holes on the stand in order to remove the two 12mm screws on the back of the main unit.
-
Tilt stand and lift up to remove it.
-
-
-
-
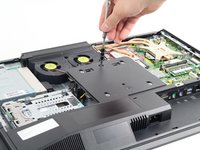
Use a Torx T15 driver to remove the single 10mm screw on the back panel.
-
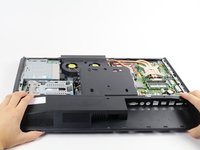
Pull the back panel toward the bottom of the device to remove it.
-
-
-
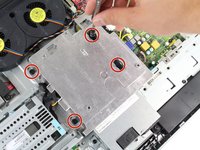
Use a Torx T15 driver to remove the four 10mm screws on the VESA mount cover.
-
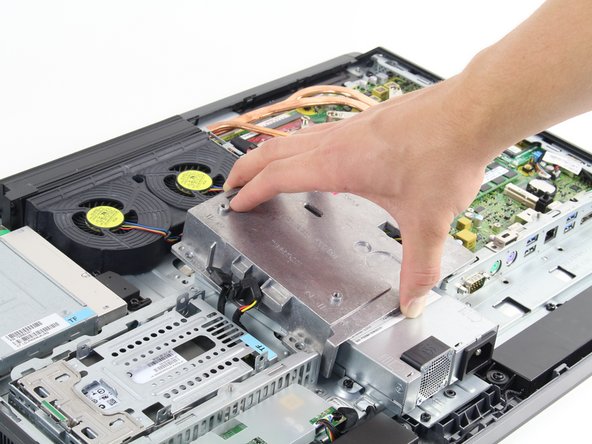
Lift up on the VESA mount cover to remove it.
-
-
-
Disconnect the power supply's black and yellow cable from the motherboard.
-
-
-
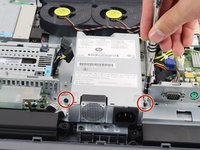
Use a Torx T15 driver to remove the two 8mm screws on either side of the power supply.
-
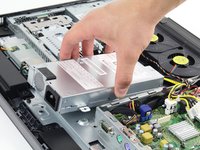
Lift the power supply from the case to remove it.
-
To reassemble your device, follow these instructions in reverse order.
To reassemble your device, follow these instructions in reverse order.
crwdns2935221:0crwdne2935221:0
crwdns2935229:06crwdne2935229:0


