crwdns2933423:0crwdne2933423:0

HP EliteBook x360 830 G7 Display Replacement

crwdns2942213:0crwdne2942213:0

  1. HP EliteBook x360 830 G7 Display Replacement, Remove the display: crwdns2935265:01crwdnd2935265:01crwdnd2935265:03crwdne2935265:0 HP EliteBook x360 830 G7 Display Replacement, Remove the display: crwdns2935265:01crwdnd2935265:02crwdnd2935265:03crwdne2935265:0 HP EliteBook x360 830 G7 Display Replacement, Remove the display: crwdns2935265:01crwdnd2935265:03crwdnd2935265:03crwdne2935265:0
    • Use an opening tool to remove the display from the laptop case. Place it in the area that you see the most give.

    • If you hear the plastic tabs "snapping" free, you should be fine.

    • Be careful not to crack the display.

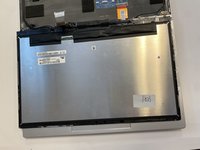
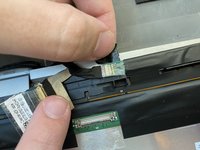
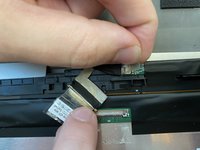
  2. HP EliteBook x360 830 G7 Display Replacement, Locate the cable connectors: crwdns2935265:02crwdnd2935265:01crwdnd2935265:03crwdne2935265:0 HP EliteBook x360 830 G7 Display Replacement, Locate the cable connectors: crwdns2935265:02crwdnd2935265:02crwdnd2935265:03crwdne2935265:0 HP EliteBook x360 830 G7 Display Replacement, Locate the cable connectors: crwdns2935265:02crwdnd2935265:03crwdnd2935265:03crwdne2935265:0
    • With the screen removed, locate the pair of wires hidden underneath the two pieces of tape.

  3. HP EliteBook x360 830 G7 Display Replacement, Connector bracket: crwdns2935265:03crwdnd2935265:01crwdnd2935265:02crwdne2935265:0 HP EliteBook x360 830 G7 Display Replacement, Connector bracket: crwdns2935265:03crwdnd2935265:02crwdnd2935265:02crwdne2935265:0
    • Use a plastic opening tool or nylon spudger to lift the metal digitizer-connector bracket.

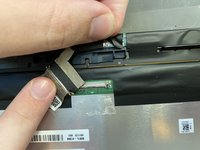
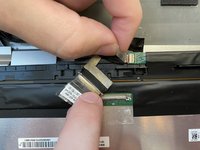
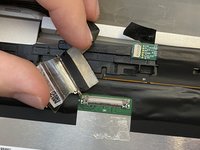
  4. HP EliteBook x360 830 G7 Display Replacement, Disconnect the golden connector: crwdns2935265:04crwdnd2935265:01crwdnd2935265:03crwdne2935265:0 HP EliteBook x360 830 G7 Display Replacement, Disconnect the golden connector: crwdns2935265:04crwdnd2935265:02crwdnd2935265:03crwdne2935265:0 HP EliteBook x360 830 G7 Display Replacement, Disconnect the golden connector: crwdns2935265:04crwdnd2935265:03crwdnd2935265:03crwdne2935265:0
    • Now that the bracket is removed, pull the golden connector away from the silver base.

    • Now, the back of the display should look like this.

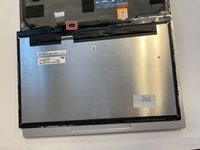
  5. HP EliteBook x360 830 G7 Display Replacement, Peel the black piece of tape: crwdns2935265:05crwdnd2935265:01crwdnd2935265:03crwdne2935265:0 HP EliteBook x360 830 G7 Display Replacement, Peel the black piece of tape: crwdns2935265:05crwdnd2935265:02crwdnd2935265:03crwdne2935265:0 HP EliteBook x360 830 G7 Display Replacement, Peel the black piece of tape: crwdns2935265:05crwdnd2935265:03crwdnd2935265:03crwdne2935265:0
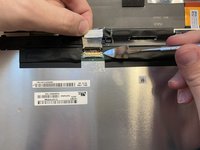
    • The next piece of tape that needs to be peeled, but not removed, is highlighted by the red rectangle.

    • Peel but do not remove the black piece of tape.

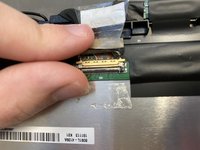
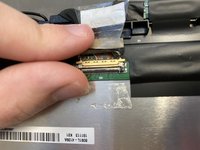
  6. HP EliteBook x360 830 G7 Display Replacement, Peel the clear piece of tape: crwdns2935265:06crwdnd2935265:01crwdnd2935265:03crwdne2935265:0 HP EliteBook x360 830 G7 Display Replacement, Peel the clear piece of tape: crwdns2935265:06crwdnd2935265:02crwdnd2935265:03crwdne2935265:0 HP EliteBook x360 830 G7 Display Replacement, Peel the clear piece of tape: crwdns2935265:06crwdnd2935265:03crwdnd2935265:03crwdne2935265:0
    • Peel, but do not remove entirely, the clear piece of tape that was underneath the black tape.

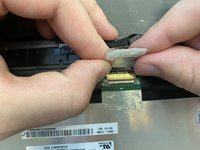
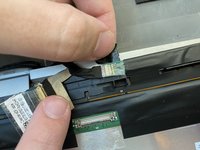
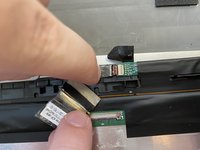
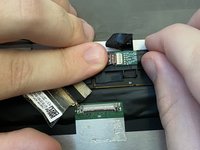
  7. HP EliteBook x360 830 G7 Display Replacement, Small ribbon cable connector: crwdns2935265:07crwdnd2935265:01crwdnd2935265:03crwdne2935265:0 HP EliteBook x360 830 G7 Display Replacement, Small ribbon cable connector: crwdns2935265:07crwdnd2935265:02crwdnd2935265:03crwdne2935265:0 HP EliteBook x360 830 G7 Display Replacement, Small ribbon cable connector: crwdns2935265:07crwdnd2935265:03crwdnd2935265:03crwdne2935265:0
    • Pull the small, bronze "Brighton" ribbon cable connector from the tan connection base.

  8. HP EliteBook x360 830 G7 Display Replacement, Separate the display housing from the computer: crwdns2935265:08crwdnd2935265:01crwdnd2935265:01crwdne2935265:0
    • If you can move your display's housing away from the computer, then you have successfully detached your display and can replace it.

crwdns2915888:0crwdne2915888:0

To reassemble your device, follow these instructions in reverse order.

crwdns2935229:03crwdne2935229:0

Jonathan Bond

crwdns2935283:003/21/22crwdne2935283:0

277 crwdns2915208:0crwdne2915208:0

crwdns2935295:0crwdne2935295:0

crwdns2915084:0crwdne2915084:0

University of Alabama, Team 2-1, Bedsole Spring 2022 crwdns2935289:0University of Alabama, Team 2-1, Bedsole Spring 2022crwdne2935289:0

UA-BEDSOLE-S22S2G1

crwdns2931471:04crwdne2931471:0
crwdns2935297:05crwdne2935297:0
crwdns2947412:00crwdne2947412:0

crwdns2917038:0crwdne2917038:0

crwdns2936625:0crwdne2936625:0:

crwdns2936751:024crwdne2936751:0 1

crwdns2936753:07crwdne2936753:0 13

crwdns2936753:030crwdne2936753:0 64

crwdns2942667:0crwdne2942667:0 1,942