crwdns2915892:0crwdne2915892:0
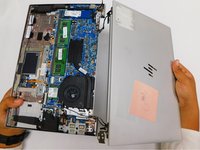
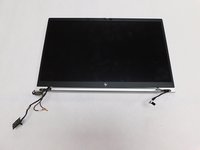
This guide will show you how to replace the display assembly for an HP EliteBook 840 G7
To know if you have a bad screen signs include: Large crack in screen, no response, dim light, large rainbow lines and dots.
crwdns2942213:0crwdne2942213:0
-
-
Use the Phillips # 1 screwdriver to remove the five 1.2 mm screws from the back cover of the laptop.
-
-
-
Remove the back cover to expose the hardware.
-
-
-
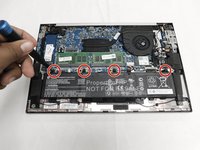
Use your Phillips #1 screwdriver and remove the four 1.2 mm screws that secures the battery into place.
-
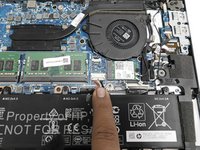
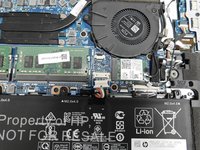
Remove the connector that connects the battery to the motherboard.
-
-
-
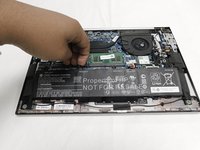
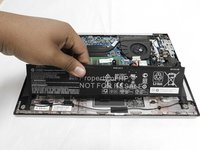
Lift up the battery with you hands or tools.
-
-
-
-
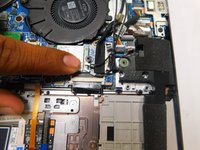
Pull up to remove the two coaxial Wi-Fi card connectors.
-
-
-
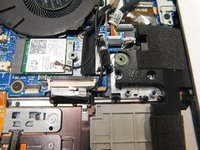
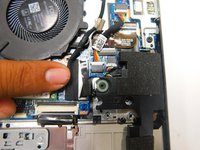
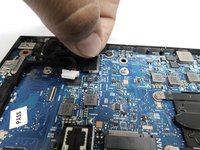
Pull upwards on the display connector to remove.
-
-
-
Pull or push to remove the bundled cable connector.
-
-
-
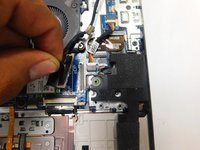
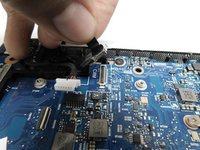
Pull upwards to remove the webcam connector.
-
-
-
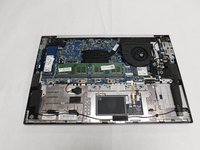
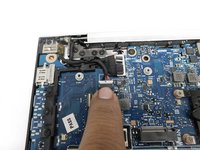
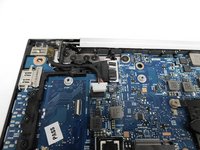
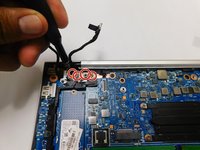
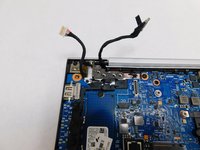
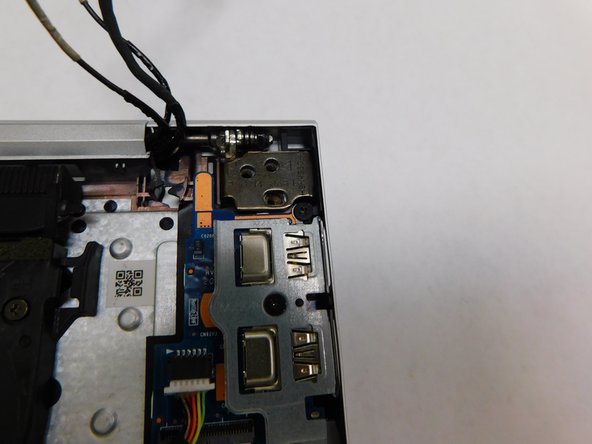
Once you've disconnected all cables from their sockets, gently move them to the top of the laptop.
-
-
-
Use your Phillips # 1 screwdriver to remove the four 1.2 mm screws.
-
-
-
Use your Phillips # 1 screwdriver to remove the two 1.2mm screws.
-
-
-
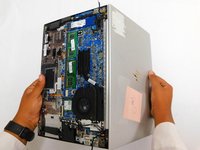
Open the laptop to a 90 degree angle.
-
Slide the display hinges away to remove the display assembly.
-
crwdns2935221:0crwdne2935221:0
crwdns2935229:02crwdne2935229:0


