crwdns2933423:0crwdne2933423:0

HP Deskjet F4480 Lid Panel Removal

crwdns2942213:0crwdne2942213:0

  1. HP Deskjet F4480 Lid Panel Removal, Remove Back Panel of Lid: crwdns2935265:01crwdnd2935265:01crwdnd2935265:01crwdne2935265:0
    • Remove one 9mm T10 Torx screw from the back of the printer lid.

  2. HP Deskjet F4480 Lid Panel Removal: crwdns2935265:02crwdnd2935265:01crwdnd2935265:02crwdne2935265:0 HP Deskjet F4480 Lid Panel Removal: crwdns2935265:02crwdnd2935265:02crwdnd2935265:02crwdne2935265:0
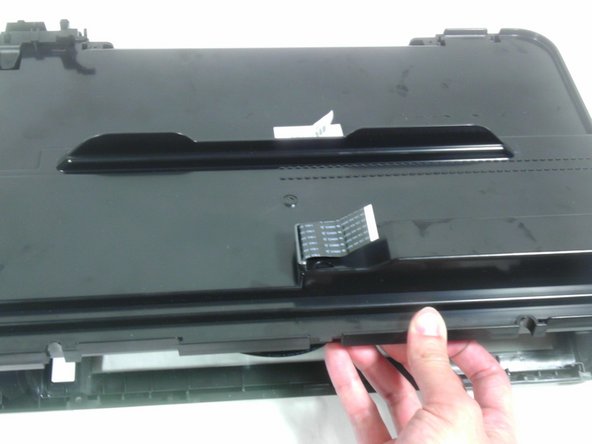
    • Press outward on the plastic tab holding the back panel in place.

  3. HP Deskjet F4480 Lid Panel Removal: crwdns2935265:03crwdnd2935265:01crwdnd2935265:02crwdne2935265:0 HP Deskjet F4480 Lid Panel Removal: crwdns2935265:03crwdnd2935265:02crwdnd2935265:02crwdne2935265:0
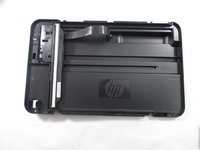
    • Pull the back panel towards you and lift it away from the rest of the printer cover.

    • Some ribbon cables may still be inserted through the back panel. Be careful not to damage these and they should slide out easily.

crwdns2915888:0crwdne2915888:0

To reassemble your device, follow these instructions in reverse order.

crwdns2935229:03crwdne2935229:0

Tim

crwdns2935283:001/15/13crwdne2935283:0

184 crwdns2915208:0crwdne2915208:0

crwdns2935297:04crwdne2935297:0

crwdns2915084:0crwdne2915084:0

Cal Poly, Team 18-35, Regan Winter 2013 crwdns2935289:0Cal Poly, Team 18-35, Regan Winter 2013crwdne2935289:0

CPSU-REGAN-W13S18G35

crwdns2931471:05crwdne2931471:0

crwdns2935297:015crwdne2935297:0

crwdns2944067:00crwdne2944067:0

crwdns2917038:0crwdne2917038:0

crwdns2936625:0crwdne2936625:0:

crwdns2936751:024crwdne2936751:0 0

crwdns2936753:07crwdne2936753:0 0

crwdns2936753:030crwdne2936753:0 17

crwdns2942667:0crwdne2942667:0 2,498