crwdns2915892:0crwdne2915892:0
This guide will replace the gear guard, which will be hidden under the metal frame. It protects the gear from dirt and dust accumulation that would affect the printer's performance.
crwdns2942213:0crwdne2942213:0
-
-
Remove the back two 14.0 mm Torx #10 screws.
-
-
-
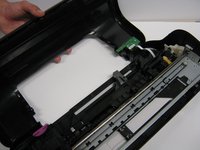
Lay the printer on its back.
-
Grab the paper tray by its right side and pull it to the left and up.
-
-
-
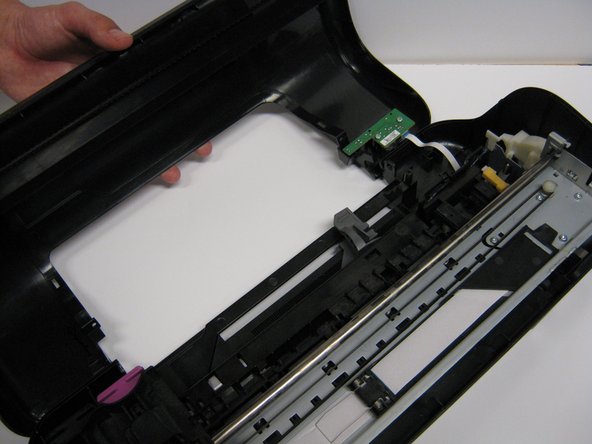
Open the frontal access panel by lifting it from the top.
-
Similar to the paper tray, grab it from the right side and pull it to the left and up.
-
-
-
-
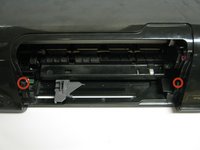
Take out the two frontal 14.0 mm Torx #10 screws.
-
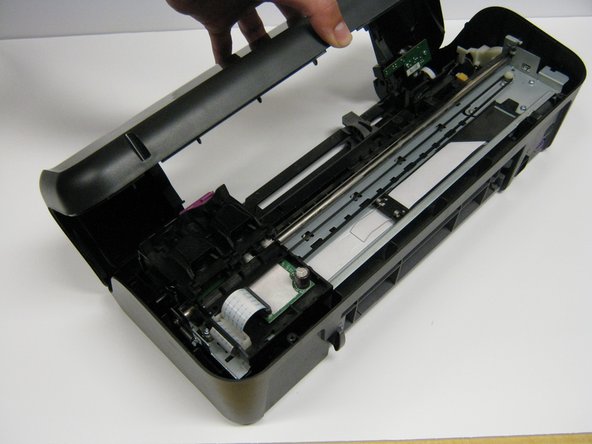
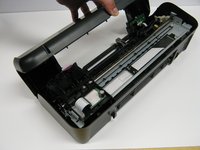
Carefully lift the frontal cover.
-
-
-
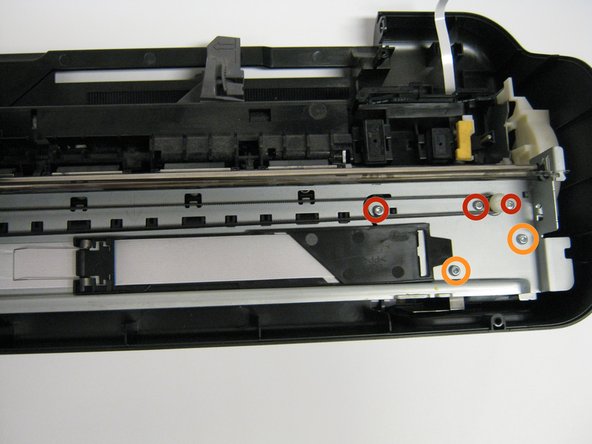
Remove the five 13.0 mm Torx #10 screws found on top of the frame.
-
Remove the four 9.0 mm Torx #10 smaller screws.
-
-
-
Now detach the white strip and wires by gently lifting them up.
-
-
-
The gear guard will be located on the left side of the printer.
-
Grab the plastic guard and lift it up.
-


To reassemble your device, follow these instructions in reverse order.
To reassemble your device, follow these instructions in reverse order.
crwdns2935221:0crwdne2935221:0
crwdns2935227:0crwdne2935227:0
crwdns2915084:0crwdne2915084:0

Cal Poly, Team 1-41, Maness Winter 2014 crwdns2935289:0Cal Poly, Team 1-41, Maness Winter 2014crwdne2935289:0
CPSU-MANESS-W14S1G41
crwdns2931471:04crwdne2931471:0
crwdns2935297:014crwdne2935297:0