crwdns2915892:0crwdne2915892:0
To remove the fan, first the keyboard must be removed as well as other components such as the display.
crwdns2942213:0crwdne2942213:0
-
-
Turn off computer by pressing and holding the power button.
-
-
-
Locate and unscrew the two screws on the back marked with a small keyboard. These screws hold the keyboard in place.
-
Locate the metal hooks where the keyboard connects to the laptop and use a metal spudger to gently pry up the keyboard.
-
-
-
Gently lift up and remove the keyboard.
-
-
-
Turn the laptop over so that you see the bottom.
-
Locate the twenty 3 mm Phillips head screws.
-
Unscrew them using the PH0 screwdriver
-
-
-
After unscrewing the 3 mm screws, remove the hard drive covering by lifting upward.
-
-
-
Remove the hard drive by pulling on the plastic tab and lifting upward.
-
-
-
Remove the covering that houses the RAM modules.
-
-
-
Locate and unscrew the two Phillips head 3 mm screws on the wireless card.
-
-
-
-
Unhook the two wires connecting to the wireless card by gently pulling them out.
-
-
crwdns2935267:0crwdne2935267:0Tweezers$4.99
-
Locate the power button connector wire. (This can be found where the keyboard sits.)
-
Using the tweezers, unhook the wire.
-
-
-
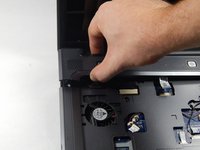
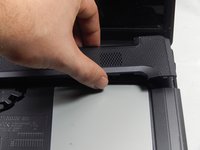
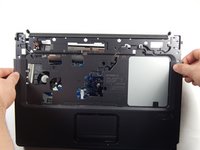
Press and hold the lock to pop the panel piece above the keyboard and pull up to remove it.
-
-
-
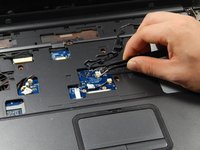
Unplug the remaining wires using the tweezers.
-
-
-
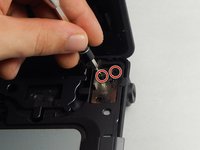
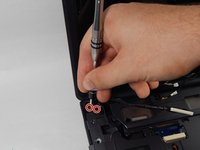
Locate the four 3 mm Phillips head screws.
-
Unscrew them using the PH0 screwdriver.
-
-
-
Gently disconnect the display by pulling it upwards.
-
-
-
Locate the disk drive on the side of the device.
-
Remove it by pulling it all the way out.
-
-
-
Use the PH0 screwdriver to remove the two 3 mm Phillips head screws in the disk drive port.
-
-
-
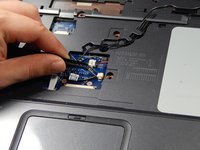
Locate and unplug the touchpad connection using the tweezers.
-
-
-
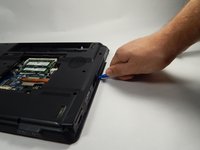
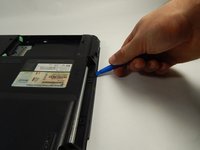
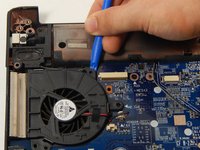
Using the Opening tool, gently pry up the cover and remove it.
-
-
-
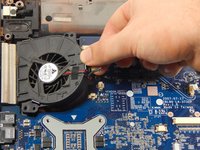
Unplug the fan wire connection using the tweezers.
-
-
-
Locate the 3 mm Phillips head screw.
-
Unscrew it using the PH0 screwdriver.
-
-
-
Using the opening tool, gently pry up and remove the fan.
-
To reassemble your device, follow these instructions in reverse order.
To reassemble your device, follow these instructions in reverse order.
crwdns2935221:0crwdne2935221:0
crwdns2935227:0crwdne2935227:0


