crwdns2915892:0crwdne2915892:0
If the WLAN Module of your HP Chromebox is damaged, it is easy to replace. This guide will take you through the steps of replacing the WLAN module. For this guide, you will need the Philips #1 screwdriver.
crwdns2942213:0crwdne2942213:0
-
-
Position the device upside-down on a flat, level surface with the USB ports facing you.
-
-
-
Using your metal spudger, lift and remove the 4 rubber “feet” from each corner.
-
-
-
Using your Phillips head screwdriver, remove the four Phillips M2.5×4.0 screws that secure the bottom cover to the computer. In this step the usage of the magnetic mat will be helpful to keep up with the screws.
-
-
-
Insert the flat end of your metal spudger under the bottom cover near the USB ports, then pry the bottom cover off the computer.
-
-
-
-
Lift the two pieces of mylar tape from the bracket.
Flag: Confusing Text
in steps 5 and 6 it seems the bottom shield is called a bracket, so by using 2 different names it’s making it seem like we’re missing a piece/part
-
-
-
Using your Phillips #1 screwdriver, remove the four Phillips M2.5×4.0 screws that hold the shield in place.
-
-
-
Insert your spudger into the gap between the bottom shield and the ports and gently pry to lift and remove the shield.
another picture of where to insert the spudger may be helpful. which ports are you talking about?
Flag: Needs More Images
another picture of where to insert the spudger may be helpful. which ports are you talking about?
Flag: Missing Details
a note step on paying attention to how the shield is positioned before removing it may make reassembly easier
-
-
-
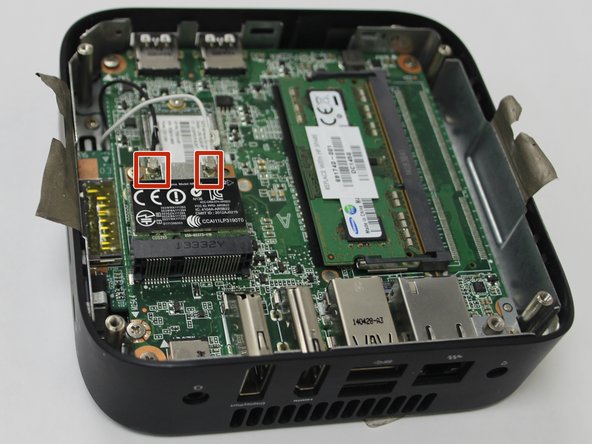
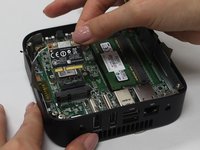
Disconnect the white and black antenna cables from the module.
Flag: Markup Mishap
iFixit has in their Milestone 3 instructions to not use arrows. we recommend either a box over each connector or a rectangular box over the 2 instead
-
-
-
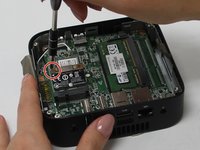
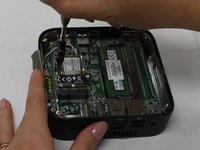
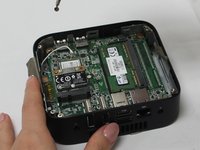
Using your Phillips #1 screwdriver, remove the M2.0×3.0 screw from the upper left corner of the module.
Flag: Needs Better Images
we don’t think picture 2 is needed at all.
picture 3 doesn’t really show how the module has popped up. the angle is wrong to make it obvious
-
-
-
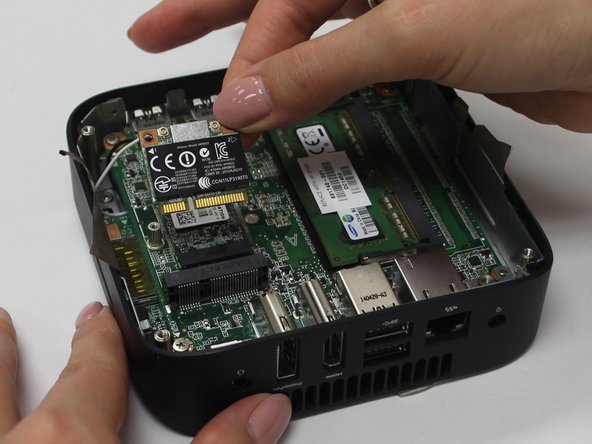
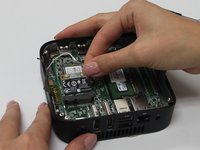
Remove the WLAN module by pulling it away from the slot at an angle.
-
To reassemble your device, follow these instructions in reverse order.
To reassemble your device, follow these instructions in reverse order.
crwdns2947410:01crwdne2947410:0
Please indicate brand/model/type of WLAN card, so we can know if we’re replacing with same/better upgrade.





both for the cover replacement and shield replacement
Ian Stoffel - crwdns2934203:0crwdne2934203:0
For the hard drive replacement, a longer times should be indicated. for the WLAN replacement 15 minutes is indicated, but for the hard drive replacement, which can only be done after the WLAN replacement, the time is listed as 10 minutes.
Ian Stoffel - crwdns2934203:0crwdne2934203:0