crwdns2915892:0crwdne2915892:0
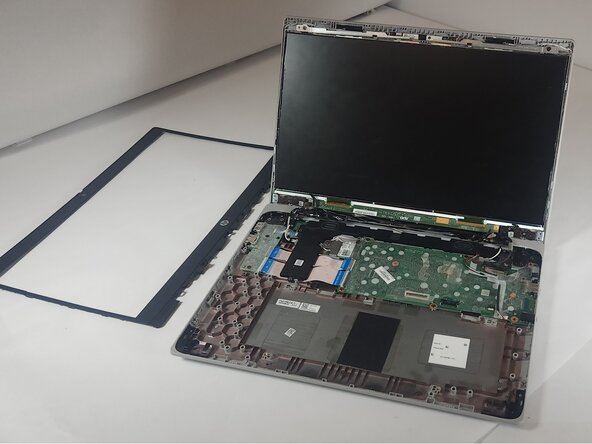
The screen to the HP Chromebook 14a-ne0013dx is one of the most important and crucial components to the device’s functionality. The screen displays the graphics and visuals of the device. This guide should only be followed if sufficient or severe damage has occurred to the screen.
crwdns2942213:0crwdne2942213:0
-
-
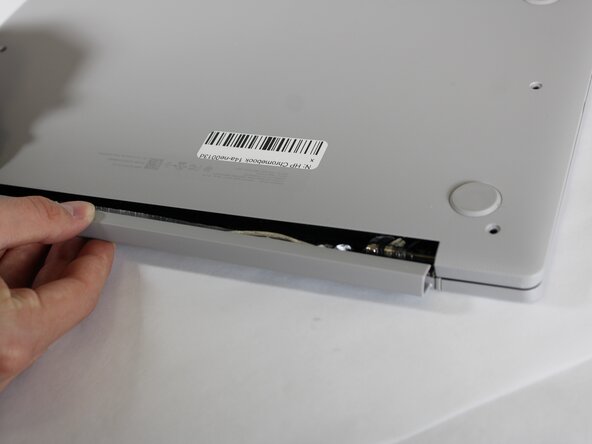
Remove two 8 mm screws from the bottom panel of the laptop using a Phillips #0 screwdriver.
-
Remove six 6 mm screws from the bottom panel of the laptop using a Phillips #0 screwdriver.
-
-
-
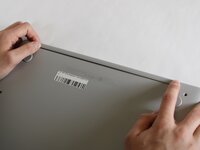
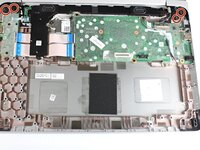
Flip the device over so it is right side up and open it.
-
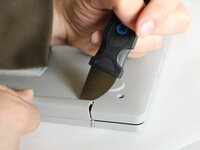
Use a Jimmy to gently pry between the keyboard and case.
-
Pry gently to pop open the plastic tabs holding the top panel in. A clicking noise will occur during this step
-
Continue prying, moving around all sides of the panel until it is loose.
-
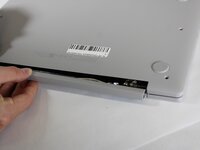
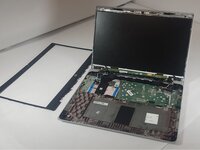
Carefully lift the top panel from the device body.
-
-
-
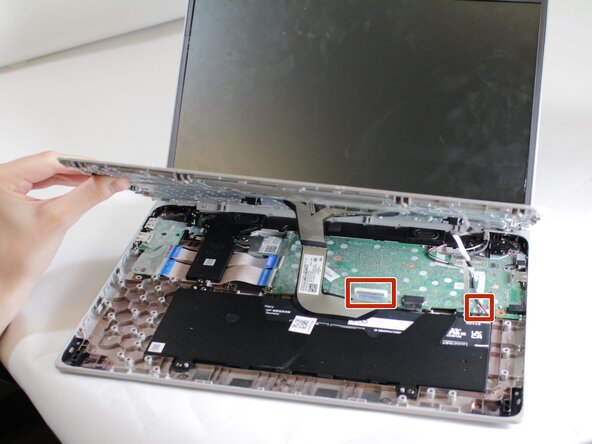
Lift the top piece of the display cable's housing until it is loose. Gently pull it free.
-
Lift the top piece of the touchpad cable's housing until it is loose. Gently pull it free.
-
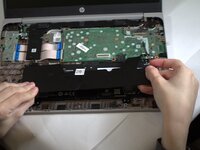
With the cables detached, lift the front panel away from the device.
-
-
-
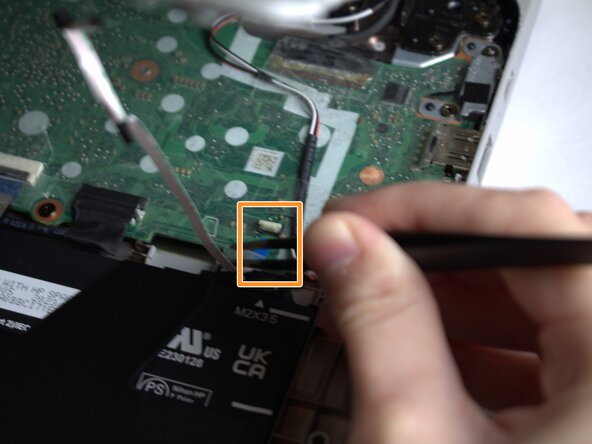
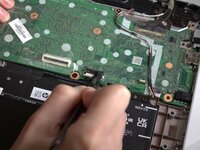
Peel the tape off of the cable connecting the battery to the motherboard.
-
Grasp the connector and tug until loose.
-
-
-
-
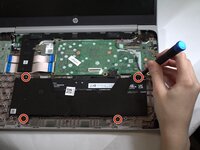
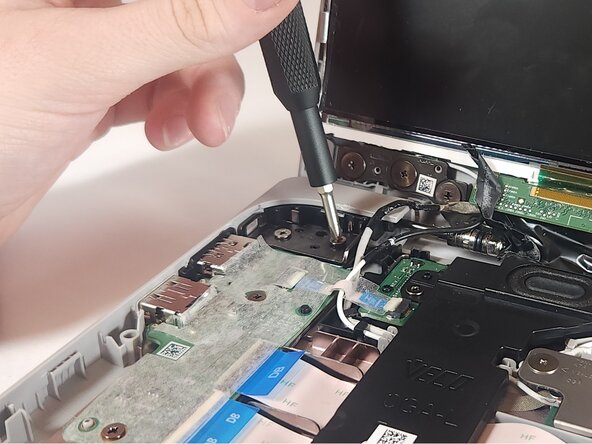
Remove the four 3 mm screws from the battery casing using a Phillips #0 screwdriver.
-
Gently peel the tape pieces connecting the battery to cables on the bottom panel.
-
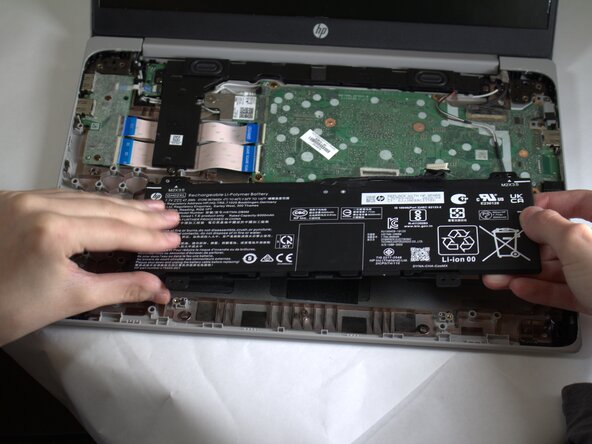
Lift the top panel off, then lift the battery out of the casing.
-
-
-
Turn the device so that the plastic hinge piece on the back is facing towards you.
-
Pry the edge of the plastic hinge piece until it comes out freely.
-
-
-
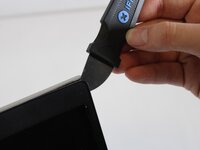
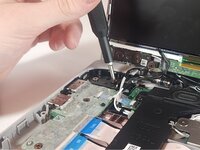
Using the metal “Jimmy,” pry the plastic trim on the front of the screen so that it is loose.
-
Lift the trim piece away from the screen.
-
-
-
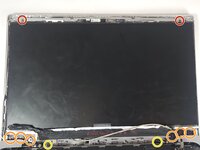
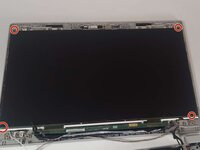
Remove four 2 mm screws securing the metal hinge base to the bottom panel (two screws per hinge).
-
-
-
Remove the two 1 mm screws holding in the metal frame with a Phillips #00 screwdriver.
-
Remove the six 1 mm screws found at the bottom of the screen with a Phillips #00 screwdriver.
-
Remove the two 8 mm screws with a Phillips #00 screwdriver.
-
-
-
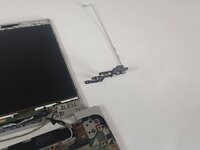
Remove the hinge, by sliding it out, gently.
-
-
-
One at a time, pull the two pieces of black tape from under the bottom corners of the screen until they are fully removed.
-
-
-
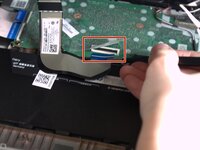
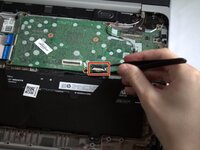
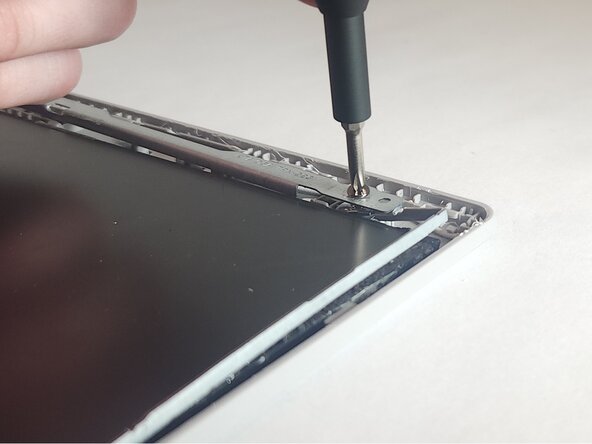
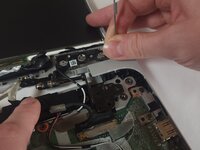
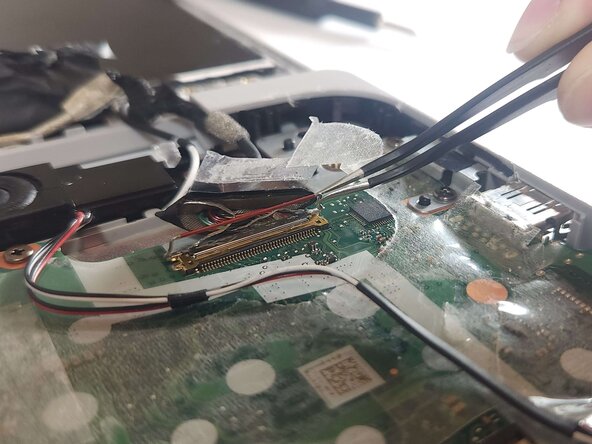
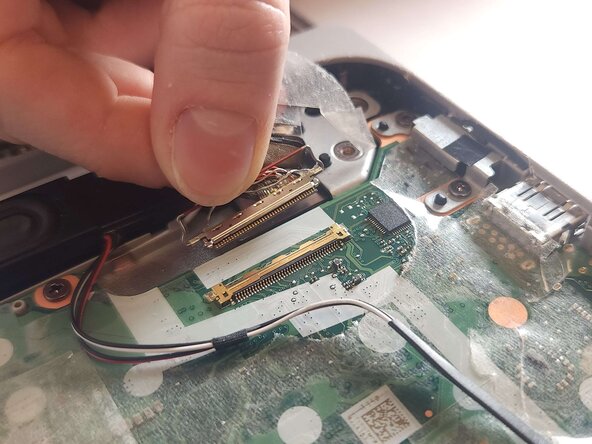
Peel away the tape covering the display cable connector, then grasp and pull until it disconnects.
-
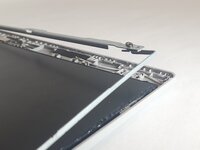
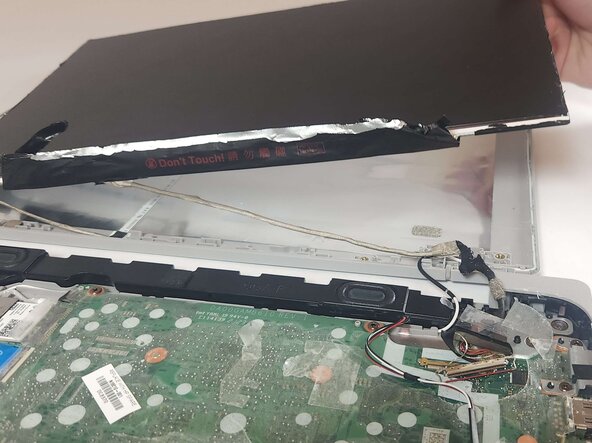
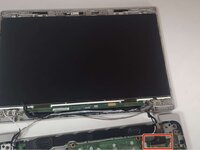
Remove the screen from the laptop.
-


To reassemble your device, follow these instructions in reverse order.
To reassemble your device, follow these instructions in reverse order.
crwdns2935221:0crwdne2935221:0
crwdns2935227:0crwdne2935227:0

crwdns2915084:0crwdne2915084:0

Colorado Mesa University, Team 1-2, Kinney Spring 2025 crwdns2935289:0Colorado Mesa University, Team 1-2, Kinney Spring 2025crwdne2935289:0
CMU-KINNEY-S25S1G2
crwdns2931471:04crwdne2931471:0
crwdns2935297:06crwdne2935297:0