crwdns2915892:0crwdne2915892:0
This guide contains step-by-step instructions for replacing the keyboard and upper case (or keyboard assembly) on an HP Chromebook 14-ca061dx. Additionally, you may need to remove the component to access the internals of your Chromebook for another repair.
Whether your trackpad is malfunctioning or you need to repair an internal component, following these directions will help you complete the replacement process safely and effectively!
Before you begin, power off your Chromebook and unplug the charger.
crwdns2942213:0crwdne2942213:0
-
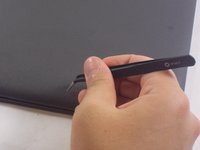
crwdns2935267:0crwdne2935267:0Tweezers$3.99
-
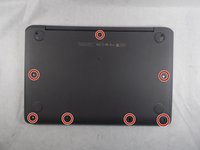
Flip the Chromebook to the underside with the hinge at the top.
-
Remove the seven, small rubber stoppers using angled tweezers.
-
-
-
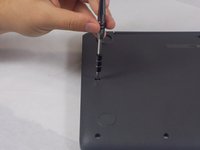
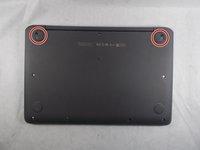
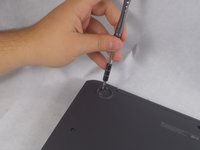
Remove the two bigger rubber stoppers using a metal spudger.
-
-
-
Remove the seven 6mm Phillips #00 screws found underneath the stoppers.
-
-
-
-
Remove the two 9mm Phillips #1 screws.
-
-
-
Flip the Chromebook over and open the cover.
-
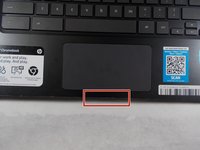
Insert the iFixit opening tool into the edge of the keyboard, near the mouse pad.
-
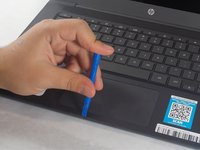
By lifting the tool at an angle, work the tool around the entire perimeter of the keyboard.
-
-
-
Lift the keyboard from the mouse pad.
-
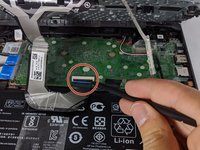
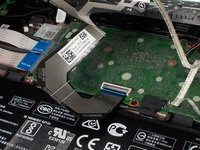
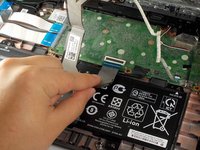
Use your finger or the spudger tool to flip up the black locking flap.
-
Grab the black cable and pull away from the motherboard.
-
-
-
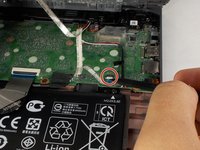
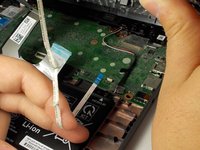
Flip up the white locking flap with your finger or spudger tool.
-
Remove the white cable from the motherboard.
-
-
-
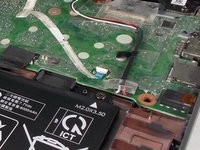
Lift the rest of the keyboard up from the base of the Chromebook.
-


To reassemble your device, follow these instructions in reverse order.
To reassemble your device, follow these instructions in reverse order.
crwdns2915084:0crwdne2915084:0

UMass Dartmouth, Team S2-G5, Barthe Fall 2019 crwdns2935289:0UMass Dartmouth, Team S2-G5, Barthe Fall 2019crwdne2935289:0
UMASSD-BARTHE-F19S2G5
crwdns2931471:03crwdne2931471:0
crwdns2935297:06crwdne2935297:0
crwdns2947410:01crwdne2947410:0
good afternoon, excuse me, I have a question, I also have the same brand HP Chromebook 14-ca061dx and I just want to know where the anti-write screw is, I want to remove the anti-write screw to install windows 10..