crwdns2915892:0crwdne2915892:0
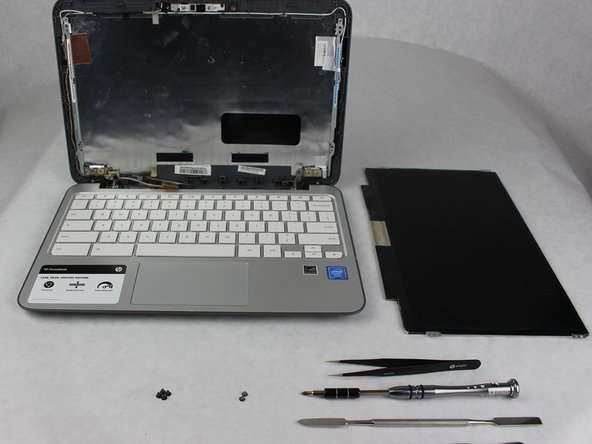
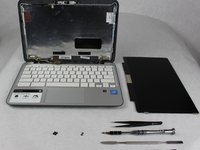
This guide will show you how to safely remove a damages or defective LCD screen for replacement according to a HP Chromebook 11-2210nr.
crwdns2942213:0crwdne2942213:0
-
crwdns2935267:0crwdne2935267:0Tweezers$4.99
-
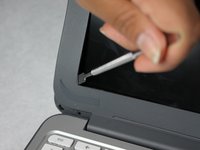
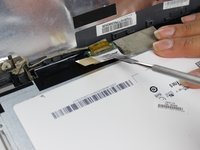
Remove adhesive tabs using fine point tweezers or a metal spudger.
-
-
-
Remove the one 3 mm screw located underneath both adhesive layers using a Phillips #0 screwdriver.
-
-
-
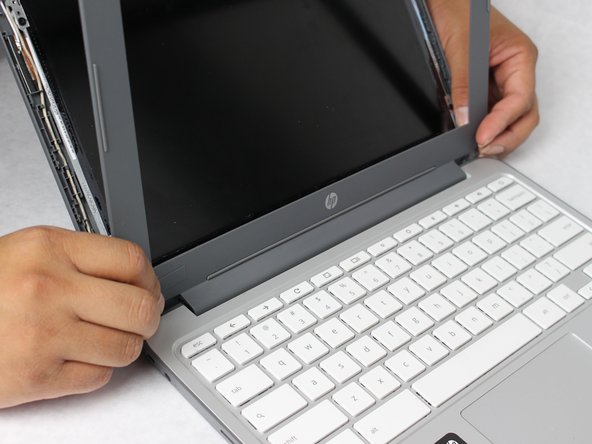
Using a metal spudger, gently pry the front plastic frame (or bezel) off of the device by inserting the tool along the inside edge of the bezel.
-
Completely open the screen as far as possible to remove the bottom edge of the bezel from the laptop.
-
-
-
-
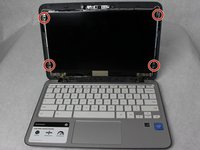
Remove the four black 3 mm screws along the left and right sides of the LCD screen using a Phillips #0 screwdriver.
-
-
-
After removing all screws, gently lower the LCD screen onto the keyboard.
-
-
-
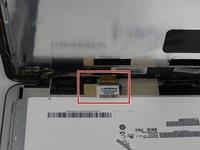
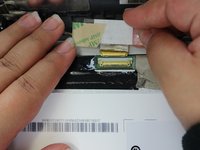
Gently use the spudger to pry off the tape on top of the gold chip. You may also use your hands to gently remove the tape.
-
-
-
Remove the display cable by gently sliding out the cable away from the LCD screen.
-


To reassemble your device, follow these instructions in reverse order.
To reassemble your device, follow these instructions in reverse order.
crwdns2935221:0crwdne2935221:0
crwdns2935227:0crwdne2935227:0
crwdns2915084:0crwdne2915084:0

Sam Houston State, Team S11-G3, Blackburne Fall 2018 crwdns2935289:0Sam Houston State, Team S11-G3, Blackburne Fall 2018crwdne2935289:0
SHSU-BLACKBURNE-F18S11G3
crwdns2931471:04crwdne2931471:0
crwdns2935297:05crwdne2935297:0