crwdns2915892:0crwdne2915892:0
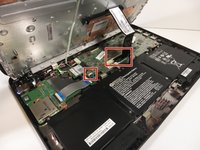
The motherboard is the electronic circuit board of which all other components are connected to. A broken motherboard is a broken computer.
crwdns2942213:0crwdne2942213:0
-
-
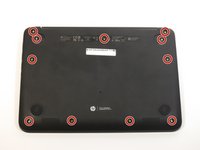
Position the closed Chromebook with the rubber pads are facing up.
-
-
-
Slide the flat end of the spudger under the rubber pads at the upper right-hand and the upper left-hand corners.
-
Pry off the rubber pads to reveal a screw under each pad.
-
-
-
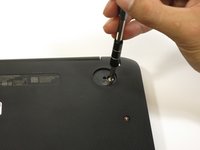
Remove the eleven 6mm Phillips #1 screws.
-
-
-
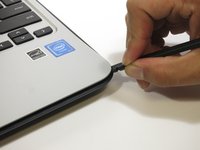
Flip over the Chromebook and open it.
-
-
-
Insert the flat end of the spudger between the bottom body of the Chromebook and keyboard body.
-
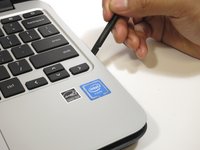
Slide the spudger along the gap, applying downward pressure to separate the two components.
-
-
-
Lift the bottom of the keyboard assembly to reveal the internal components of the device.
-
-
-
-
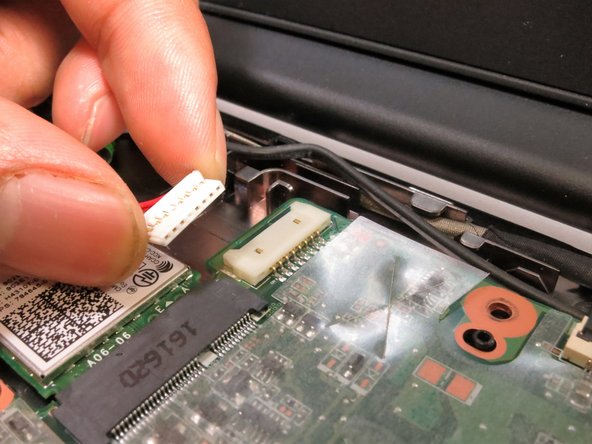
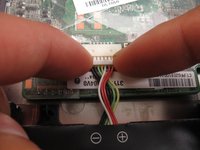
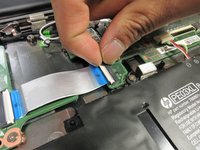
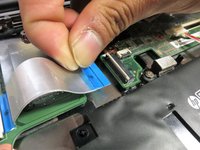
Use the pointed end of the spudger to flip up the black tabs on the two ZIF connectors located on the motherboard.
-
Disconnect the ribbon cables from the motherboard by gently sliding them out of their sockets.
-
-
-
Remove the keyboard assembly by lifting it off the laptop base.
-
-
-
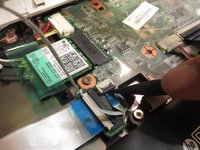
Remove the cable at the top left of the motherboard by grabbing the male connector and applying force in the direction of the wires away from the motherboard.
-
-
-
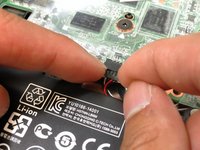
Disconnect the battery wires from the motherboard by applying pressure on the male connector away from the motherboard.
-
-
-
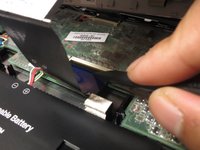
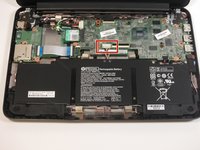
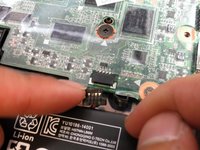
Disconnect the wire bundle on the bottom right of the motherboard by pulling the black male connector away from its socket on the motherboard.
-
-
-
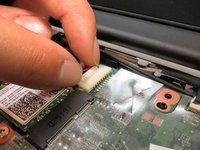
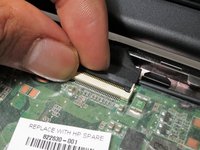
Use a fingernail or a spudger to flip up the black tab on the zero insertion force connector located at the top of the motherboard.
-
Remove the cable by pulling away from the motherboard.
-
-
-
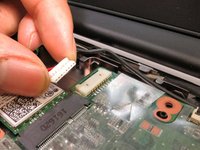
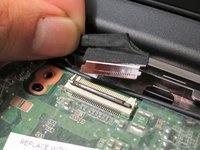
Use a fingernail or a spudger to flip up the white tab on the zero insertion force connector on the bottom left of the motherboard.
-
Remove the cable by pulling away from the motherboard.
-
-
-
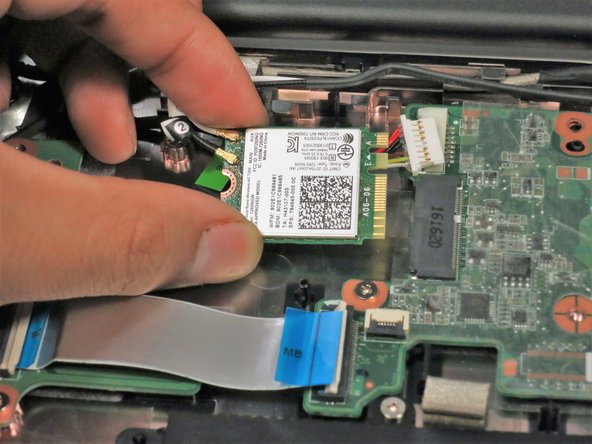
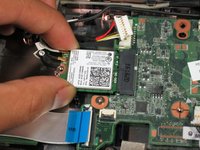
Remove the 4 mm Phillips #1 screw on the Wi-Fi card.
-
-
-
Slide the Wi-Fi card away from the motherboard.
-
-
-
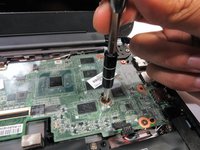
Remove the five 4 mm Phillips #1 screws from the motherboard.
-
-
-
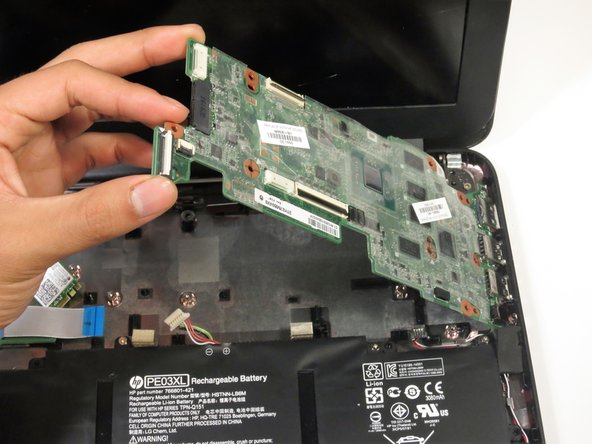
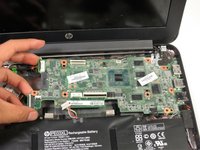
Lift the left edge up and away from the base of the laptop.
-
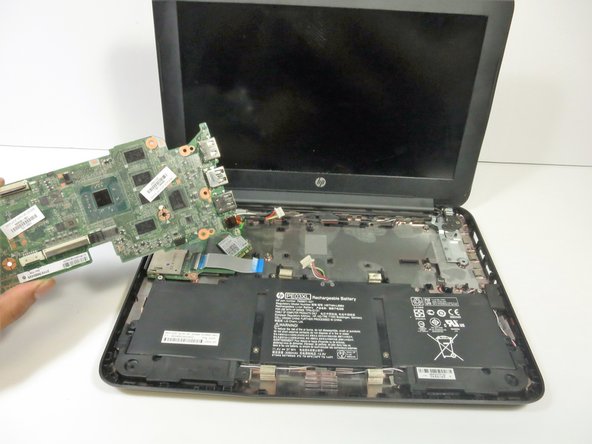
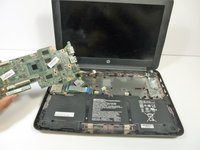
Remove the motherboard.
-


To reassemble your device, follow these instructions in reverse order.
To reassemble your device, follow these instructions in reverse order.
crwdns2935221:0crwdne2935221:0
crwdns2935229:02crwdne2935229:0