crwdns2915892:0crwdne2915892:0
This guide walks through removing the display assembly and opening the screen bezel. It requires removing the keyboard mount. It requires using a Phillips head screwdriver, a plastic opening tool, and a spudger to finish removal.
crwdns2942213:0crwdne2942213:0
-
-
Flip the laptop upside down so that the lid lies flat on the table.
-
Remove the nine 6mm Phillips #00 screws that line the border.
-
-
crwdns2935267:0crwdne2935267:0Tweezers$4.99
-
Remove the two rubber feet closest to the hinge using tweezers.
-
Remove the two 6mm Phillips #00 screws revealed under these rubber feet.
-
-
-
Flip the laptop so it is in the upright position.
-
Open the lid.
-
Unsnap the keyboard mount along the border of the laptop using a plastic opening tool.
-
-
-
Tilt the keyboard mount up.
-
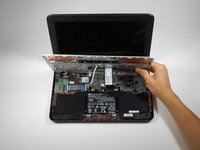
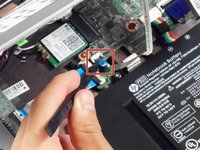
Use a spudger to flip up the two ZIF connector retaining flaps for the ribbon cables that connect the keyboard mount to the motherboard.
-
Gently remove both ribbon cables.
-
-
-
-
Lift the keyboard mount out of the laptop.
-
-
-
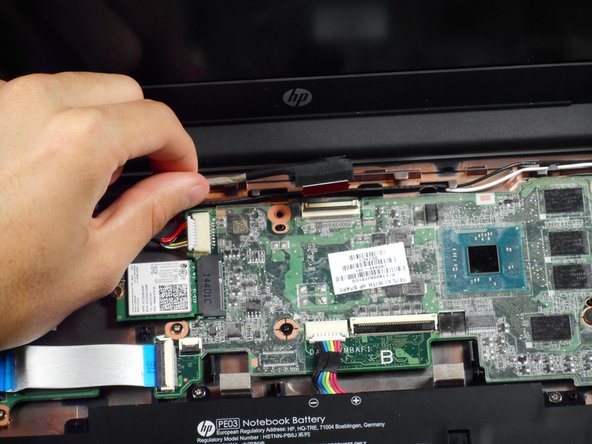
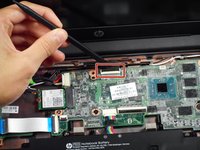
Gently tug on the black and white wires connected to the Wi-Fi module to disconnect them.
-
-
-
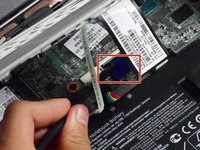
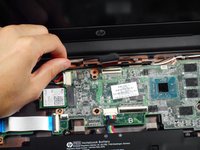
Using a spudger, lift the ZIF retaining flap that secures the display’s ribbon cable to the motherboard.
-
Gently pull the ribbon cable out of its socket.
-
-
-
Remove the two 6mm Phillips #00 screws located near the upper left and right corners of the hinge mounts.
-
-
-
Rotate the lid to a 90-degree angle with the table.
-
Shimmy the lid out of the laptop.
-
-
-
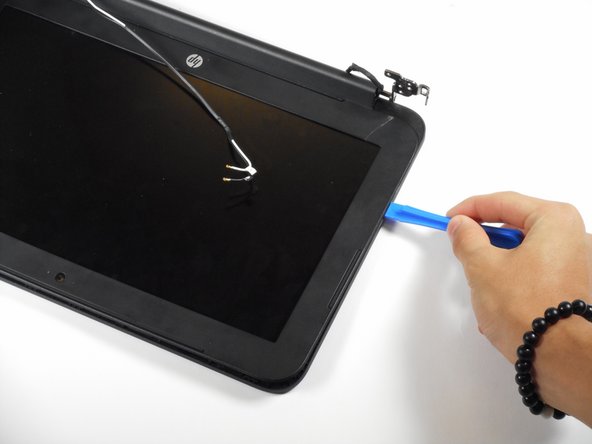
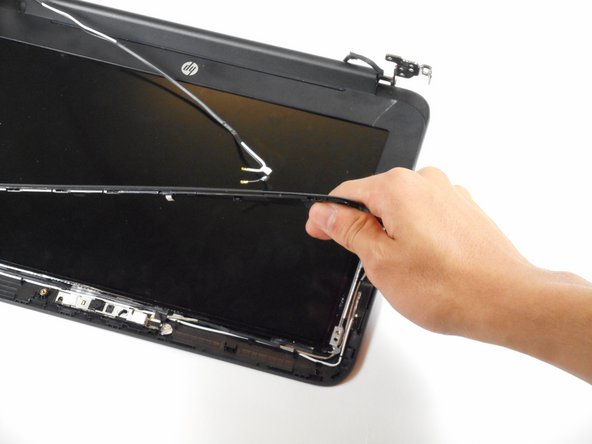
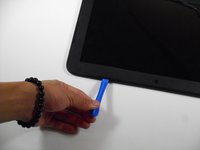
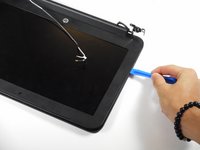
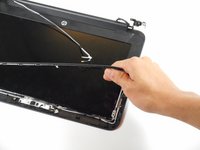
Use the plastic opening tool to pry the left and right side of the top of the lid, and proceed inwards from the sides.
-
To reassemble your device, follow these instructions in reverse order.
To reassemble your device, follow these instructions in reverse order.


