crwdns2915892:0crwdne2915892:0
A motherboard replacement for your HP 15-g071nr is needed if there is a system failure that is causing random shutdowns, malfunctions, or no signs of life on your computer. To replace it, you will need a new motherboard, a Phillips #0 screwdriver, and an iFixit opening tool. You will not need to know how a motherboard works but need some knowledge of computer components to complete this process. Follow this guide to replace the motherboard of your HP 15-g071nr to bring life back to your computer, and to support new hardware updates and processors.
Make sure the new motherboard is compatible with your CPU, RAM, and power supply. Check that your computer case can fit the new motherboard as well.
Warning: If your new board has a TPM and your old one did not, be prepared for potential issues, especially with Windows 11 which requires a TPM.
crwdns2942213:0crwdne2942213:0
-
-
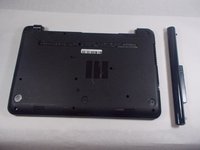
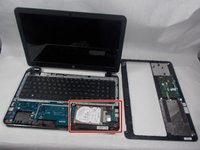
Flip the laptop over so the bottom is facing upwards.
-
-
-
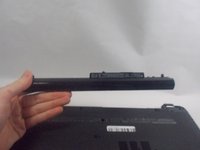
Press the tabs at the corners of the laptop at the same time to release the battery.
-
-
-
Pull the battery away from the laptop in one motion.
-
-
-
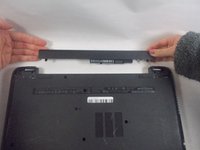
Using your Phillips #0 screwdriver, remove all of the screws on the back case.
-
-
-
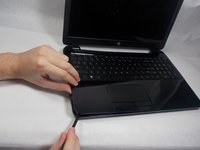
Carefully move the iFixit opening tool along the seam of wrist rest until you can remove it.
-
Remove the wrist rest once it comes loose from the body.
-
-
-
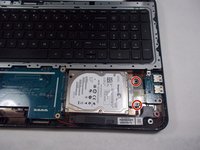
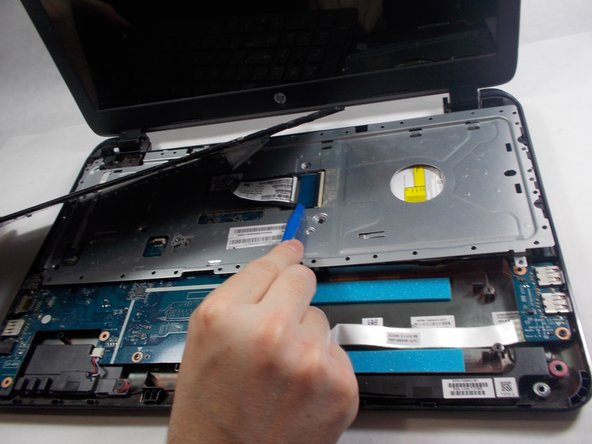
Remove the two screws with the Phillips #0.
-
Gently pull the hard drive out of its SATA connection to the motherboard.
-
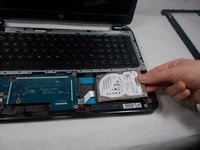
Attach the loose data cable to the new drive.
-
-
-
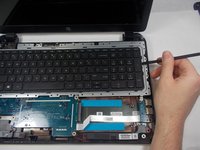
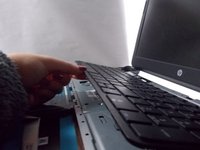
Use one of the plastic opening tools or spudger to lift the keyboard from its housing.
-
Slowly lift the keyboard at angle toward the left.
-
Just above the blue plastic connection to the motherboard is a clamp . Use your finger to lift this bar and release the cable.
-
-
-
Lift the keyboard with your hand being careful to unseat the ribbon cable with the blue tab.
-
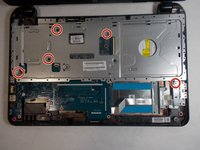
Use the Phillips #0 to remove the five highlighted screws.
-
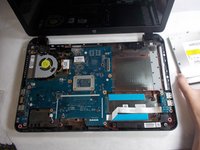
Lift the plate off of the back of the motherboard.
-
-
-
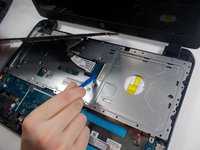
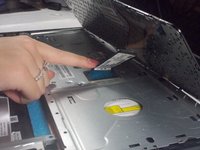
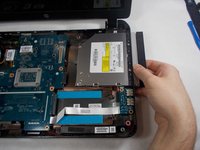
The screw holding in the CD drive has already been removed.
-
Slide the CD drive out.
-
-
-
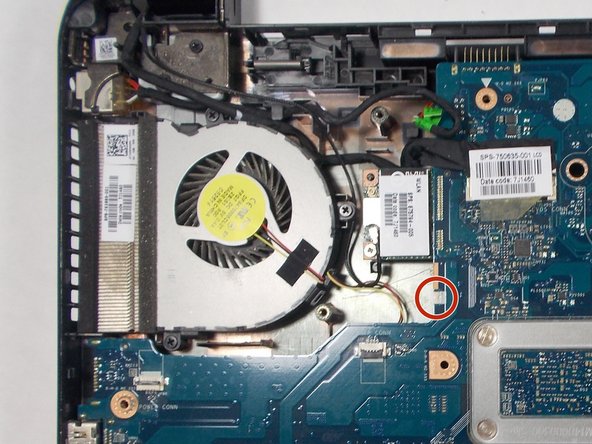
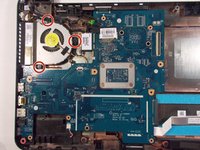
Remove the three screws connecting the fan to the motherboard with the Phillips #0.
-
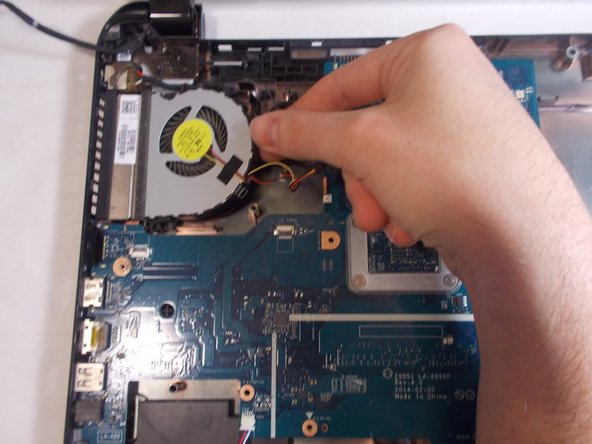
Remove the fans connection to the motherboard.
-
-
-
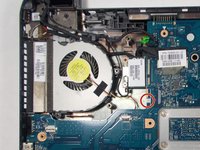
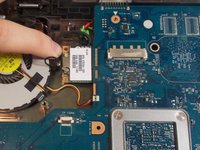
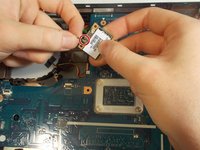
Carefully pull the wireless card from its interface with the motherboard.
-
The marked connector is the antenna's connection. Use two fingers to wiggle the connector loose from its fitting.
-
-
-
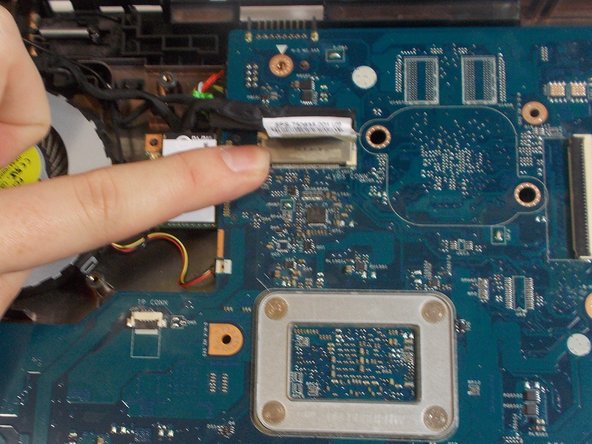
Remove the screen connector by pulling on the plastic tab.
-
Gently wiggle the connector side to side while pulling toward the battery.
-
-
-
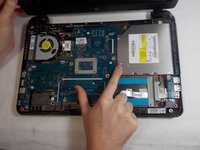
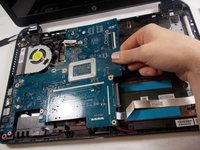
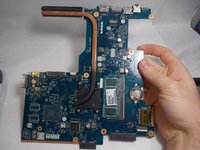
Slowly lift the motherboard by pinching on the middle of its right side.
-
Wiggle the motherboard side to side to remove.
-


To reassemble your device, follow these instructions in reverse order.
