crwdns2915892:0crwdne2915892:0
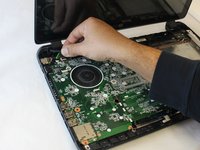
Technical problems with a motherboard, caused by improper handling, humidity, power supply spikes, or many other reasons, can lead to a great deal of deterioration of user experience. This guide will help you understand the process of replacing the motherboard on the HP 15-f162dx laptop.
Before the start of the replacement process, make sure to disconnect the laptop from its power supply and place the device on a flat work surface with plenty of space around it to avoid mishandling the delicate components.
crwdns2942213:0crwdne2942213:0
-
-
Use a Flathead 2.5 mm Phillips screwdriver to remove all of the screws on the backside of the laptop.
-
There are 14 screws on the back plate in total, make sure to remove them all before proceeding.
-
-
-
-
Once all screws have been removed , place the laptop on a flat surface and insert a metal spudger in a gap between the top side coverings.
-
Once inserted, move the spudger around the base, lifting the top edge about quarter of an inch. Gently go around the edge repeating the action.
-
-
-
After all of the inside latches have been dislodged, remove the front cover. Now is a good time to clean the dust that collects in the device after prolonged use.
-
-
-
Use Phillips JIS J00 screwdriver to undo the screws that attach the motherboard to the back cover.
-
Again, make sure to apply only a gentle pressure when undoing the screws.
-
-
-
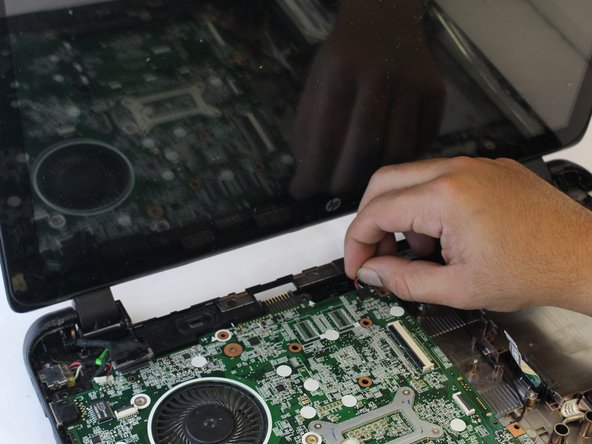
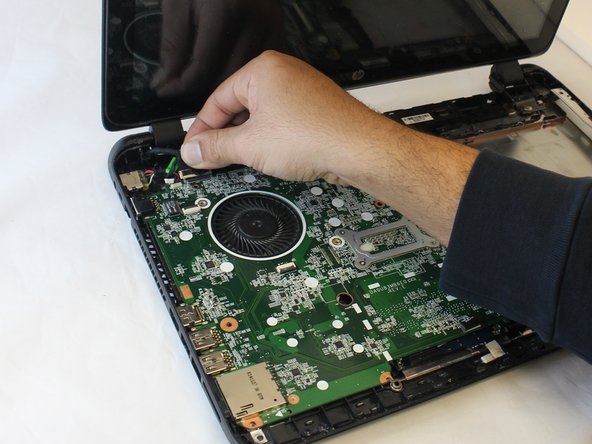
Locate and disconnect the wires that are connected to the motherboard.
-
Instead, you can use a credit card or a plastic spudger included in the Essential Electronics Toolkit.
-
-
-
After the wires have been disconnected, gently lift the motherboard out of the laptop.
-
To reassemble your device, follow these instructions in reverse order.
To reassemble your device, follow these instructions in reverse order.


