crwdns2915892:0crwdne2915892:0
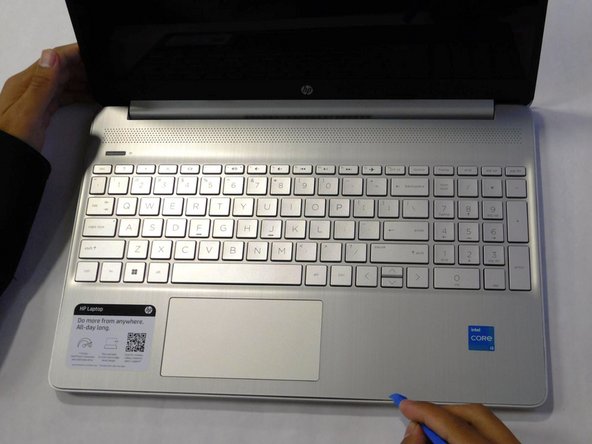
This guide explains how to replace the storage drive on the HP 15-dy2072dx. The storage drive on this laptop is a solid state drive(SSD). A replacement may be necessary in case of drive failures or a need to upgrade to a greater storage space.
The storage drive is responsible for storing all your files, boot files, and the OS files. A replacement may be an exact part replacement or a upgrade to the amount of storage(i.e. 256 GB to 1 TB).
Caution to use ESD safe tools and ESD wrist strap as static discharge may damage the new drive or the motherboard.
crwdns2942213:0crwdne2942213:0
-
-
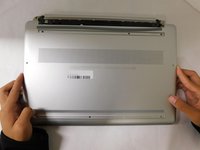
Remove both of the rubber strips to uncover the hidden screws.
-
-
-
Unscrew all 8 Phillips #1 screws on the bottom panel:
-
Two M2.5x6
-
Six M2x6
-
-
-
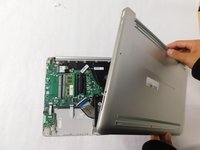
Flip the laptop over and open the lid.
-
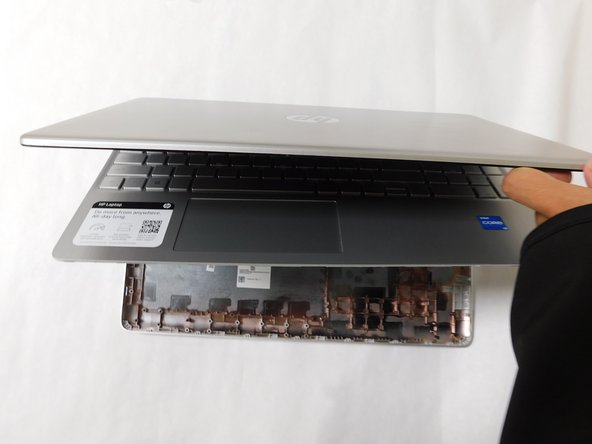
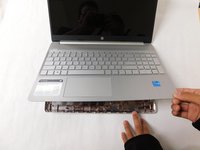
Separate the bottom panel from the main body by using the iFixit opening tool.
-
-
-
-
Close the laptop to allow the back edges to fully separate
-
-
-
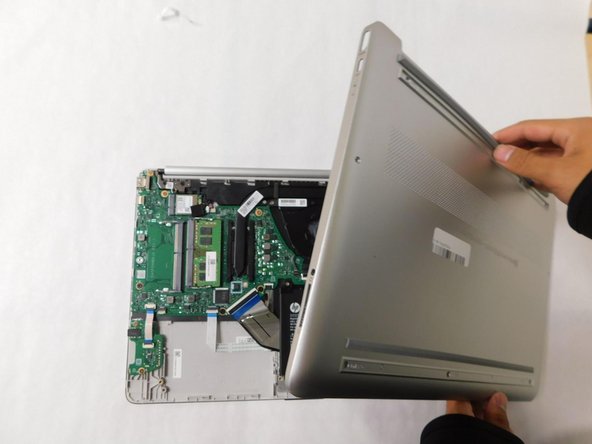
Flip the laptop over and carefully remove the lower case.
-
-
-
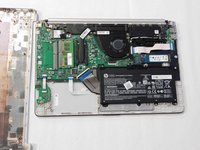
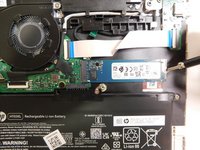
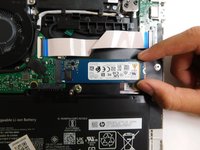
Locate the storage drive.
-
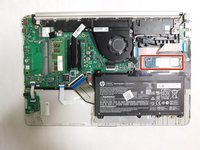
Unscrew the single screw holding the drive in place.
-
-
-
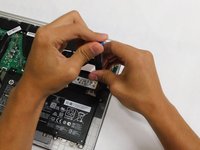
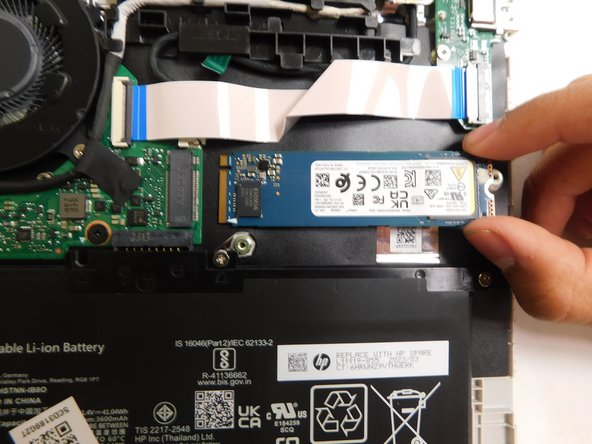
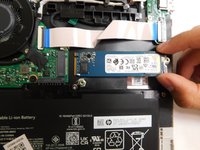
Grab the drive by its side and gently pull it out.
-


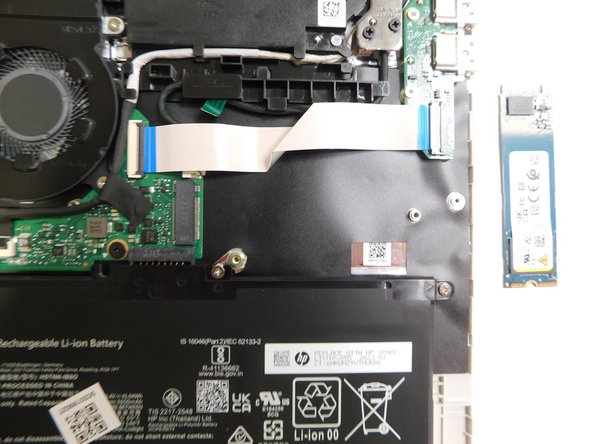

To reassemble your device, follow these instructions in reverse order.
crwdns2935221:0crwdne2935221:0
crwdns2935227:0crwdne2935227:0
crwdns2935287:0crwdne2935287:0

Gateway, Team 1-4, Pee Fall 2023 crwdns2935289:0Gateway, Team 1-4, Pee Fall 2023crwdne2935289:0
GCC-PEE-F23S1G4
crwdns2931471:04crwdne2931471:0
crwdns2935297:08crwdne2935297:0