crwdns2915892:0crwdne2915892:0
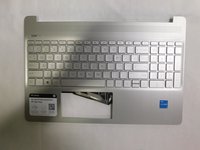
This guides explains how to replace the keyboard on your HP 15-dy2072dx. A replacement may be needed in cases the keyboard stops functioning. Before replacing the keyboard, make sure the problem cannot be solved by replacing a single key.
The keyboard allows the user to enter text, use specific functions, make use of shortcuts.
This guide uses prerequisite guides and each guide will show parts that may have been removed in previous steps still attached. Ignore the discrepancy and focus on each steps taken.
crwdns2942213:0crwdne2942213:0
-
-
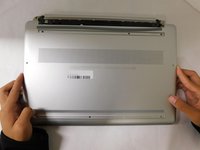
Remove both of the rubber strips to uncover the hidden screws.
-
-
-
Unscrew all 8 Phillips #1 screws on the bottom panel:
-
Two M2.5x6
-
Six M2x6
-
-
-
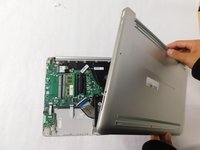
Flip the laptop over and open the lid.
-
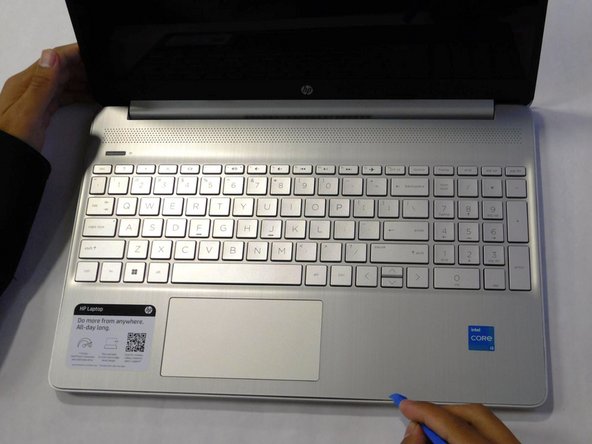
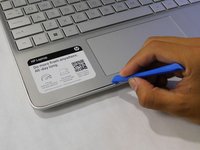
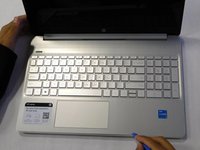
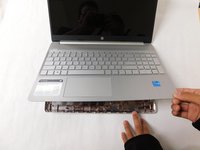
Separate the bottom panel from the main body by using the iFixit opening tool.
-
-
-
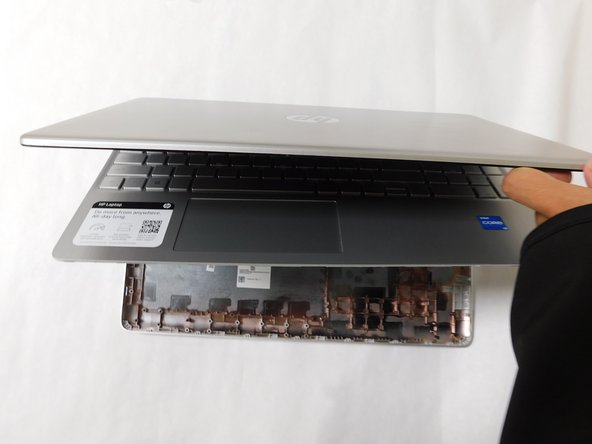
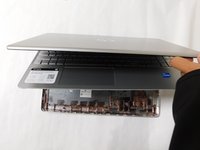
Close the laptop to allow the back edges to fully separate
-
-
-
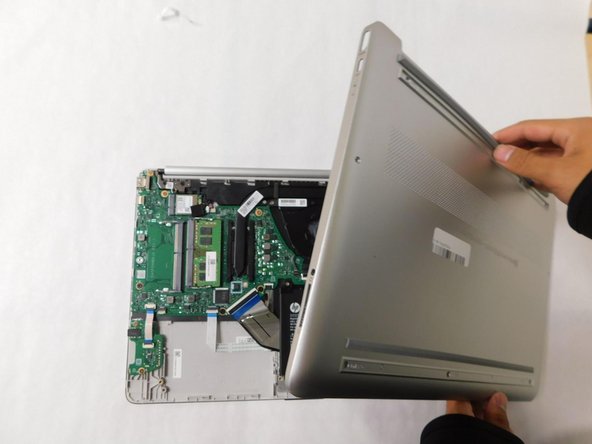
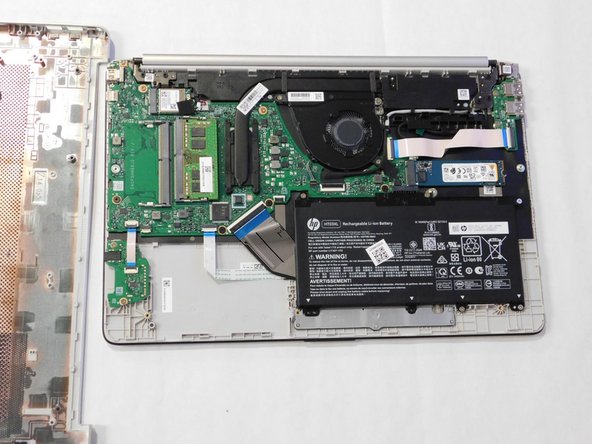
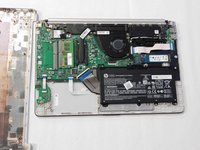
Flip the laptop over and carefully remove the lower case.
-
-
-
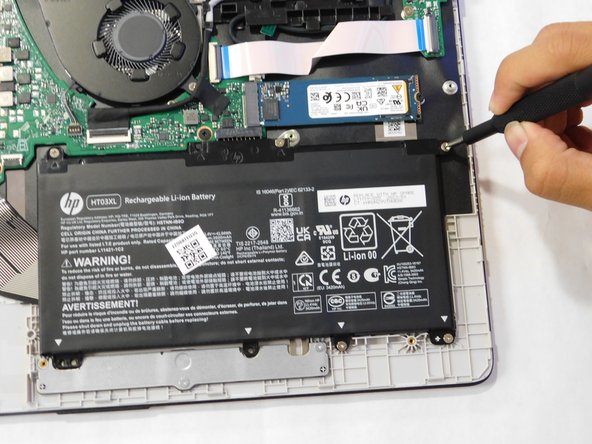
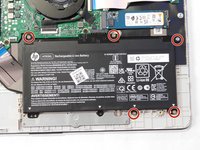
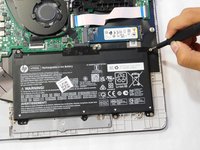
Remove the five M2x6 screws that secure the battery with a Phillips #1 screwdriver.
-
-
-
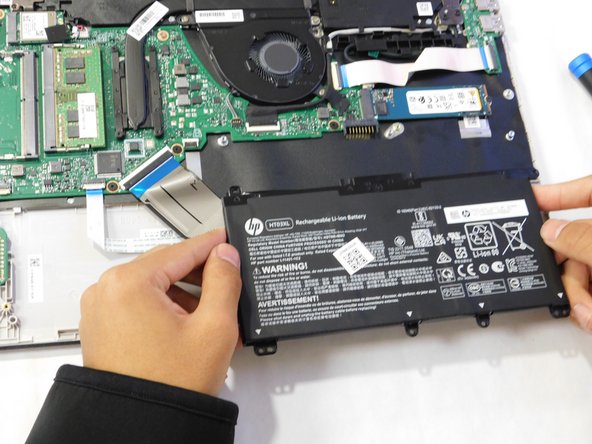
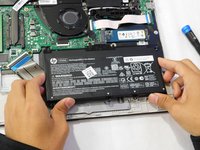
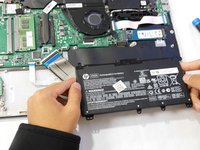
Grab the sides of the battery and gently pull the battery until it disconnects from the connector on motherboard.
-
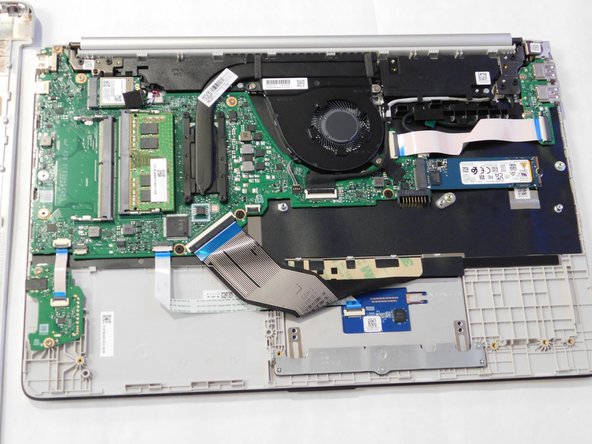
Lift the battery up and out.
-
-
-
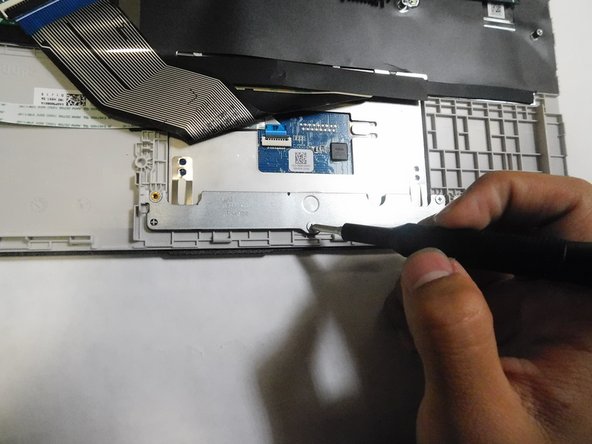
Unscrew the two M2x6 Phillips #1 screws securing the trackpad.
-
-
-
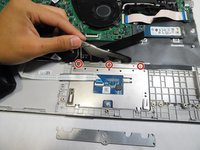
Lift the black ribbon covering the screws.
-
Unscrew the top three M2x3 Phillips #0 screws.
-
-
-
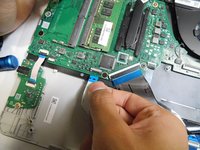
Flip up the locking flap holding the trackpad ribbon in place.
-
Pull the ribbon straight out of its socket.
-
-
-
-
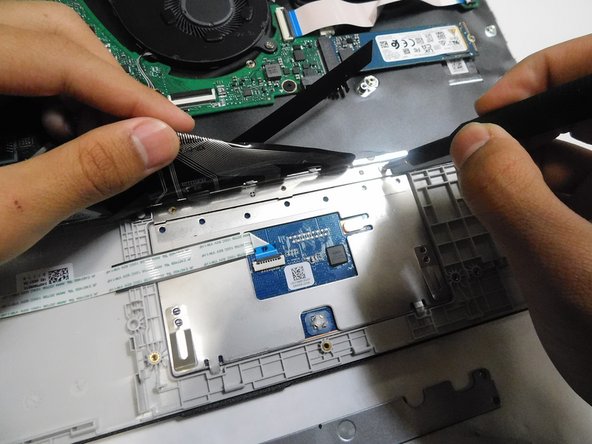
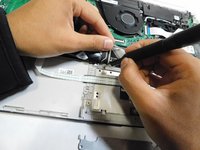
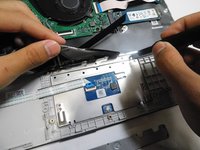
Peel back the sticky black strip holding the trackpad in place.
-
-
-
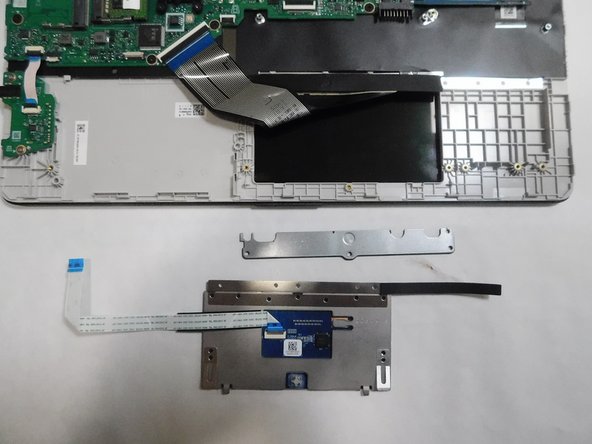
Remove the trackpad from the laptop.
-
-
-
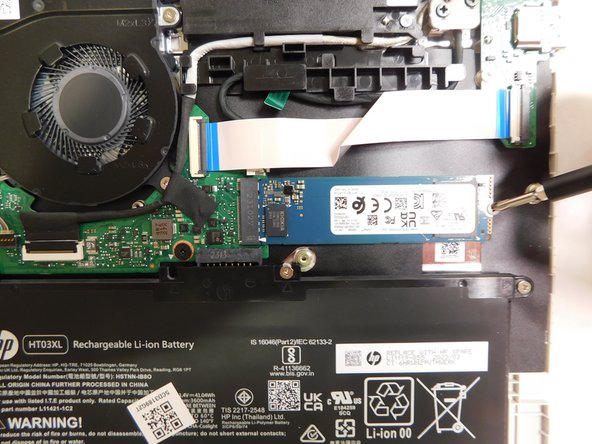
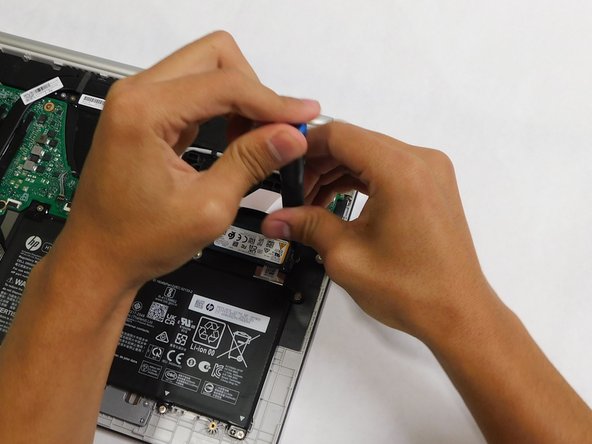
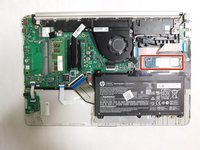
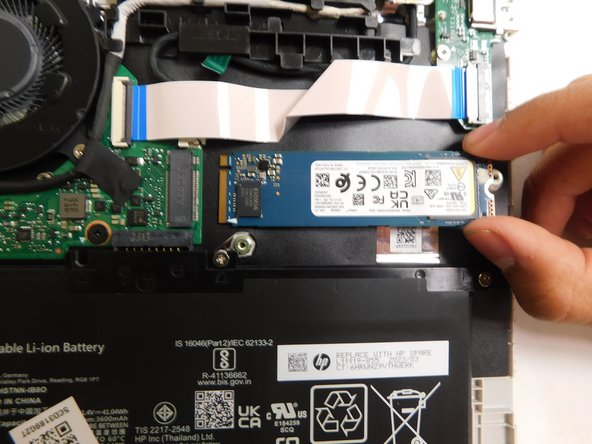
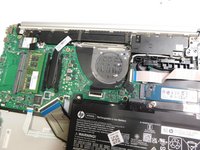
Locate the storage drive.
-
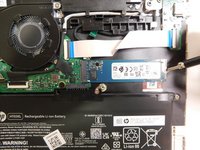
Unscrew the single screw holding the drive in place.
-
-
-
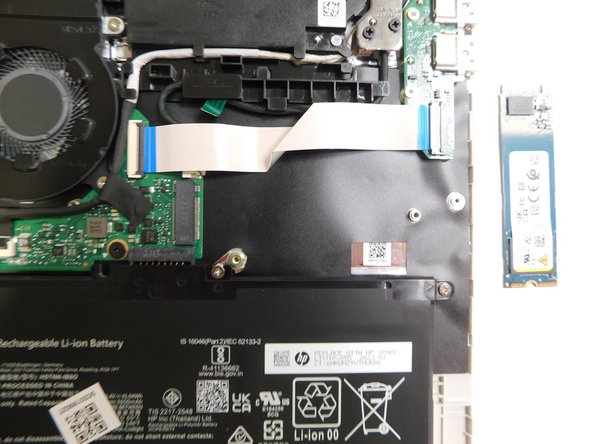
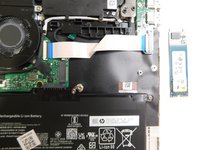
Grab the drive by its side and gently pull it out.
-
-
-
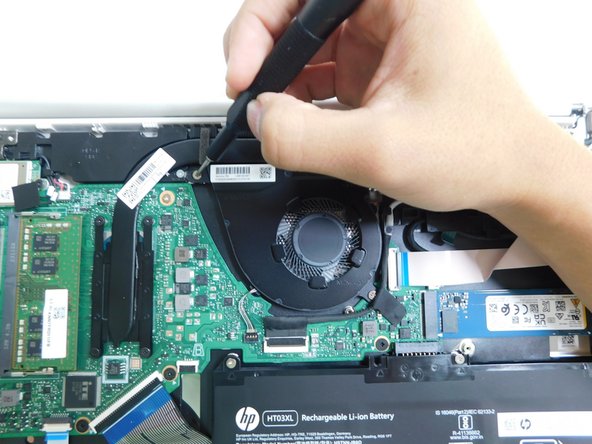
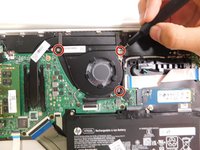
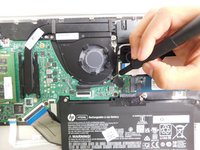
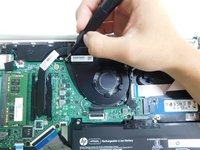
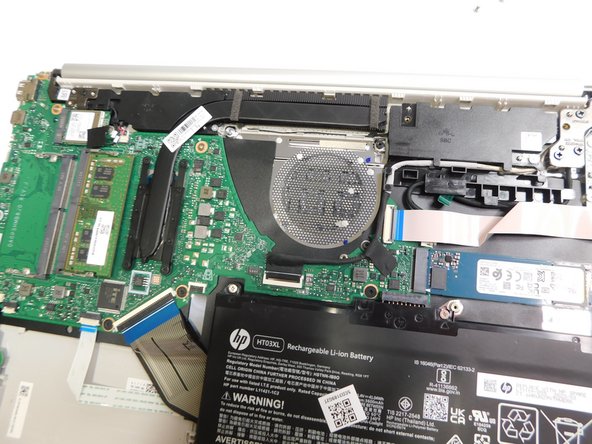
Use a Phillips #1 screwdriver to unscrew the three screws that secure the fan.
-
-
-
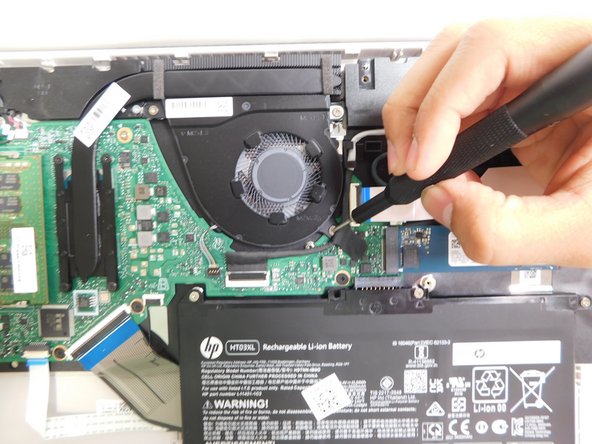
Grip the cord that connects the fan to the motherboard and gently pull out to disconnect the cable from the connector.
-
-
-
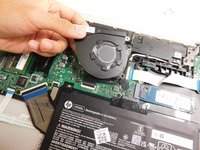
Gently lift the fan to remove it from the case.
-
-
-
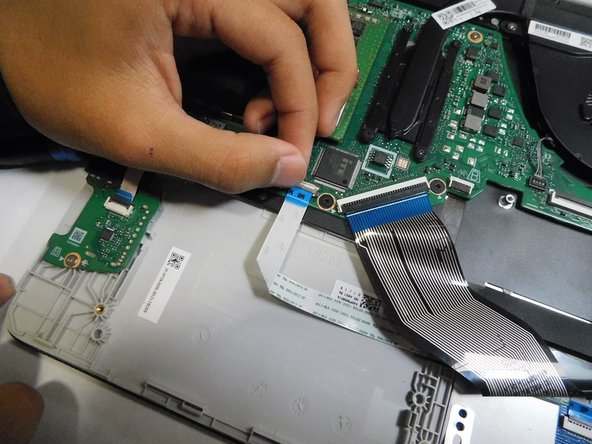
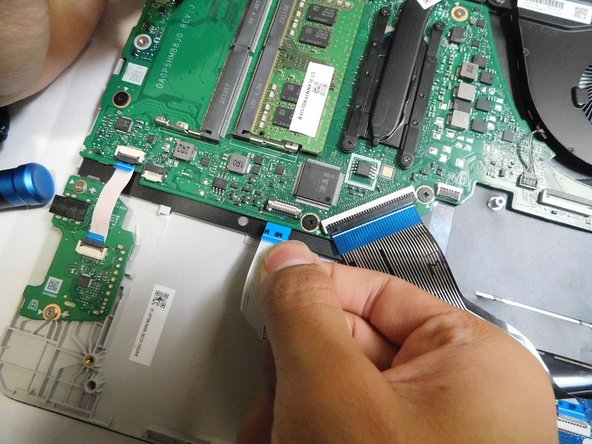
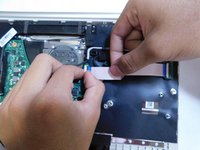
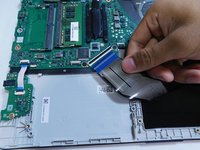
Disconnect all the ribbon cables from the motherboard.
-
-
-
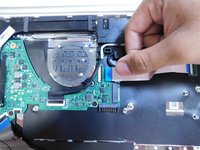
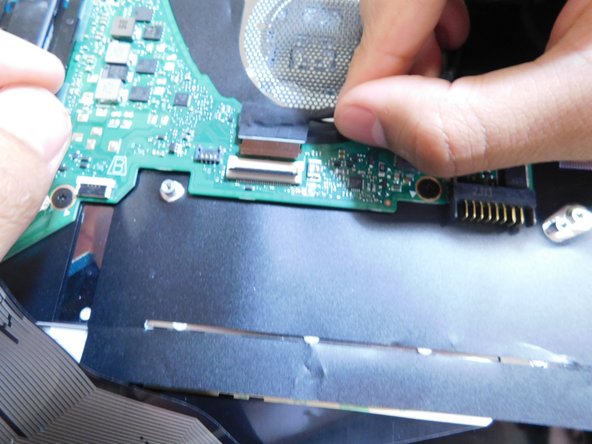
Continue disconnecting the ribbon cables.
-
-
-
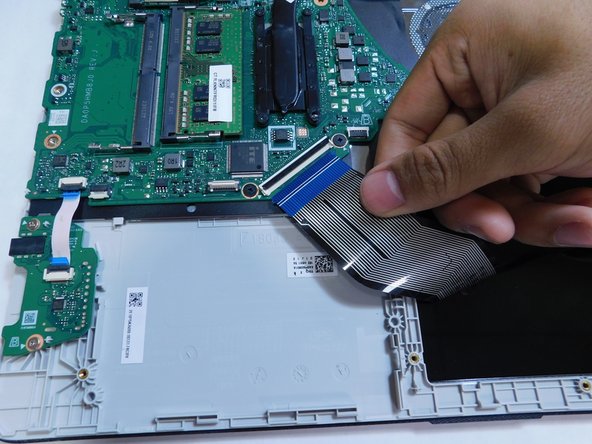
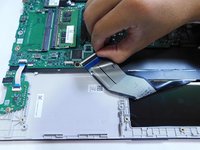
Continue disconnecting the remaining ribbons.
-
-
-
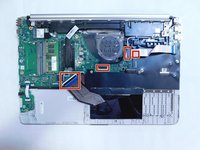
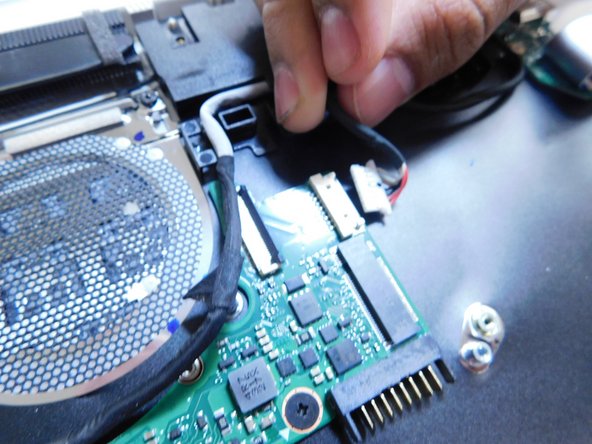
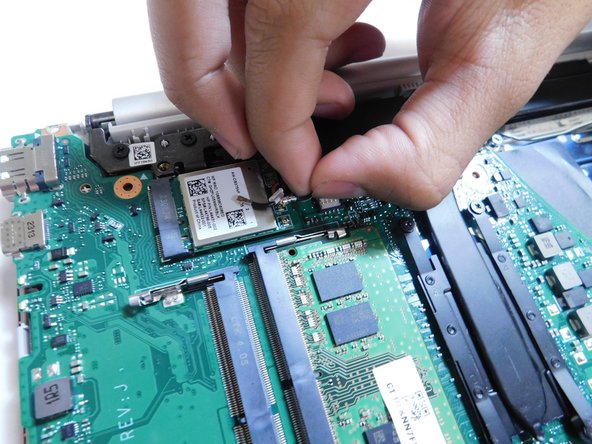
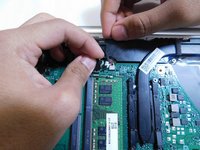
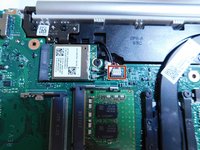
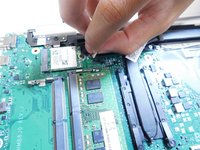
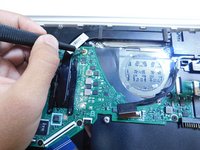
Peel off the black sticker covering the silver connectors near the top of the motherboard.
-
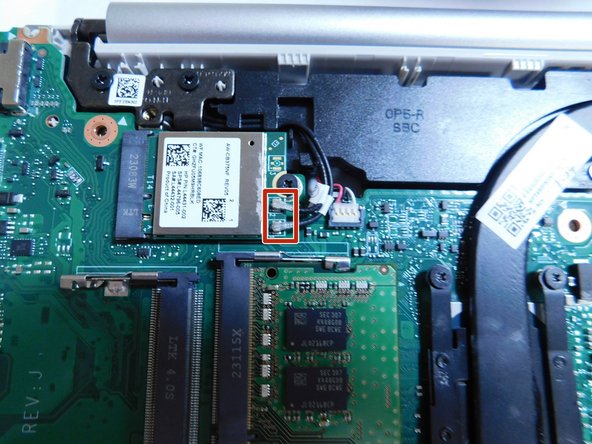
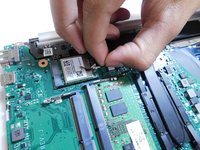
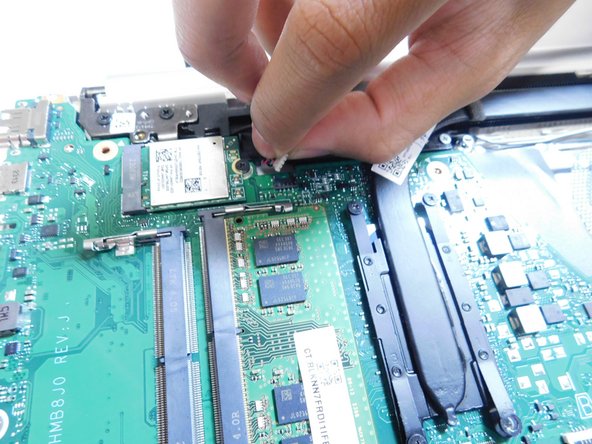
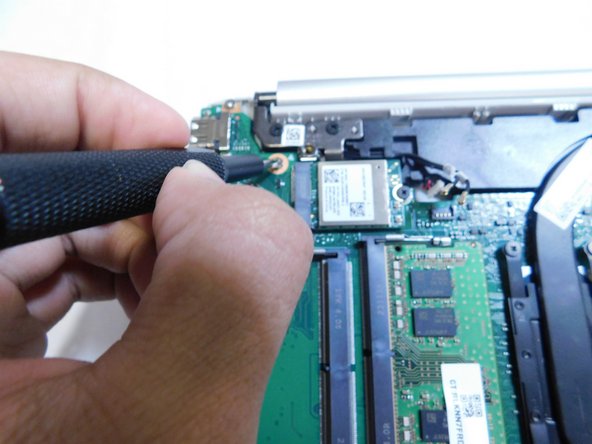
Remove the two silver colored round connector from the motherboard by pulling them up.
-
-
-
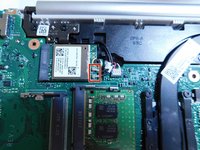
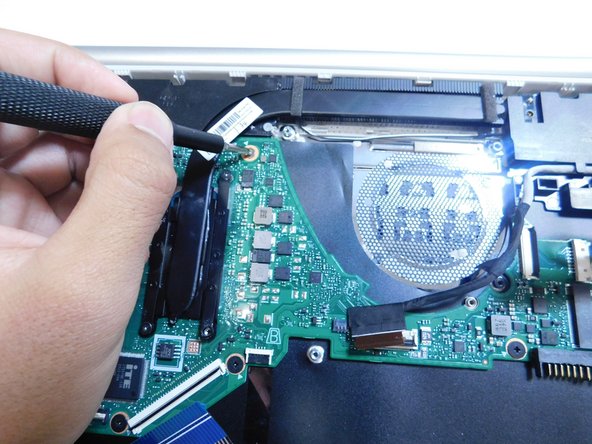
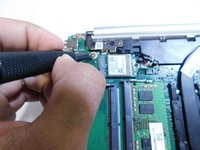
Pull up on the last connector on the motherboard next to the connectors removed in the previous step.
-
-
-
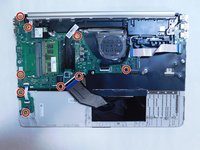
Unscrew all M2x3 Phillips #1 screws holding the motherboard in place.
-
-
-
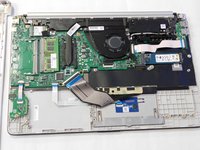
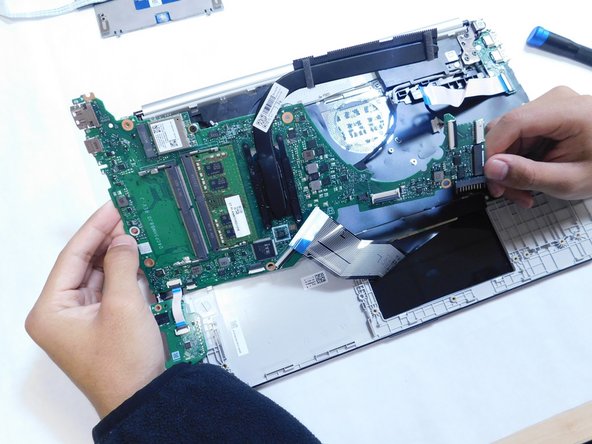
Remove the motherboard from the case.
-
-
-
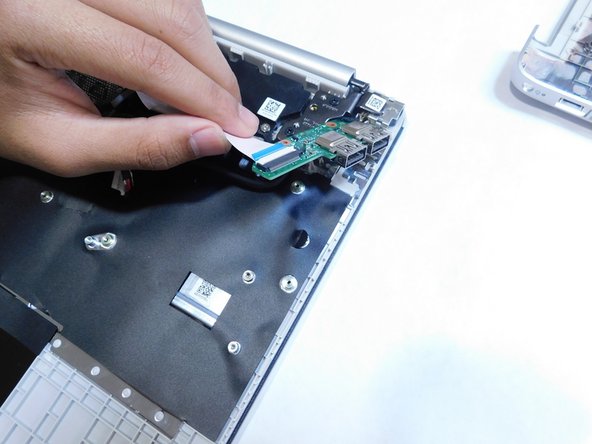
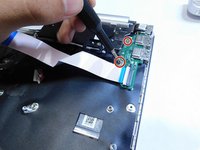
Unscrew the two M2x3 Phillips #1 screws.
-
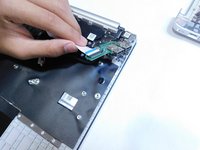
Remove the I/O board from the case.
-
-
-
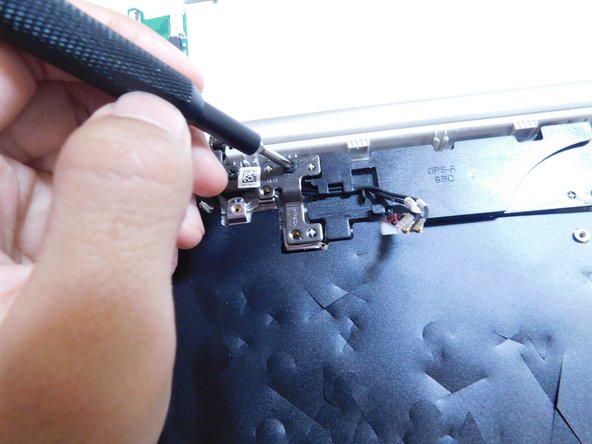
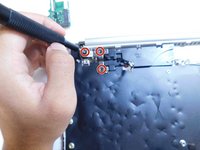
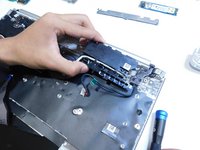
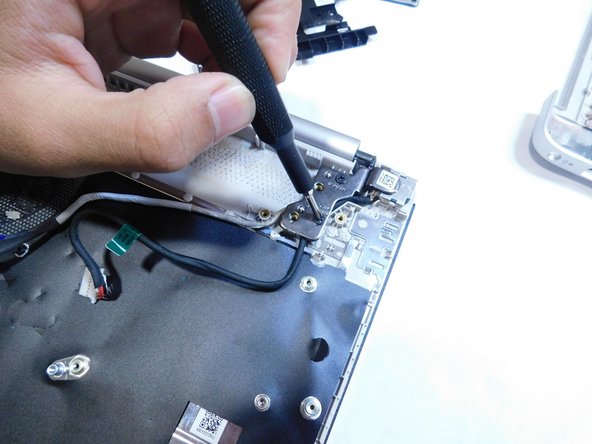
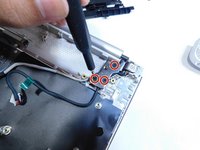
Unscrew the three M2x6 Phillips #1 screws from the left metal hinge.
-
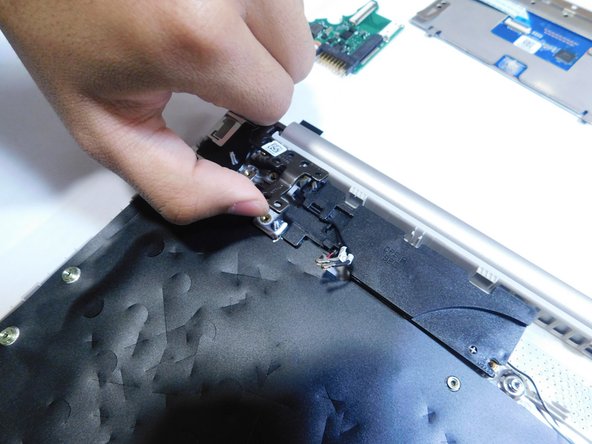
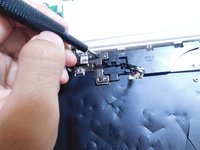
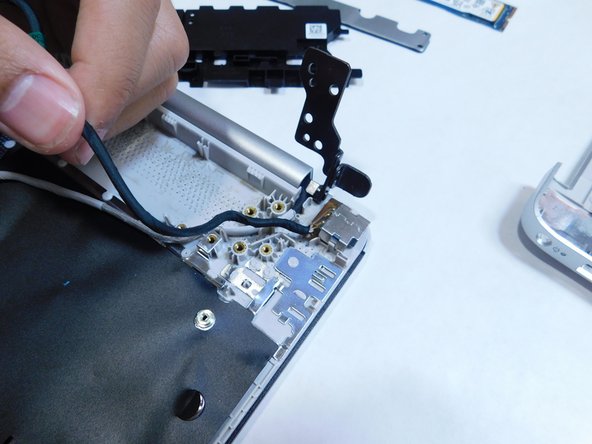
Lift the hinge.
-
-
-
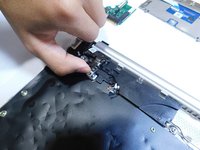
Remove the black boxes from the case.
-
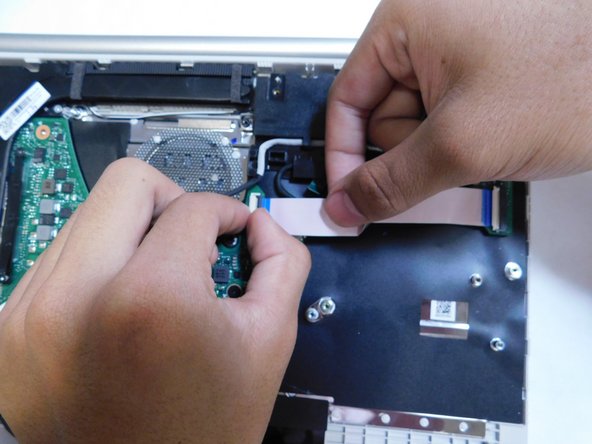
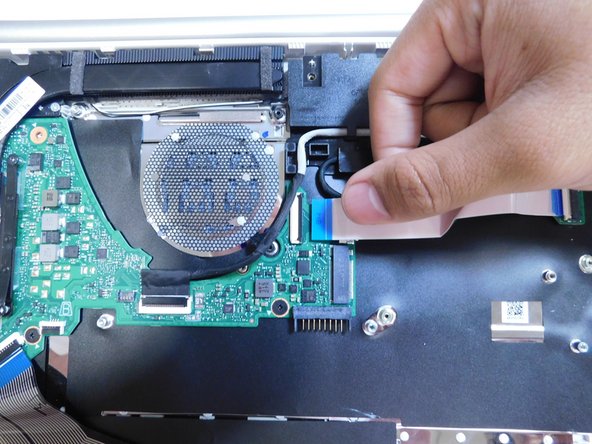
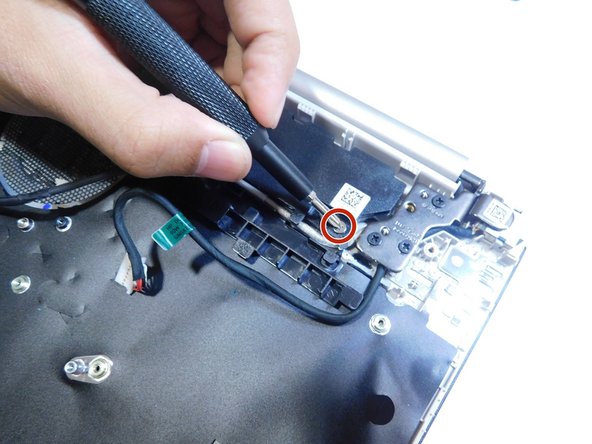
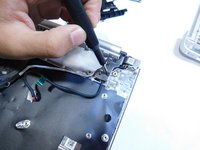
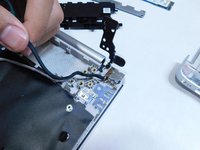
Disconnect the power cable (white cable with a black flag at the end).
-
-
-
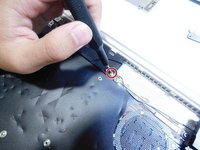
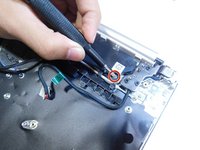
Unscrew the three Philips head #1 screws on the right-side metal hinge.
-
Lift the hinge.
-
-
-
Remove the DC in jack from the case by pulling it straight up.
-
-
-
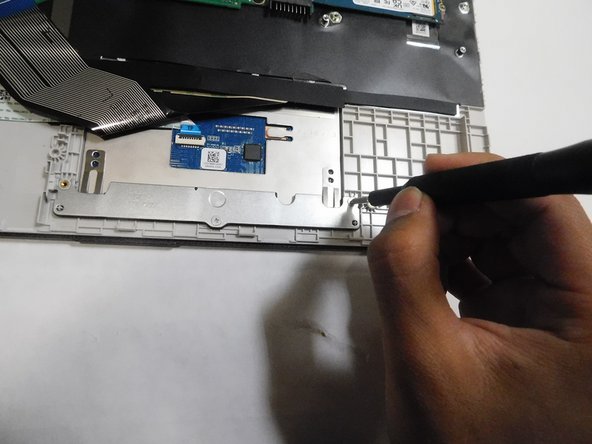
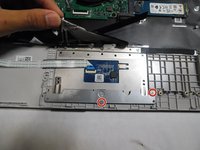
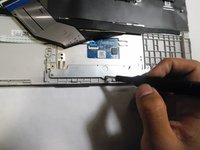
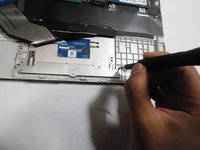
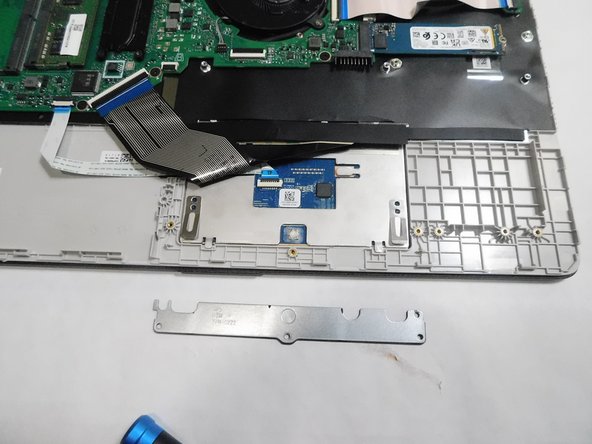
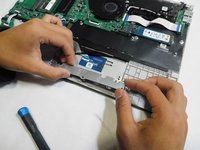
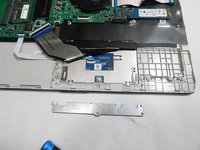
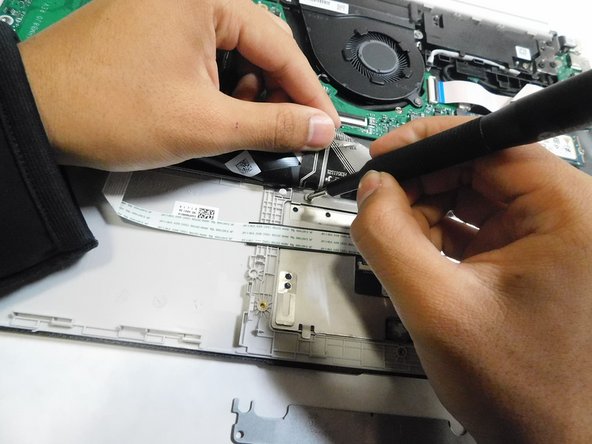
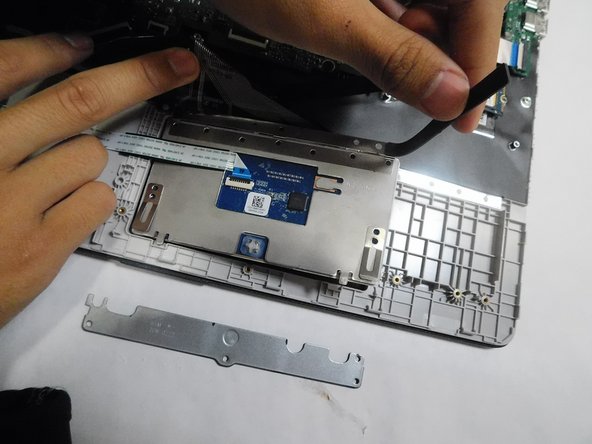
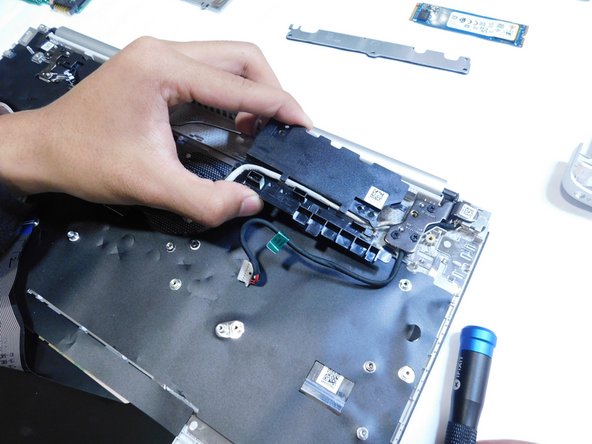
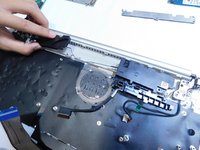
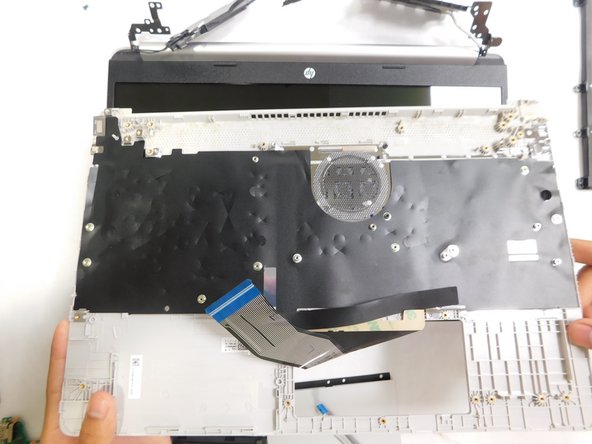
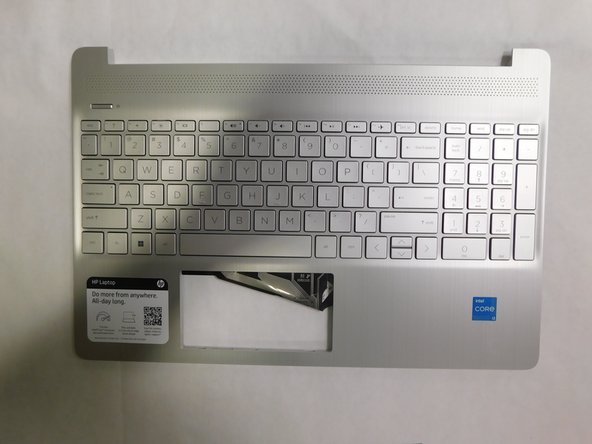
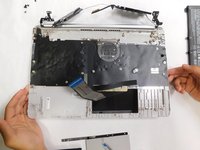
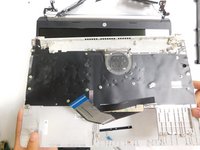
Remove the keyboard from the laptop.
-
To reassemble your device, follow these instructions in reverse order.


