crwdns2933423:0crwdne2933423:0

HP 15-dy2024nr Display Assembly Replacement

crwdns2942213:0crwdne2942213:0

  1. HP 15-dy2024nr Display Assembly Replacement, Display Assembly: crwdns2935265:01crwdnd2935265:01crwdnd2935265:02crwdne2935265:0 HP 15-dy2024nr Display Assembly Replacement, Display Assembly: crwdns2935265:01crwdnd2935265:02crwdnd2935265:02crwdne2935265:0
    • Peel the inner edge of the bezel using an opening tool and gently snap both edges away from the glass.

    • Go around the perimeter and begin snapping the tabs underneath.

  2. HP 15-dy2024nr Display Assembly Replacement: crwdns2935265:02crwdnd2935265:01crwdnd2935265:03crwdne2935265:0 HP 15-dy2024nr Display Assembly Replacement: crwdns2935265:02crwdnd2935265:02crwdnd2935265:03crwdne2935265:0 HP 15-dy2024nr Display Assembly Replacement: crwdns2935265:02crwdnd2935265:03crwdnd2935265:03crwdne2935265:0
    • Use the opening tool to unsnap the bezel along the hinge cover.

    • Close the laptop and turn it sideways.

    • Separate the bezel along the bottom edge using the opening tool.

    • Remove the bezel and place it aside.

  3. HP 15-dy2024nr Display Assembly Replacement: crwdns2935265:03crwdnd2935265:01crwdnd2935265:03crwdne2935265:0 HP 15-dy2024nr Display Assembly Replacement: crwdns2935265:03crwdnd2935265:02crwdnd2935265:03crwdne2935265:0 HP 15-dy2024nr Display Assembly Replacement: crwdns2935265:03crwdnd2935265:03crwdnd2935265:03crwdne2935265:0
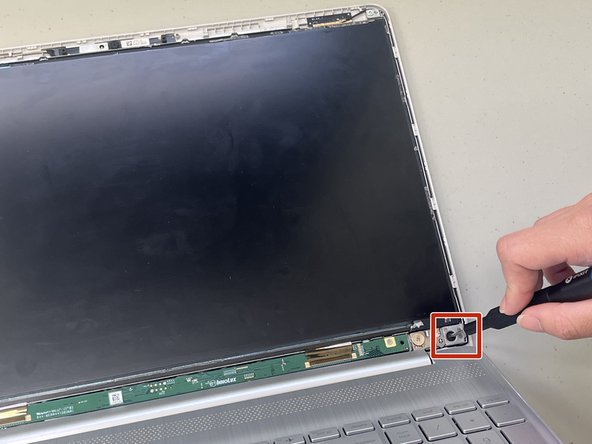
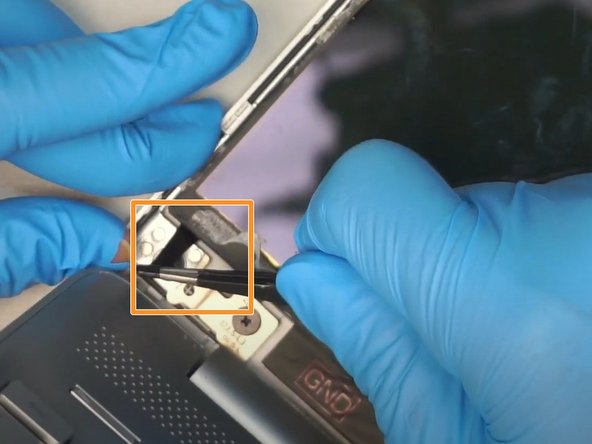
    • Remove the 1.8 mm screws from the top and bottom corners of the screen using a Phillips #1 screwdriver.

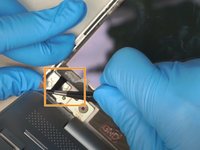
    • Use a pair of tweezers to pull out the adhesive tape from the bottom left and right corners of the screen.

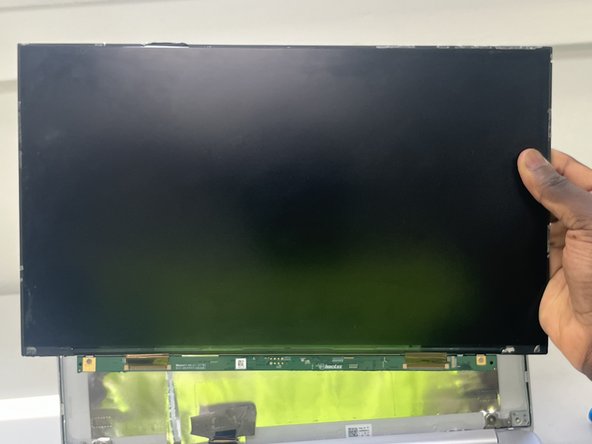
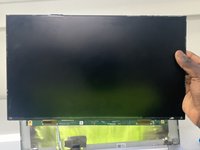
    • Remove the LCD and gently place it on the keyboard with both hands.

  4. HP 15-dy2024nr Display Assembly Replacement: crwdns2935265:04crwdnd2935265:01crwdnd2935265:03crwdne2935265:0 HP 15-dy2024nr Display Assembly Replacement: crwdns2935265:04crwdnd2935265:02crwdnd2935265:03crwdne2935265:0 HP 15-dy2024nr Display Assembly Replacement: crwdns2935265:04crwdnd2935265:03crwdnd2935265:03crwdne2935265:0
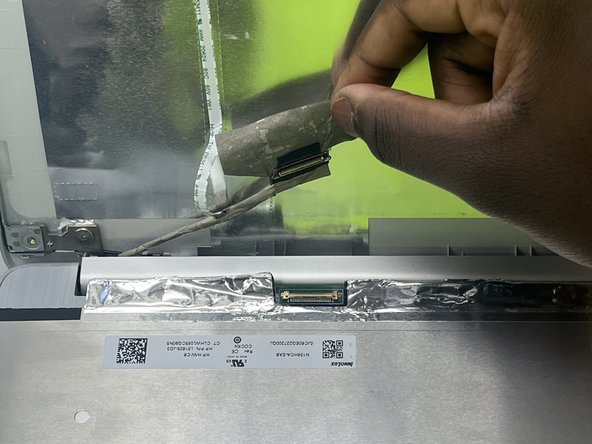
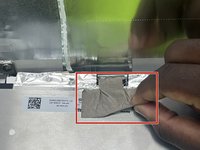
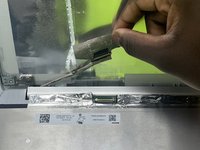
    • Gently peel off the tape securing the video connector.

    • Disconnect the video cable.

    • Remove the old screen.

crwdns2915888:0crwdne2915888:0

To reassemble your device, follow these instructions in reverse order.

crwdns2935229:02crwdne2935229:0

George O.C

crwdns2935283:002/08/24crwdne2935283:0

175 crwdns2915208:0crwdne2915208:0

crwdns2935295:0crwdne2935295:0

crwdns2915084:0crwdne2915084:0

University of North Texas, Team 5-5, Coppersmith Spring 2024 crwdns2935289:0University of North Texas, Team 5-5, Coppersmith Spring 2024crwdne2935289:0

UNT-COPPERSMITH-S24S5G5

crwdns2931471:04crwdne2931471:0

crwdns2935297:04crwdne2935297:0

crwdns2947412:00crwdne2947412:0

crwdns2917038:0crwdne2917038:0

crwdns2936625:0crwdne2936625:0:

crwdns2936751:024crwdne2936751:0 2

crwdns2936753:07crwdne2936753:0 4

crwdns2936753:030crwdne2936753:0 24

crwdns2942667:0crwdne2942667:0 407