crwdns2933423:0crwdne2933423:0

HP 15-BA078DX Disc Drive Replacement

crwdns2942213:0crwdne2942213:0

  1. HP 15-BA078DX Disc Drive Replacement, Battery: crwdns2935265:01crwdnd2935265:01crwdnd2935265:03crwdne2935265:0 HP 15-BA078DX Disc Drive Replacement, Battery: crwdns2935265:01crwdnd2935265:02crwdnd2935265:03crwdne2935265:0 HP 15-BA078DX Disc Drive Replacement, Battery: crwdns2935265:01crwdnd2935265:03crwdnd2935265:03crwdne2935265:0
    • Unclip the two latches on the bottom of the laptop.

    • Slide the battery straight out while holding the clip open.

  2. HP 15-BA078DX Disc Drive Replacement, Disc Drive: crwdns2935265:02crwdnd2935265:01crwdnd2935265:01crwdne2935265:0
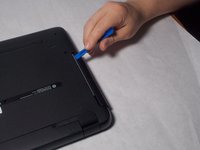
    • Using the Phillips #0 screwdriver, remove the 7.5mm screw from the underside of the plastic frame that holds the disc tray in place.

  3. HP 15-BA078DX Disc Drive Replacement: crwdns2935265:03crwdnd2935265:01crwdnd2935265:03crwdne2935265:0 HP 15-BA078DX Disc Drive Replacement: crwdns2935265:03crwdnd2935265:02crwdnd2935265:03crwdne2935265:0 HP 15-BA078DX Disc Drive Replacement: crwdns2935265:03crwdnd2935265:03crwdnd2935265:03crwdne2935265:0
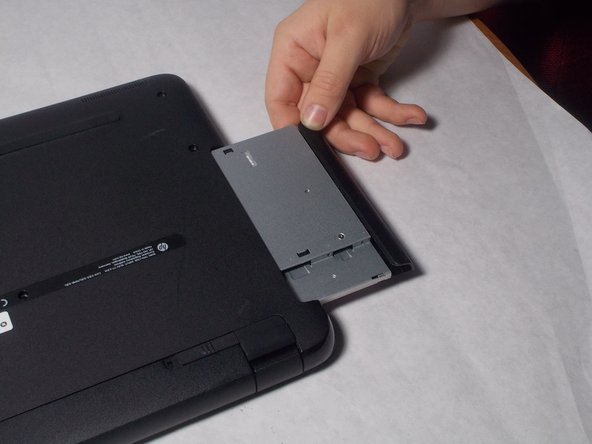
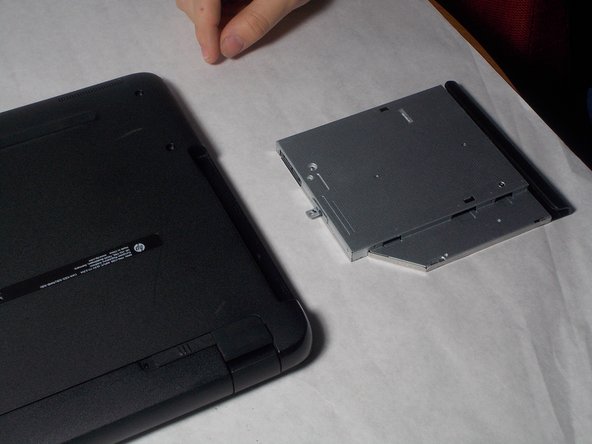
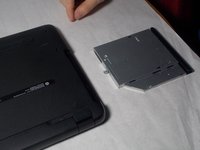
    • Remove the disk tray assembly by sliding it out from the side using the blue plastic opening tool.

crwdns2915888:0crwdne2915888:0

To reassemble your device, follow these instructions in reverse order.

crwdns2935227:0crwdne2935227:0

Justin Arruda

crwdns2935283:003/20/18crwdne2935283:0

112 crwdns2915208:0crwdne2915208:0

crwdns2935295:0crwdne2935295:0

crwdns2915084:0crwdne2915084:0

UMass Dartmouth, Team S3-G4, Peak Spring 2018 crwdns2935289:0UMass Dartmouth, Team S3-G4, Peak Spring 2018crwdne2935289:0

UMASSD-PEAK-S18S3G4

crwdns2931471:03crwdne2931471:0

crwdns2935297:06crwdne2935297:0

crwdns2944067:00crwdne2944067:0

crwdns2917038:0crwdne2917038:0

crwdns2936625:0crwdne2936625:0:

crwdns2936751:024crwdne2936751:0 0

crwdns2936753:07crwdne2936753:0 3

crwdns2936753:030crwdne2936753:0 4

crwdns2942667:0crwdne2942667:0 174