crwdns2933423:0crwdne2933423:0

HP 14-dq5043cl Lower Case Replacement

crwdns2942213:0crwdne2942213:0

  1. HP 14-dq5043cl Lower Case Replacement, Lower Case: crwdns2935265:01crwdnd2935265:01crwdnd2935265:02crwdne2935265:0 HP 14-dq5043cl Lower Case Replacement, Lower Case: crwdns2935265:01crwdnd2935265:02crwdnd2935265:02crwdne2935265:0
    • For your safety, unplug all peripheries, discharge the battery below 25%, and power down your device before beginning disassembly.

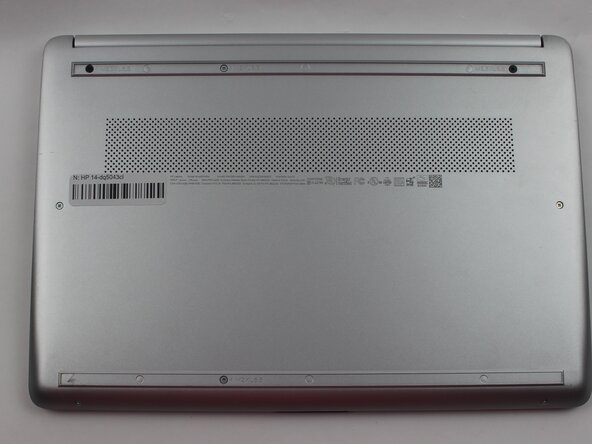
    • Remove the two rubber feet on the lower case.

    • If you intend to reuse the rubber feet: Use a hairdryer or iOpener to lightly heat the feet to loosen the adhesive that secures them prior to removal. Take care not to stretch out the rubber.

  2. HP 14-dq5043cl Lower Case Replacement: crwdns2935265:02crwdnd2935265:01crwdnd2935265:01crwdne2935265:0
    • Remove the six M2XL6 Phillips screws that secure the lower case.

  3. HP 14-dq5043cl Lower Case Replacement: crwdns2935265:03crwdnd2935265:01crwdnd2935265:03crwdne2935265:0 HP 14-dq5043cl Lower Case Replacement: crwdns2935265:03crwdnd2935265:02crwdnd2935265:03crwdne2935265:0 HP 14-dq5043cl Lower Case Replacement: crwdns2935265:03crwdnd2935265:03crwdnd2935265:03crwdne2935265:0
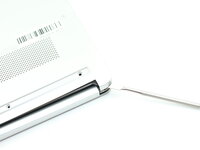
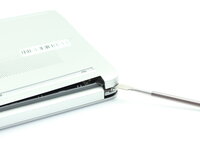
    • Insert a nylon spudger into the seam between the lower case and chassis.

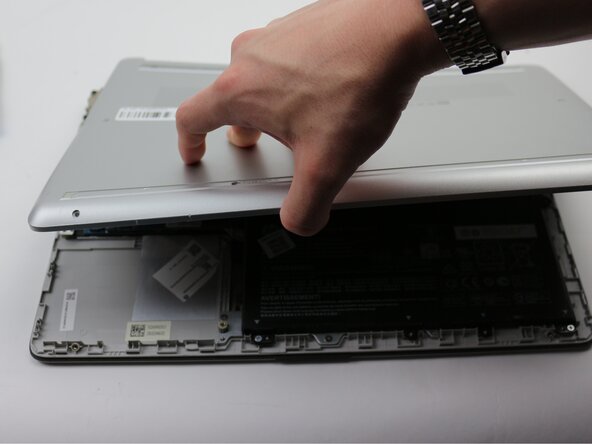
    • Pry around the entire perimeter until the lower case fully releases.

    • Remove the lower case.

crwdns2915888:0crwdne2915888:0

To reassemble your device, follow the above steps in reverse order.
Repair didn’t go as planned? Try some basic troubleshooting or ask our Answers community for help.

Connor

crwdns2935283:003/29/22crwdne2935283:0

14,167 crwdns2915208:0crwdne2915208:0

crwdns2935297:070crwdne2935297:0

crwdns2947412:00crwdne2947412:0

crwdns2917038:0crwdne2917038:0

crwdns2936625:0crwdne2936625:0:

crwdns2936751:024crwdne2936751:0 2

crwdns2936753:07crwdne2936753:0 4

crwdns2936753:030crwdne2936753:0 39

crwdns2942667:0crwdne2942667:0 39