crwdns2915892:0crwdne2915892:0
We will demonstrate the repair of the control panel unit of a Gourmia GAF798 air fryer. The damage to the circuit board causes the lighting function of the fryer’s control panel to stop working correctly. Our guide will provide a simple and effective fix for this problem.
We will need to work with a kitchen appliance that harbors the risk of burning the user or giving the user an electric shock. However, we will mitigate the chances of these dangers occurring by taking safety precautions. With these safety precautions, this process presents little opportunity for serious injury.
This guide is necessary because the damaged circuit board causes the control panel’s lighting function to stop working, rendering it impossible to see which settings the user has selected for the device. The air fryer becomes inconvenient to use, as it stops providing feedback regarding its cooking time, method, etc., and forces the user to memorize each of their inputs and trust that those inputs have been received. Although this issue is extremely problematic, it is actually relatively simple to fix. This guide can provide people the opportunity not only to save money by not replacing their air fryers, but also to help with environmental conservation by not packing landfills with more electronic waste.
crwdns2942213:0crwdne2942213:0
-
-
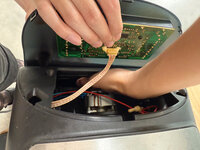
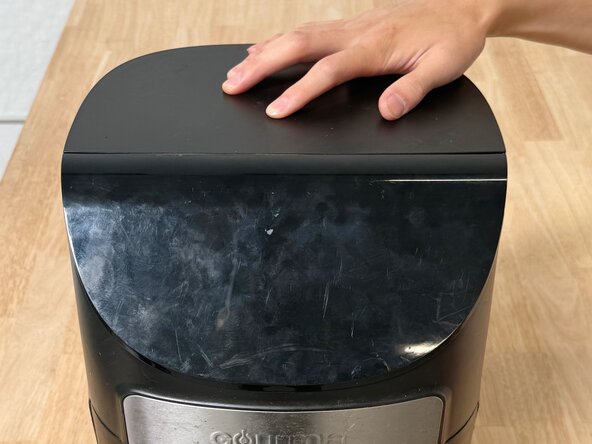
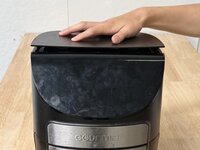
Carefully pry the control panel unit off of the air fryer, starting above where the “Gourmia” logo is positioned.
-
-
-
Pry open the control panel unit as much as possible without damaging the part.
-
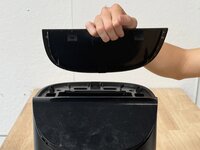
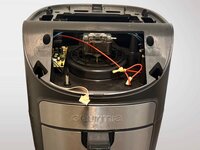
Detach the back lid from the air fryer.
-
-
-
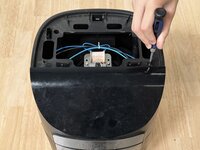
Use a Phillips #0 screwdriver to remove the three screws holding on the control panel unit.
-
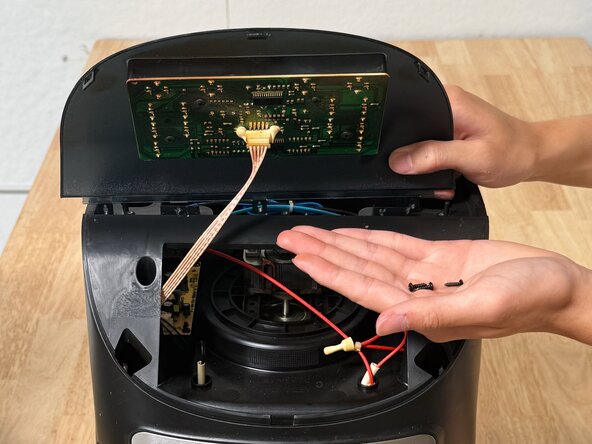
Pull up the control panel unit to expose the circuit board.
-
-
-
-
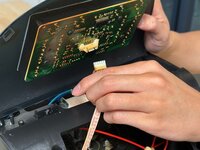
Unplug the cable that connects from the air fryer’s motherboard to the original control panel circuit board by gently pinching the side tabs of the cable's end.
-
-
-
Plug the cable that connects from the air fryer’s motherboard into the new control panel circuit board.
-
-
-
Place the new control panel unit into its designated spot at the front of the appliance.
-
Screw the three screws back into place with the screwdriver to secure the new control panel unit.
-
-
-
Snap the back lid back to its designated spot. Ensure its tabs click all the way back into the air fryer.
-
-
-
Plug the air fryer back into the power socket, and make sure the unit powers back on normally.
-
-
-
The appliance will power on, revealing the newly installed control panel unit in action.
-
All buttons should be visibly lit and usable.
-


crwdns2935221:0crwdne2935221:0
crwdns2935227:0crwdne2935227:0

crwdns2915084:0crwdne2915084:0

UC Davis, Team 1-7, Whithaus Spring 2025 crwdns2935289:0UC Davis, Team 1-7, Whithaus Spring 2025crwdne2935289:0
UCD-WHITHAUS-S25S1G7
crwdns2931471:04crwdne2931471:0
crwdns2935297:03crwdne2935297:0