crwdns2933423:0crwdne2933423:0

Google Pixel 9 Pro Fold USB-C Port Board Reinstallation

crwdns2862623:0crwdne2862623:0
crwdns2942641:0crwdne2942641:0

crwdns2942213:0crwdne2942213:0

  1. Google Pixel 9 Pro Fold USB-C Port Board Reinstallation, Reinstall the USB-C port board: crwdns2935265:01crwdnd2935265:01crwdnd2935265:02crwdne2935265:0 Google Pixel 9 Pro Fold USB-C Port Board Reinstallation, Reinstall the USB-C port board: crwdns2935265:01crwdnd2935265:02crwdnd2935265:02crwdne2935265:0
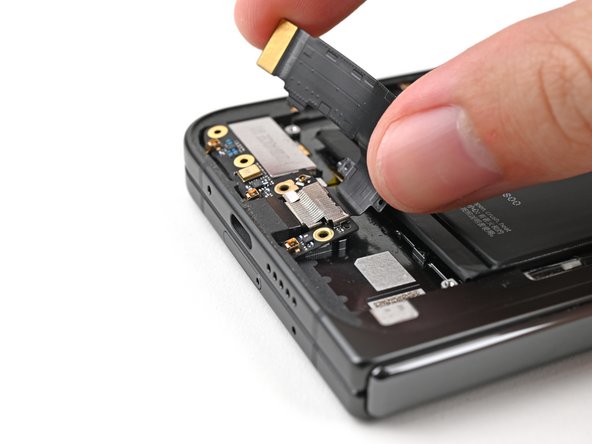
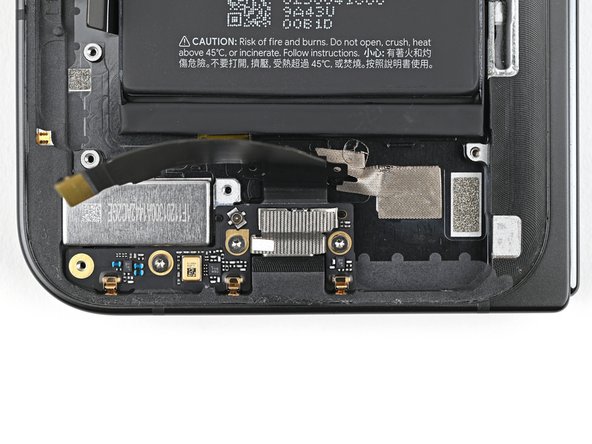
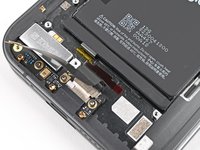
    • Reinsert the USB-C port board into its recess in the frame.

  2. Google Pixel 9 Pro Fold USB-C Port Board Reinstallation: crwdns2935265:02crwdnd2935265:01crwdnd2935265:03crwdne2935265:0 Google Pixel 9 Pro Fold USB-C Port Board Reinstallation: crwdns2935265:02crwdnd2935265:02crwdnd2935265:03crwdne2935265:0 Google Pixel 9 Pro Fold USB-C Port Board Reinstallation: crwdns2935265:02crwdnd2935265:03crwdnd2935265:03crwdne2935265:0
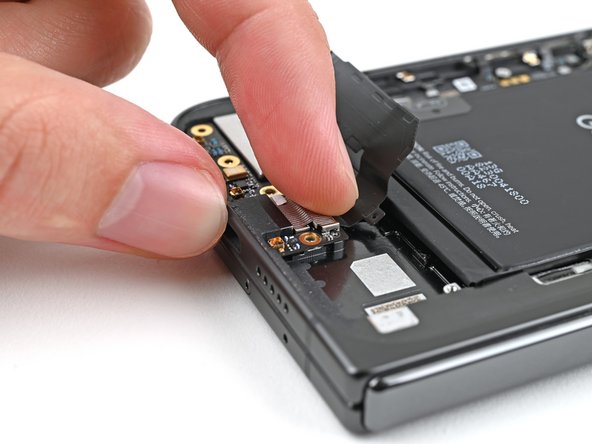
    • Press the USB-C port board flat to the frame to re-engage the metal springs, making sure the alignment pegs fit into their holes in the board.

  3. Google Pixel 9 Pro Fold USB-C Port Board Reinstallation: crwdns2935265:03crwdnd2935265:01crwdnd2935265:03crwdne2935265:0 Google Pixel 9 Pro Fold USB-C Port Board Reinstallation: crwdns2935265:03crwdnd2935265:02crwdnd2935265:03crwdne2935265:0 Google Pixel 9 Pro Fold USB-C Port Board Reinstallation: crwdns2935265:03crwdnd2935265:03crwdnd2935265:03crwdne2935265:0
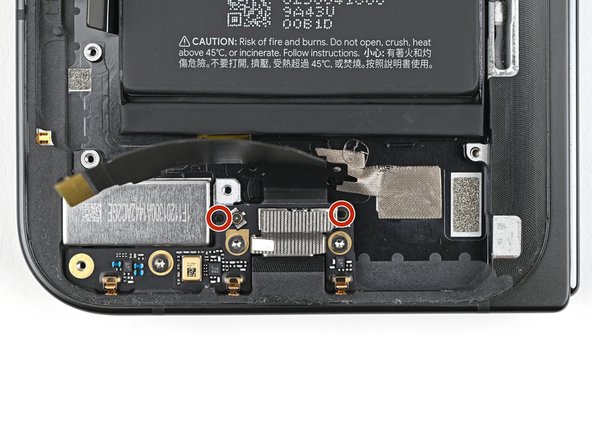
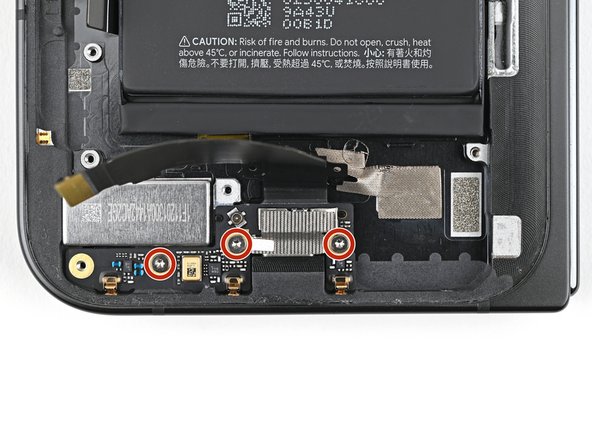
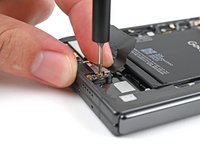
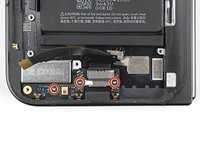
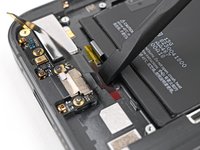
    • While holding the board in place, use a Torx Plus 3IP driver to install the three 2.6 mm‑long screws securing the USB-C port board.

  4. Google Pixel 9 Pro Fold USB-C Port Board Reinstallation, Apply the adhesive: crwdns2935265:04crwdnd2935265:01crwdnd2935265:03crwdne2935265:0 Google Pixel 9 Pro Fold USB-C Port Board Reinstallation, Apply the adhesive: crwdns2935265:04crwdnd2935265:02crwdnd2935265:03crwdne2935265:0 Google Pixel 9 Pro Fold USB-C Port Board Reinstallation, Apply the adhesive: crwdns2935265:04crwdnd2935265:03crwdnd2935265:03crwdne2935265:0
    • If the adhesive on your USB-C port cable isn't sticky or intact, follow the next two steps to install new adhesive. Otherwise, skip those steps.

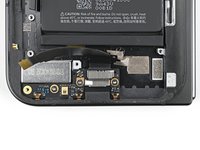
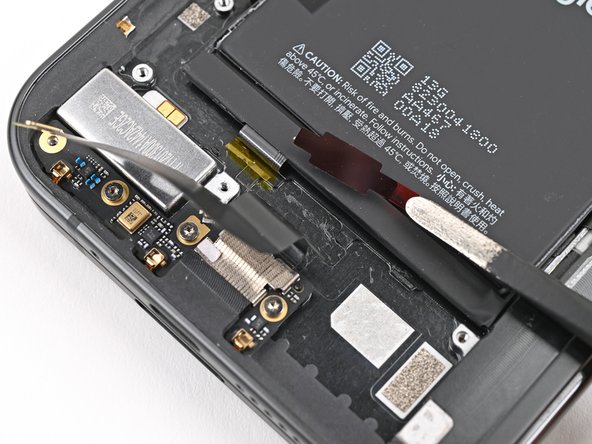
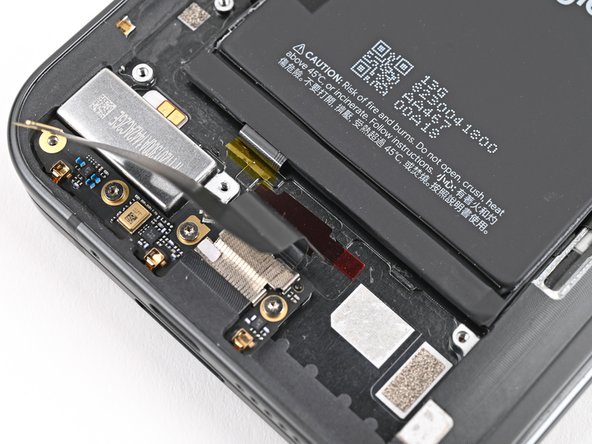
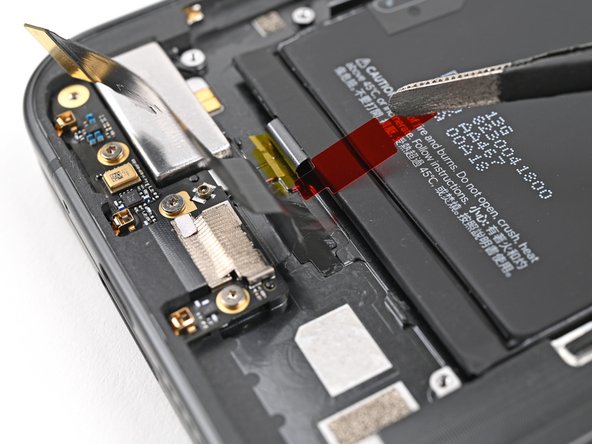
    • Use tweezers, or your fingers, to remove the old adhesive under the USB-C port cable.

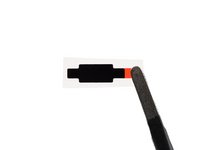
    • Peel the new USB-C port cable adhesive strip from its clear liner.

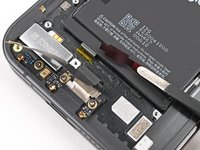
    • Align the adhesive strip over its spot in the frame and lay it down with the colored pull tab facing the right edge of the phone.

  5. Google Pixel 9 Pro Fold USB-C Port Board Reinstallation: crwdns2935265:05crwdnd2935265:01crwdnd2935265:02crwdne2935265:0 Google Pixel 9 Pro Fold USB-C Port Board Reinstallation: crwdns2935265:05crwdnd2935265:02crwdnd2935265:02crwdne2935265:0
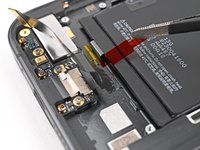
    • Use the flat end of a spudger, or your fingers, to press down the adhesive and adhere it to the frame.

    • Peel off the colored liner to expose the adhesive.

  6. Google Pixel 9 Pro Fold USB-C Port Board Reinstallation: crwdns2935265:06crwdnd2935265:01crwdnd2935265:01crwdne2935265:0
    • Press the USB-C port board cable to the frame to re-adhere it.

crwdns2915888:0crwdne2915888:0

To reassemble your device, follow these instructions in reverse order.

Alex Diaz-Kokaisl

crwdns2935283:001/16/22crwdne2935283:0

165 374 crwdns2915208:0crwdne2915208:0

crwdns2935297:0769crwdne2935297:0

crwdns2915084:0crwdne2915084:0

iFixit crwdns2935289:0iFixitcrwdne2935289:0

Staff

crwdns2931471:0121crwdne2931471:0

crwdns2935297:019 867crwdne2935297:0

crwdns2947412:00crwdne2947412:0

crwdns2917038:0crwdne2917038:0

crwdns2936625:0crwdne2936625:0:

crwdns2936751:024crwdne2936751:0 0

crwdns2936753:07crwdne2936753:0 0

crwdns2936753:030crwdne2936753:0 3

crwdns2942667:0crwdne2942667:0 21