-
-
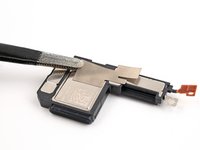
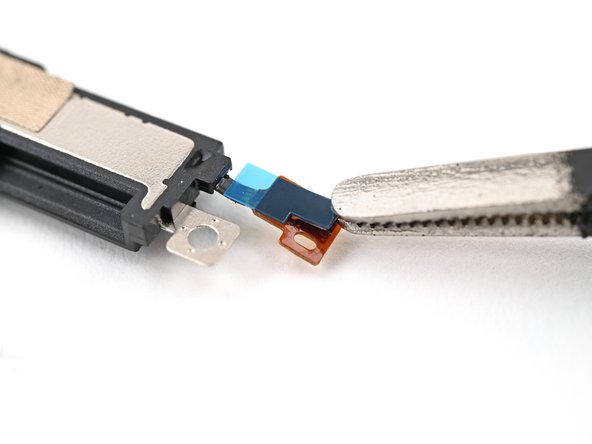
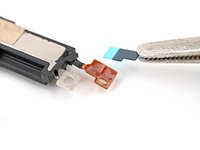
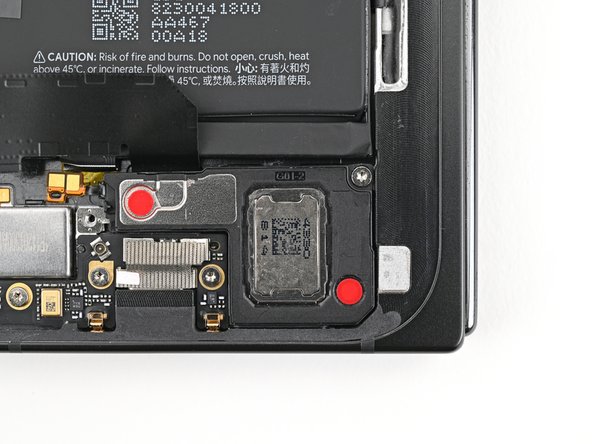
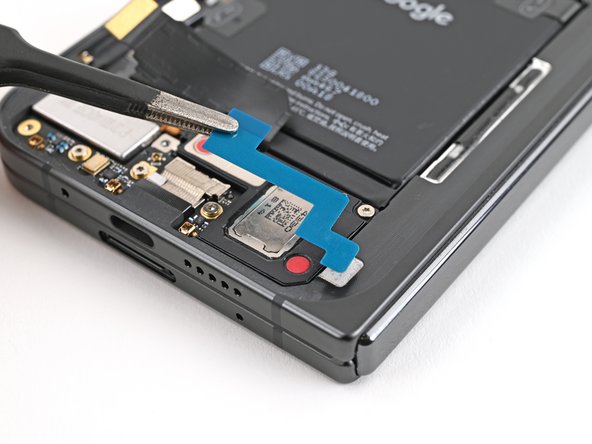
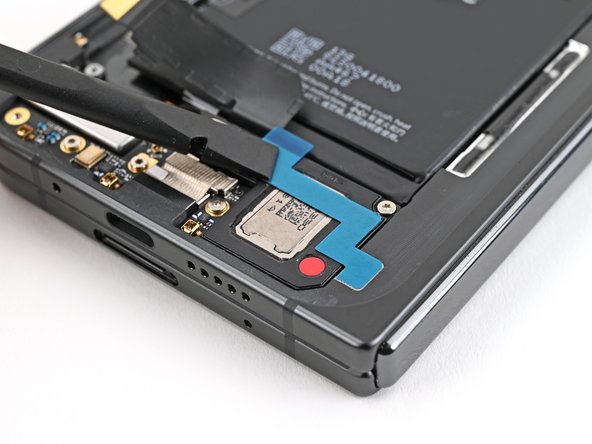
Use tweezers, or your fingers, to remove the bottom and top conductive fabrics or the loudspeaker cable adhesive if they're not intact.
-
-
-
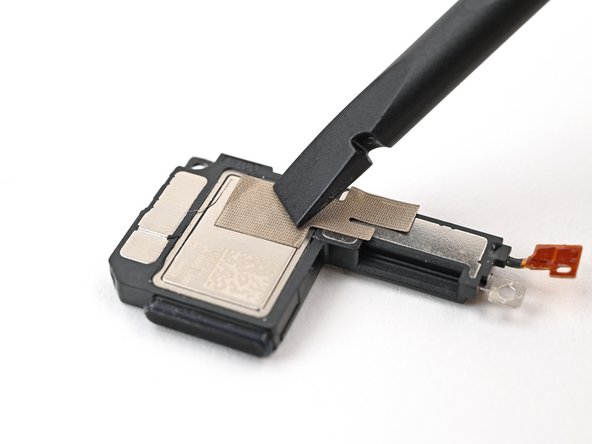
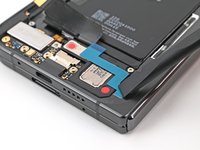
Align the bottom loudspeaker conductive fabric on the underside of the loudspeaker.
-
-
-
Remove the conductive fabric from its clear and colored liners and lay it over its spot on the loudspeaker.
-
-
-
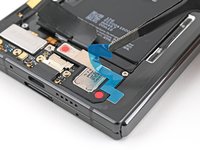
Use the flat end of a spudger, or your fingers, to press down the conductive fabric and adhere it to the loudspeaker.
-
-
-
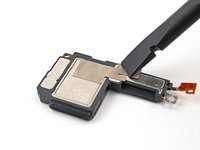
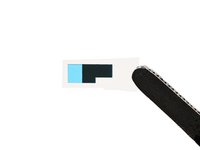
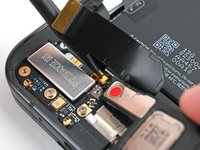
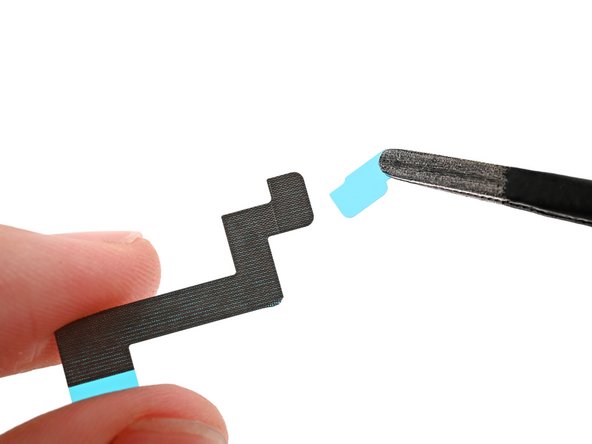
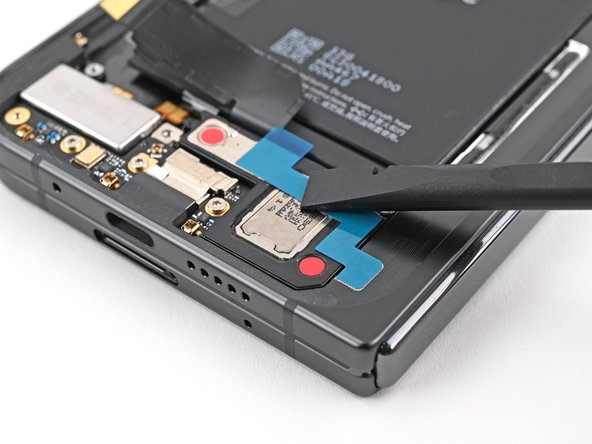
Peel the clear liner off the loudspeaker cable adhesive.
-
Align the adhesive over the loudspeaker cable and lay it down, making sure not to cover the hole in the cable.
-
-
-
-
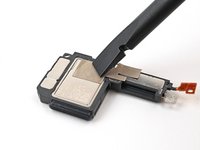
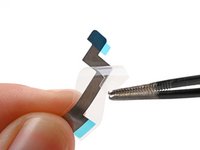
Use your fingers to lightly pinch the cable and adhere the adhesive strip.
-
Remove the blue liner from the adhesive strip.
-
-
-
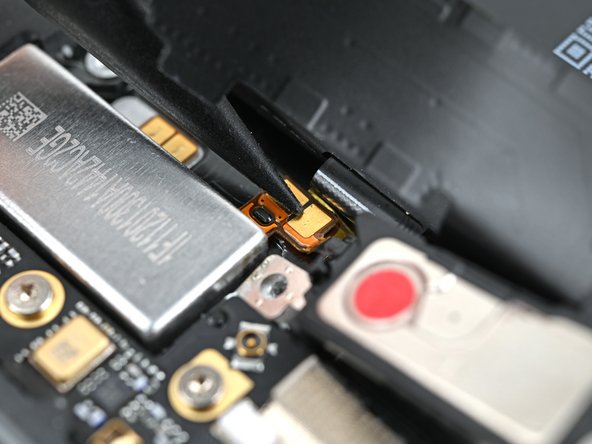
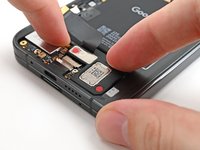
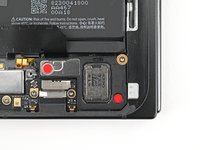
Align the hole in the loudspeaker cable over its peg on the frame.
-
Press down the cable with the tip of a spudger, or your finger, to adhere it to the frame.
-
-
-
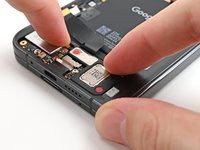
While pressing the cable down, reinsert the loudspeaker at an angle into its recess and press it flat to the frame.
-
-
-
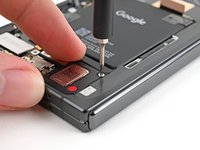
While holding the loudspeaker in place, use a Torx Plus 3IP driver to install the 2.6 mm‑long screw securing the loudspeaker.
-
-
-
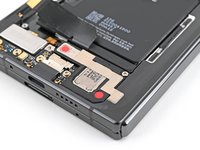
Peel off the clear liner on the top loudspeaker conductive fabric.
-
Peel off the small colored liner covering the rounded corner of the fabric.
-
-
-
Align the rounded corner of the conductive fabric with the same‑shaped marking on the frame.
-
Lay the fabric down onto the frame and the loudspeaker.
-
-
-
Use the flat end of a spudger, or your fingers, to press down the conductive fabric and adhere it to the frame and loudspeaker.
-
-
-
Peel off the large colored liner from the conductive fabric.
-


To reassemble your device, follow these instructions in reverse order.
To reassemble your device, follow these instructions in reverse order.

