crwdns2933423:0crwdne2933423:0

Google Pixel 2 Display Replacement

crwdns2862587:0crwdne2862587:0
crwdns2862588:0crwdne2862588:0

crwdns2942213:0crwdne2942213:0

  1. Google Pixel 2 Display Replacement, Display: crwdns2935265:01crwdnd2935265:01crwdnd2935265:02crwdne2935265:0 Google Pixel 2 Display Replacement, Display: crwdns2935265:01crwdnd2935265:02crwdnd2935265:02crwdne2935265:0
    • Heat up the iOpener in the microwave for 30 seconds.

    • Place the iOpener clear-side down on each edge of the phone for approximately 30 seconds.

    • Place the iOpener on top of the screen for an additional 30 seconds.

    • Be careful with the iOpener as it will get extremely hot.

  2. Google Pixel 2 Display Replacement: crwdns2935265:02crwdnd2935265:01crwdnd2935265:03crwdne2935265:0 Google Pixel 2 Display Replacement: crwdns2935265:02crwdnd2935265:02crwdnd2935265:03crwdne2935265:0 Google Pixel 2 Display Replacement: crwdns2935265:02crwdnd2935265:03crwdnd2935265:03crwdne2935265:0
    • Attach the suction cup to the display by placing it on top of the display and pushing down on the top of the cup until it is flat.

    • Separate the display and the device by inserting the plastic opening tool between them and sliding the plastic opening tool along the perimeter of the display.

    • It is normal to hear popping noises as the plastic opening tool breaks the connection between the display and the device.

    • Remove the display from the device by grabbing the ring of the suction cup and pulling up.

  3. Google Pixel 2 Display Replacement: crwdns2935265:03crwdnd2935265:01crwdnd2935265:03crwdne2935265:0 Google Pixel 2 Display Replacement: crwdns2935265:03crwdnd2935265:02crwdnd2935265:03crwdne2935265:0 Google Pixel 2 Display Replacement: crwdns2935265:03crwdnd2935265:03crwdnd2935265:03crwdne2935265:0
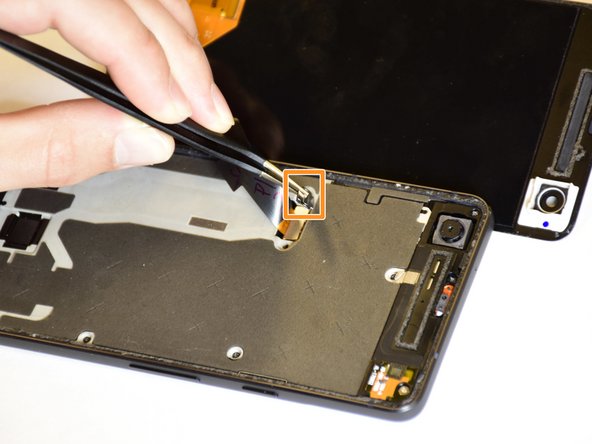
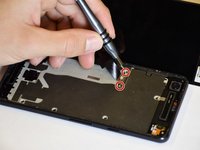
    • Remove the T4 4.0-mm screws from the latch under the display by turning the screwdriver counterclockwise.

    • Pull the latch off of the device by grabbing it with the tweezers and pulling up.

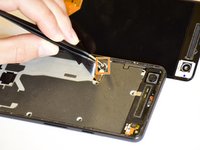
  4. Google Pixel 2 Display Replacement: crwdns2935265:04crwdnd2935265:01crwdnd2935265:01crwdne2935265:0
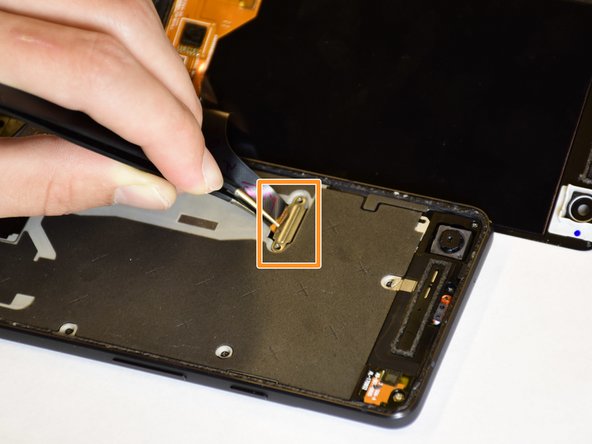
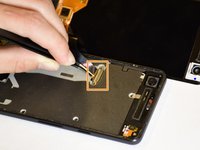
    • Remove the connector underneath the latch by grabbing it with the tweezers and lifting up.

    • It is normal to hear a popping noise during this step.

    • When reassembling, simply use your finger to pop this piece back into place by pushing it down into the device.

crwdns2915888:0crwdne2915888:0

To reassemble your device, follow these instructions in reverse order.

crwdns2935227:0crwdne2935227:0

Monica Andres

crwdns2935283:001/24/18crwdne2935283:0

289 crwdns2915208:0crwdne2915208:0

crwdns2935297:02crwdne2935297:0

crwdns2915084:0crwdne2915084:0

Cal Poly, Team S18-G5, Livingston Winter 2018 crwdns2935289:0Cal Poly, Team S18-G5, Livingston Winter 2018crwdne2935289:0

CPSU-LIVINGSTON-W18S18G5

crwdns2931471:04crwdne2931471:0

crwdns2935297:011crwdne2935297:0

crwdns2944067:00crwdne2944067:0

crwdns2917038:0crwdne2917038:0

crwdns2936625:0crwdne2936625:0:

crwdns2936751:024crwdne2936751:0 0

crwdns2936753:07crwdne2936753:0 4

crwdns2936753:030crwdne2936753:0 5

crwdns2942667:0crwdne2942667:0 1,114