crwdns2915892:0crwdne2915892:0
Use this guide to replace the microSD/Micro USB port assembly in your GoPro Hero+ LCD.
crwdns2942213:0crwdne2942213:0
-
-
Pop up and pull back on the clip to remove the screen cover and expose the back panel with the touchscreen.
-
-
-
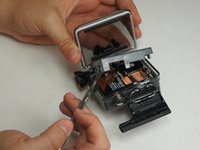
Use the metal spudger to pry around the perimeter of the panel.
-
Pry the panel upwards by inserting the metal spudger into the corner crease between the panel and camera shell.
-
-
-
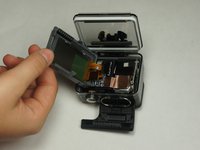
Pry around the panel to ensure it is not attached to the device.
-
Move the panel to the side so you can access the internal components.
-
-
-
Peel back the rear panel ribbon cable that is adhered to the battery until it is completely separated from the battery.
-
-
-
crwdns2935267:0crwdne2935267:0Tweezers$4.99
-
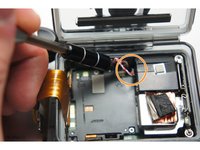
Using tweezers, peel off the copper tape on the right side of the battery.
-
-
-
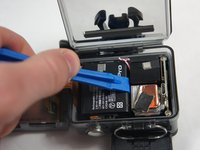
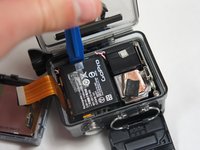
Place the plastic opening tool at one of the edges of the battery then pry until the battery is removed from the GoPro.
-
-
-
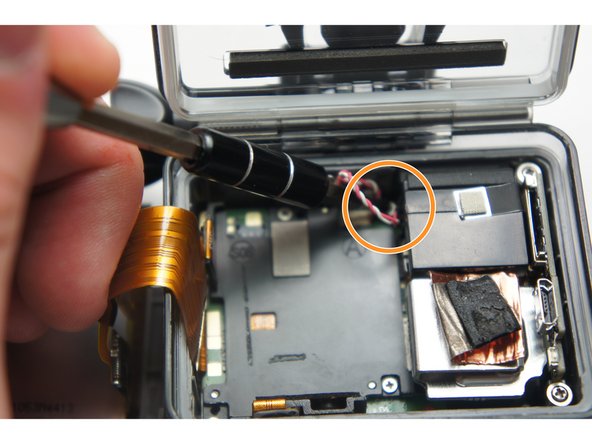
Use a pair of tweezers to disconnect the battery connector from the motherboard.
-
Gently pull the battery off the motherboard. Pulling vertically off the motherboard will give a clean release.
-
-
-
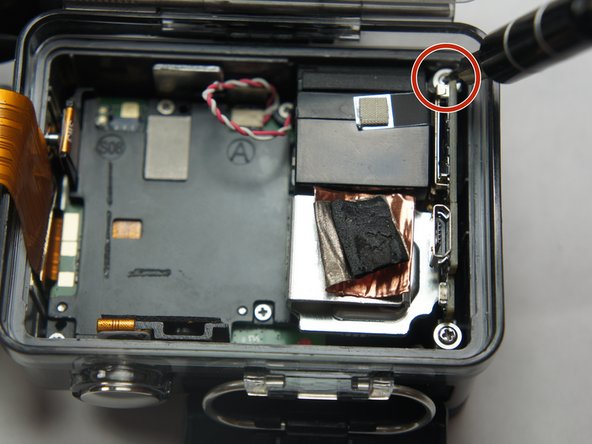
Remove the two 6 mm Phillips #00 screws.
-
Remove the single 4 mm Phillips #000 screws.
-
-
-
Remove the image sensor from the camera.
-
-
crwdns2935267:0crwdne2935267:0Tweezers$4.99
-
Grab the edge of the ribbon cable with the tweezers and gently pull until the cable is disconnected from the motherboard.
-
-
-
Gently lift the microSD/Micro USB assembly up and out of the device.
-
To reassemble your device, follow these instructions in reverse order.
crwdns2935221:0crwdne2935221:0
crwdns2935229:05crwdne2935229:0
crwdns2947412:02crwdne2947412:0
Hi were can i buy the microSD/Micro USB port assembly in your GoPro Hero+ LCD.
Very helpful guide


