crwdns2933423:0crwdne2933423:0

General Electric Telephone 2-9710A Base Speaker Replacement

crwdns2942213:0crwdne2942213:0

  1. General Electric Telephone 2-9710A Base Speaker Replacement, Phone Cord: crwdns2935265:01crwdnd2935265:01crwdnd2935265:02crwdne2935265:0 General Electric Telephone 2-9710A Base Speaker Replacement, Phone Cord: crwdns2935265:01crwdnd2935265:02crwdnd2935265:02crwdne2935265:0
    • Unplug the device before proceeding.

    • Using a plastic opening tool, remove the phone cord from the phone jack at the base of the headset.

    • To release the cable, gently press down on the top plastic tab of the connector.

  2. General Electric Telephone 2-9710A Base Speaker Replacement: crwdns2935265:02crwdnd2935265:01crwdnd2935265:03crwdne2935265:0 General Electric Telephone 2-9710A Base Speaker Replacement: crwdns2935265:02crwdnd2935265:02crwdnd2935265:03crwdne2935265:0 General Electric Telephone 2-9710A Base Speaker Replacement: crwdns2935265:02crwdnd2935265:03crwdnd2935265:03crwdne2935265:0
    • Remove the 7.5 mm screw.

    • Remove the screw cap.

    • Pull up the phone cord to remove it from the base.

  3. General Electric Telephone 2-9710A Base Speaker Replacement, 9V Base Battery: crwdns2935265:03crwdnd2935265:01crwdnd2935265:02crwdne2935265:0 General Electric Telephone 2-9710A Base Speaker Replacement, 9V Base Battery: crwdns2935265:03crwdnd2935265:02crwdnd2935265:02crwdne2935265:0
    • Remove the battery compartment door (located on the bottom of the radio) by applying thumb pressure to the area indicated on the battery door.

    • Slide the door off of the battery compartment.

    • Remove the battery from the phone.

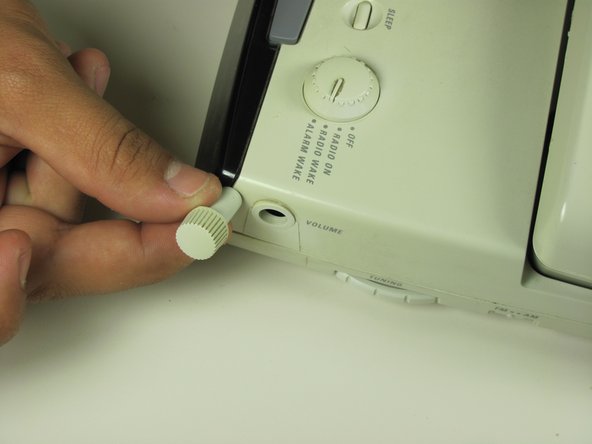
  4. General Electric Telephone 2-9710A Base Speaker Replacement, Remove Volume Dial: crwdns2935265:04crwdnd2935265:01crwdnd2935265:02crwdne2935265:0 General Electric Telephone 2-9710A Base Speaker Replacement, Remove Volume Dial: crwdns2935265:04crwdnd2935265:02crwdnd2935265:02crwdne2935265:0
    • Ensure the phone is unplugged from the phone jack and the electrical source.

    • Locate the volume dial on the right side of the telephone.

    • Remove the volume dial by gently grasping it and pulling it away from the base.

  5. General Electric Telephone 2-9710A Base Speaker Replacement, Remove Screws on the Back: crwdns2935265:05crwdnd2935265:01crwdnd2935265:01crwdne2935265:0
    • Remove the three 12 mm screws with a Phillips #1 screwdriver.

    • Remove the three 18 mm screws with a Phillips #1 screwdriver.

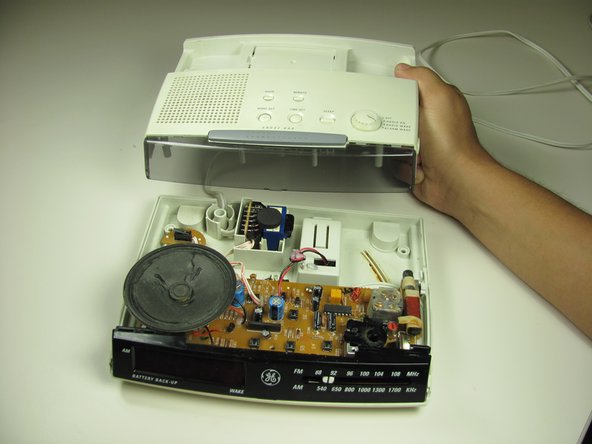
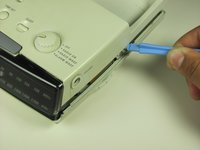
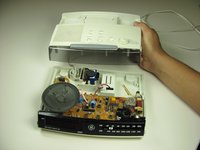
  6. General Electric Telephone 2-9710A Base Speaker Replacement, Pry the Back Off: crwdns2935265:06crwdnd2935265:01crwdnd2935265:02crwdne2935265:0 General Electric Telephone 2-9710A Base Speaker Replacement, Pry the Back Off: crwdns2935265:06crwdnd2935265:02crwdnd2935265:02crwdne2935265:0
    • Pry off the base shell using a plastic opener tool.

    • Set the shell aside.

    • You now have access to the internal components of the General Electric Telephone 2-9710A.

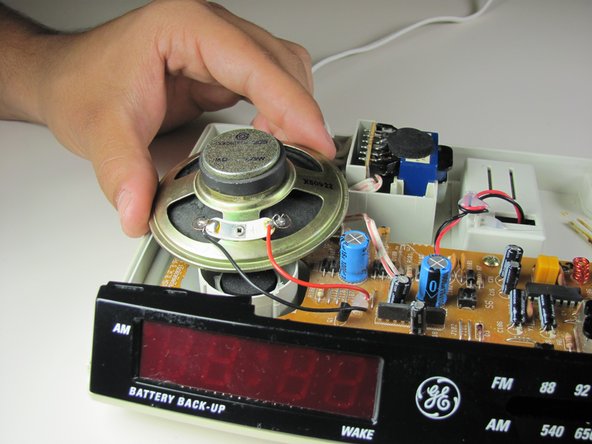
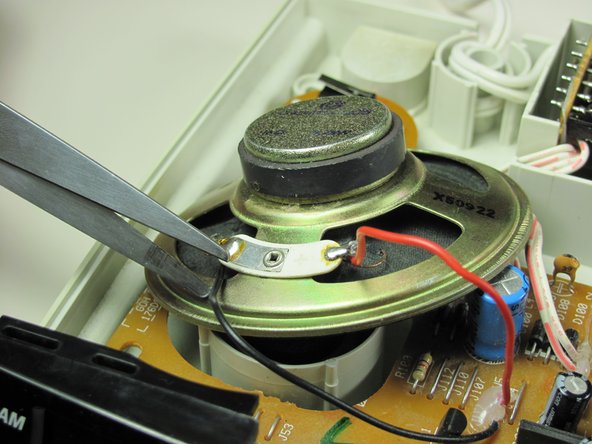
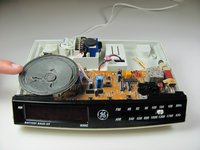
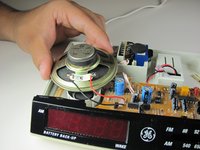
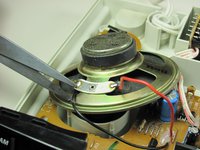
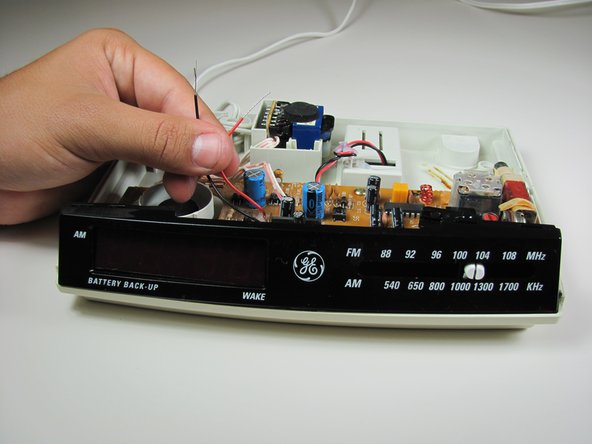
  7. General Electric Telephone 2-9710A Base Speaker Replacement, Base Speaker: crwdns2935265:07crwdnd2935265:01crwdnd2935265:03crwdne2935265:0 General Electric Telephone 2-9710A Base Speaker Replacement, Base Speaker: crwdns2935265:07crwdnd2935265:02crwdnd2935265:03crwdne2935265:0 General Electric Telephone 2-9710A Base Speaker Replacement, Base Speaker: crwdns2935265:07crwdnd2935265:03crwdnd2935265:03crwdne2935265:0
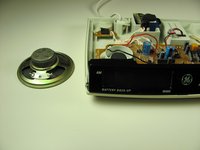
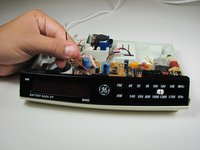
    • Slightly pull out speaker.

    • Cut wire as close as speaker as possible with wire cutters.

    • Remove speaker.

  8. General Electric Telephone 2-9710A Base Speaker Replacement: crwdns2935265:08crwdnd2935265:01crwdnd2935265:03crwdne2935265:0 General Electric Telephone 2-9710A Base Speaker Replacement: crwdns2935265:08crwdnd2935265:02crwdnd2935265:03crwdne2935265:0 General Electric Telephone 2-9710A Base Speaker Replacement: crwdns2935265:08crwdnd2935265:03crwdnd2935265:03crwdne2935265:0
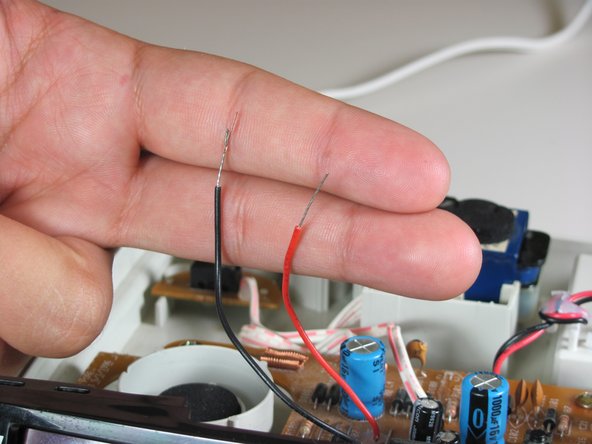
    • Strip the wire half an inch using wire strippers for a 24 gauge wire.

  9. General Electric Telephone 2-9710A Base Speaker Replacement: crwdns2935265:09crwdnd2935265:01crwdnd2935265:01crwdne2935265:0
    • Solder on the new speaker.

    • Please visit How to Solder to learn more about soldering.

crwdns2915888:0crwdne2915888:0

To reassemble your device, follow these instructions in reverse order.

Norberto Sanchez

crwdns2935283:009/26/12crwdne2935283:0

70 crwdns2915208:0crwdne2915208:0

crwdns2935297:05crwdne2935297:0

crwdns2915084:0crwdne2915084:0

Cal Poly, Team 16-59, Forte Fall 2012 crwdns2935289:0Cal Poly, Team 16-59, Forte Fall 2012crwdne2935289:0

CPSU-FORTE-F12S16G59

crwdns2931471:04crwdne2931471:0

crwdns2935297:017crwdne2935297:0

crwdns2944067:00crwdne2944067:0

crwdns2917038:0crwdne2917038:0

crwdns2936625:0crwdne2936625:0:

crwdns2936751:024crwdne2936751:0 0

crwdns2936753:07crwdne2936753:0 0

crwdns2936753:030crwdne2936753:0 15

crwdns2942667:0crwdne2942667:0 1,417