crwdns2915892:0crwdne2915892:0
If your computer screen seems damaged or won’t light up at all, you may need to replace the LCD display. Here is a step by step guide to replacing your LCD display safely and in a timely manner.
crwdns2942213:0crwdne2942213:0
-
-
Remove the black covers over the two screen screws on the bottom corners and unscrew them with a Phillips #0 screwdriver.
-
-
-
Now gently remove the screen cover by pulling it apart on all sides with a plastic opening tool.
-
-
-
Carefully pull the latches off with a plastic opening tool.
-
-
-
Use a Phillips #0 screwdriver to remove the screws located in the top corners of the screen
-
make sure to keep all screws nearby and in a safe location so you don't lose them.
-
-
-
Carefully pop the screen out but do not disconnect it from the cables just yet.
-
-
-
-
Be sure to support the screen so the cables are not pulled tight. Setting the computer on it's side can help with this.
-
-
-
Disconnect the LCD cables on the back of the screen and then remove the screen.
-
-
-
set the damaged LCD display to the side and grab the new LCD display.
-
-
-
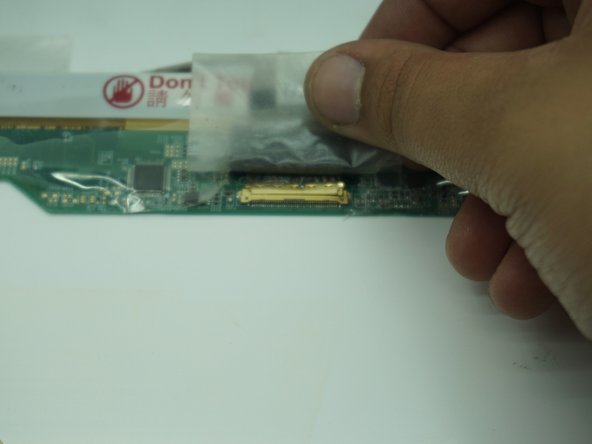
Make sure to support the new LCD screen like you did the damaged one, and slowly reconnect the cables to the new display. Make sure the cables are in the right place.
-
-
-
set the new LCD screen in the computer make sure it is secure.
-
-
-
Screw in all the screws to hold the screen in place.
-
-
-
reset the plastic case to hold the screen in place.
-
-
-
Put all latches in the lock position and lightly press the plastic border to the screen to make sure it's in place.
-


To reassemble your device, follow these instructions in reverse order.
To reassemble your device, follow these instructions in reverse order.
crwdns2915084:0crwdne2915084:0

University of Memphis, Team S2-G4, Kim Fall 2019 crwdns2935289:0University of Memphis, Team S2-G4, Kim Fall 2019crwdne2935289:0
UM-KIM-F19S2G4
crwdns2931471:04crwdne2931471:0
crwdns2935297:010crwdne2935297:0