crwdns2915892:0crwdne2915892:0
If your motherboard is defective or you are looking to upgrade your Gateway laptop, this guide will show you how to remove your motherboard. Upgrading your motherboard can allow your device to run a faster CPU, faster RAM, faster data transfer, or a better graphics card. Your motherboard is responsible for making all of your device’s components work together, so make sure that all components you may be changing are compatible.
crwdns2942213:0crwdne2942213:0
-
-
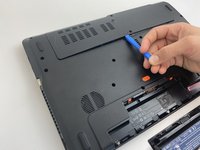
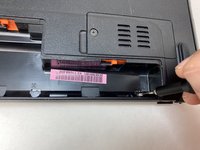
Using the spudger, push the orange tab to the unlock position.
-
-
-
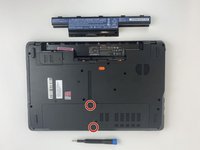
Lift the battery from its compartment.
-
-
-
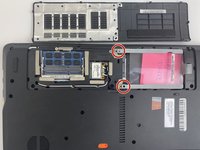
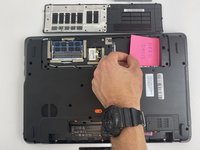
Unscrew the two 7.9mm Phillips #0 screws that secure the service cover.
-
-
-
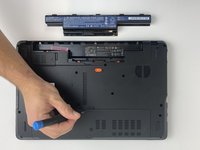
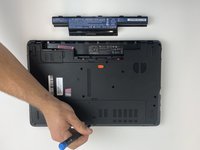
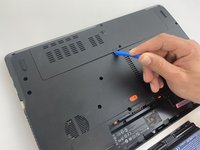
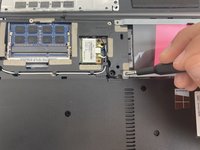
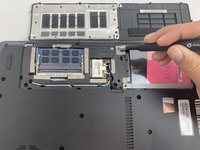
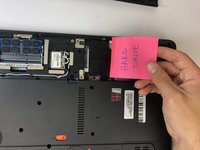
Use the opening tool to gently pry open the compartment covering.
-
-
-
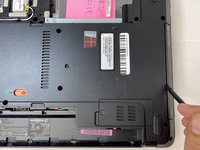
Unscrew the two 0.5mm screws from the hard drive brackets using the Phillips #0 screwdriver.
-
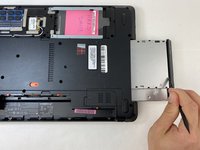
Pull the plastic tab attached to the hard drive to the right to remove the hard drive.
-
-
-
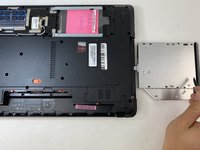
Remove the hard drive by lifting up the right side, releasing the hard drive from the compartment clips on the left.
-
-
-
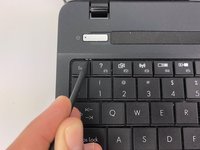
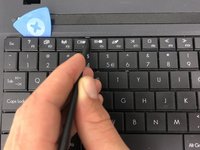
Flip your laptop over to view the keyboard.
-
Using the spudger, push in the ten tabs at the edges of the keyboard.
-
-
-
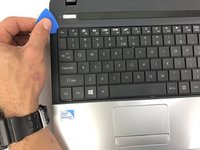
Using the opening pick, lift the edges of the keyboard.
-
Repeat around the edges of the device.
-
Lift up the keyboard to expose the cables underneath.
-
-
-
-
Release the clamp holding the mini-DIN cord by lifting the two black tabs on either side.
-
Gently pull the mini-DIN cord out of the clamp.
-
Remove the keyboard.
-
-
-
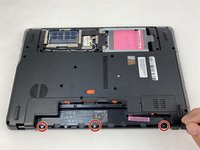
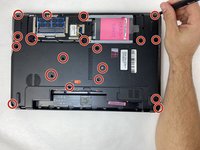
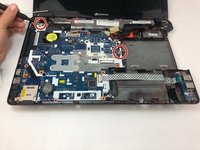
Using a Phillips #000 driver, remove the three silver 0.79mm screws located on the back edge of the battery compartment.
-
-
-
Using a Phillips #000 driver, remove all nineteen of the remaining 0.79mm screws that are holding the back case in place.
-
-
-
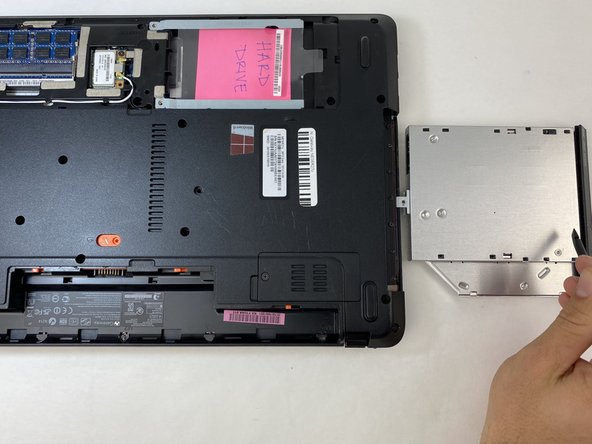
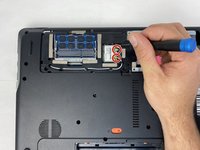
Using the flat end of the spudger, slide the optical drive out.
-
-
crwdns2935267:0crwdne2935267:0Halberd Spudger$2.99
-
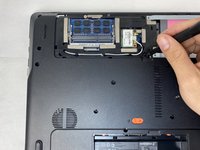
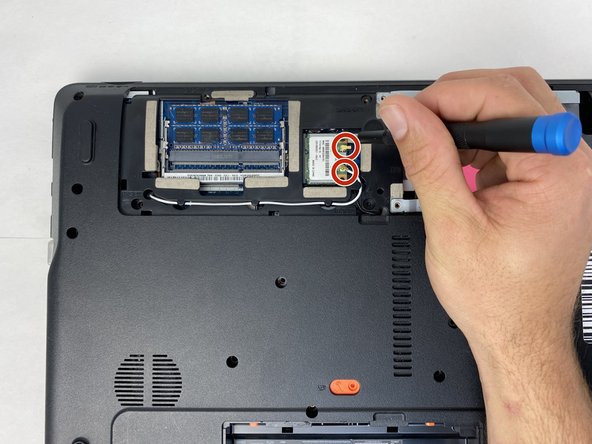
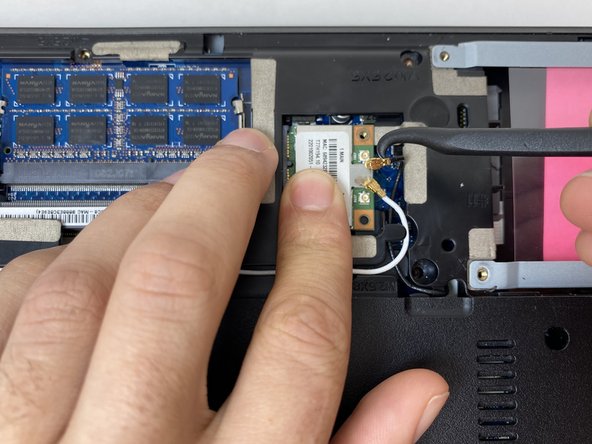
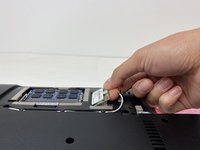
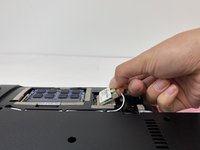
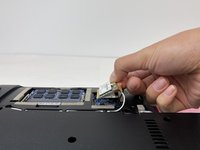
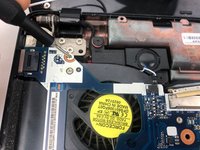
Using the hook end of a halberd spudger, gently pry up the black and white wires from the wireless card.
-
-
-
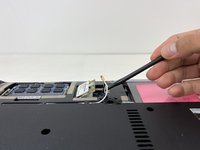
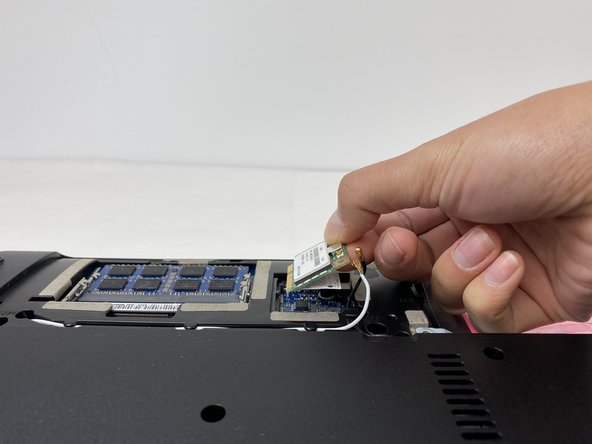
Using the flat side of the spudger, pry the wireless card out of its slot.
-
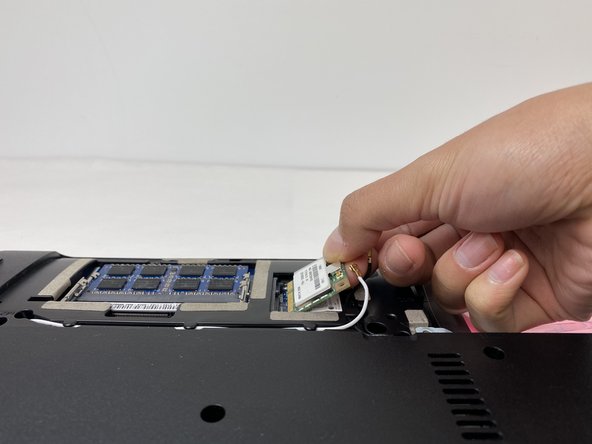
The card will then pop upwards at a 45 degree angle. At this point, gently pull the card out.
-
-
-
Flip the laptop back over.
-
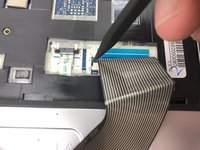
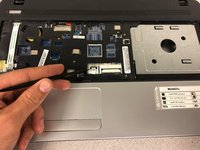
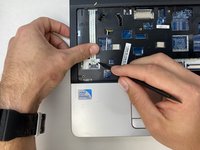
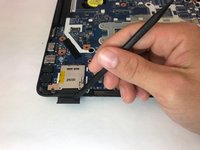
Once the keyboard is removed, use the pointed-end of the spudger to release the touch pad cable.
-
Gently slide both sides of the clip upward towards the screen in order to release the cable.
-
-
-
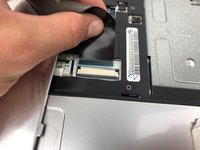
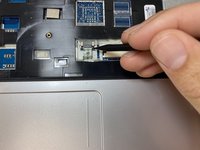
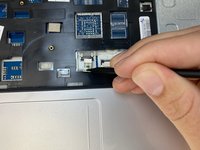
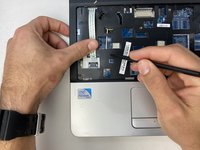
Using the spudger, gently slide the clamp holding the MS cable upward towards the screen. Carefully remove the cable from its housing.
-
-
-
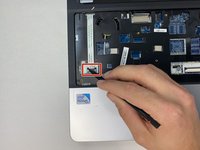
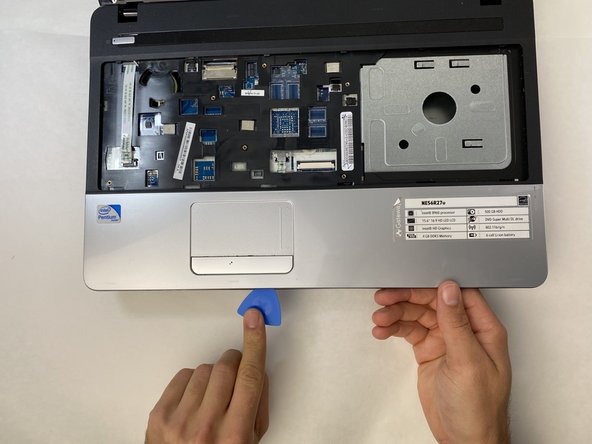
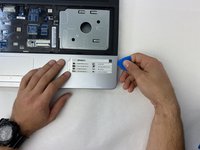
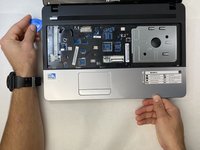
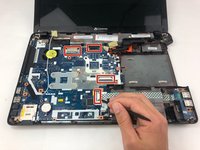
Using the opening pick, carefully pry the palm rest assembly upwards.
-
Work the pick around the perimeter until all of the clips are released.
-
-
-
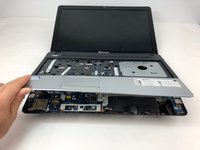
Gently life the side closest to you up towards the screen.
-
-
-
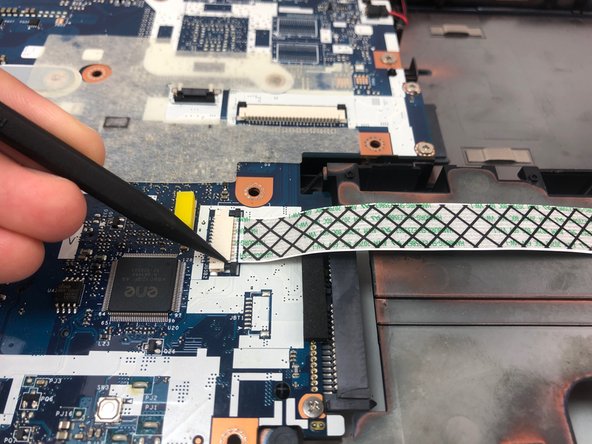
Using the plastic spudger, release the cable from the ZIF connectors and remove all four ribbon cables on the motherboard.
-
-
-
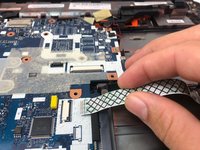
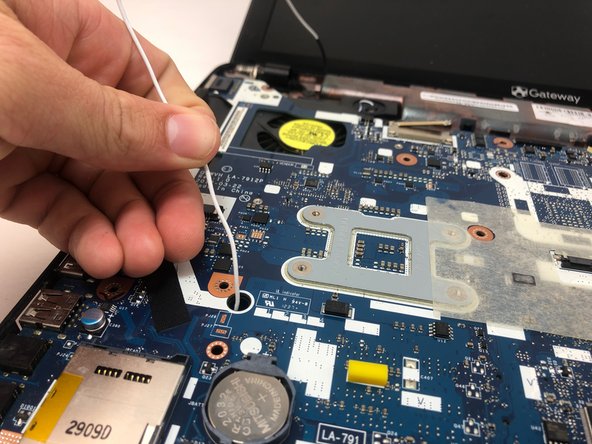
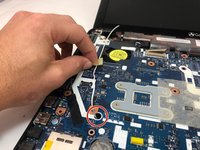
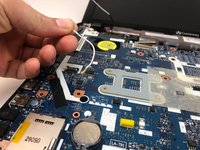
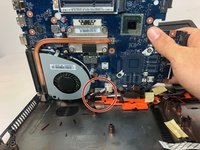
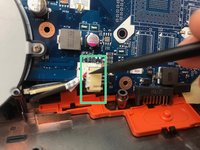
Remove the tape holding the white wire and gently pull it out of its hole.
-
-
-
Use the Phillips #000 driver to remove the two remaining 3mm silver screws.
-
-
-
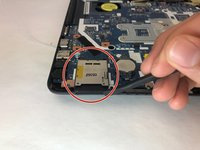
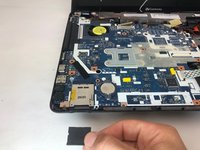
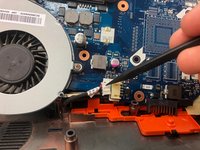
Use the spudger to slide the SD card out of the back left corner of the system board.
-
-
-
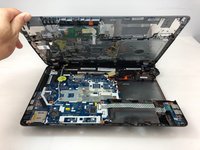
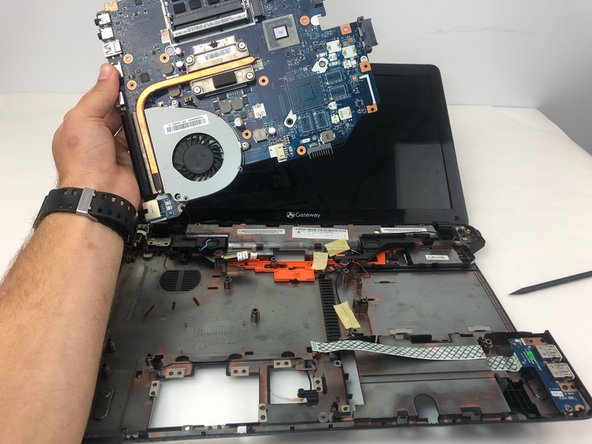
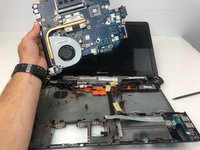
Gently lift the motherboard towards the screen.
-
-
-
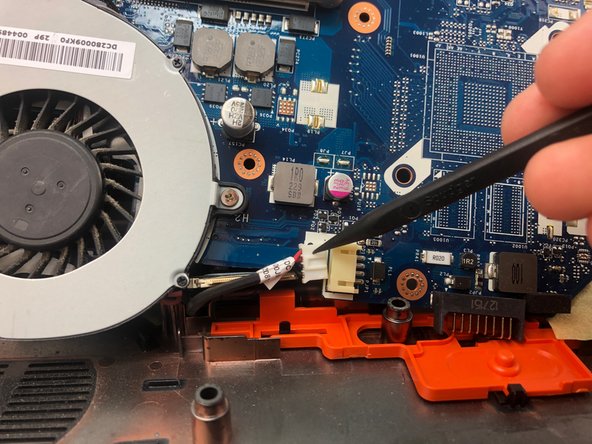
Use the spudger to disconnect the last cable holding the motherboard to the system board.
-
Lift the motherboard straight up, being careful not to damage the fan or other sensitive parts.
-


To reassemble your device, follow these instructions in reverse order.
To reassemble your device, follow these instructions in reverse order.
crwdns2935221:0crwdne2935221:0
crwdns2935227:0crwdne2935227:0

crwdns2915084:0crwdne2915084:0

Embry-Riddle Aeronautical University, Team S6-G2, Watkins Spring 2020 crwdns2935289:0Embry-Riddle Aeronautical University, Team S6-G2, Watkins Spring 2020crwdne2935289:0
ERAU-WATKINS-S20S6G2
crwdns2931471:04crwdne2931471:0
crwdns2935297:010crwdne2935297:0