crwdns2915892:0crwdne2915892:0
This is a repair guide on how to remove the cooling fan. Reasons to replace this part are it is making a lot of noise, it is damaged, it may have melted fem overuse of the lap top, or the software the computer is running is too powerful.
crwdns2942213:0crwdne2942213:0
-
-
Unlock the button in the top left on the back of the laptop (So the red is showing).
-
-
-
The battery should be able to be removed easily now.
-
-
-
Start by first removing the battery of the device.
-
-
-
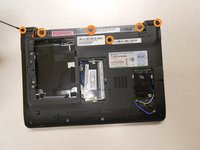
Next remove the RAM, hard drive, and wifi card before continuing so they aren't damaged.
-
-
-
-
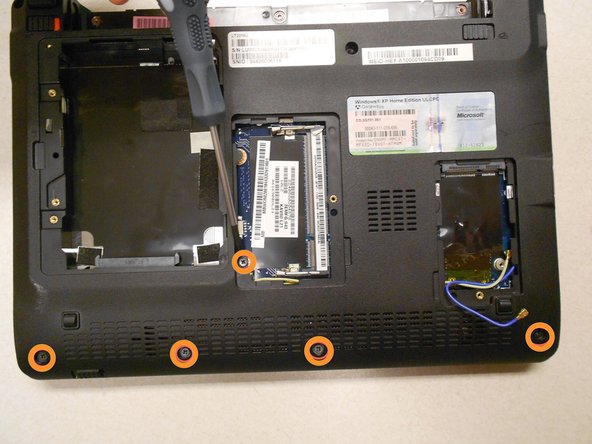
Remove all 11 of the screw shown on the bottom of the lap top using the specified screw driver.
-
-
-
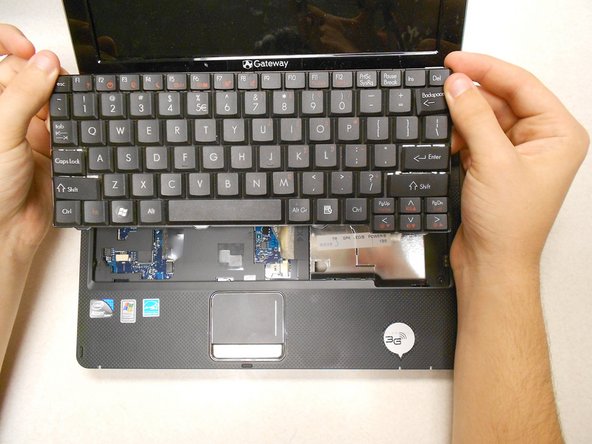
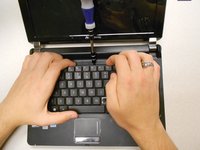
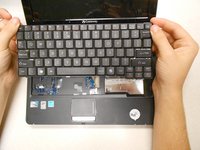
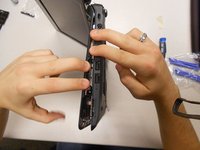
Lift off the keyboard by doing exactly what is shown in the first picture. Get the head of the plastic opening tool under and then wedge it out.
-
-
-
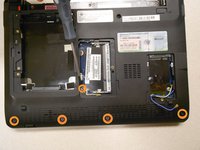
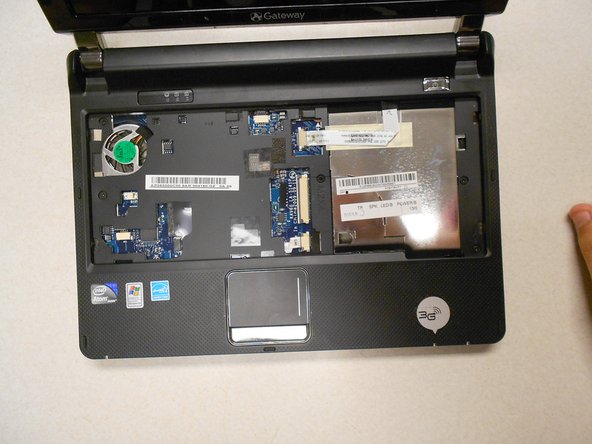
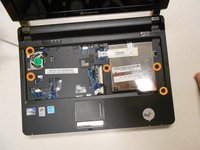
Remove the 5 circled screws with the Phillips #0 screw driver.
-
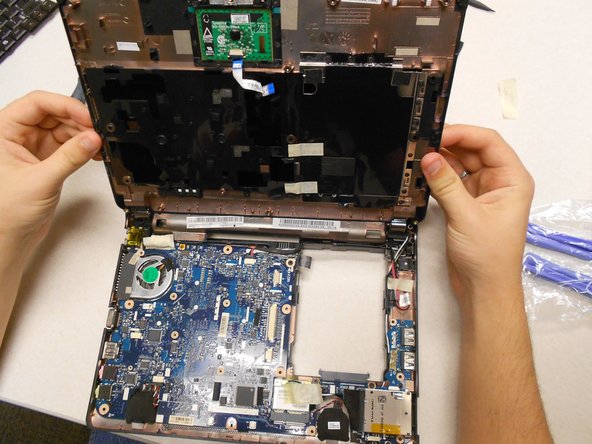
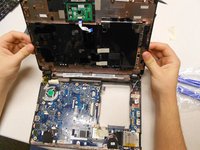
Carefully separate the back cover from the front either using your hands or a plastic opening tool.
-
-
-
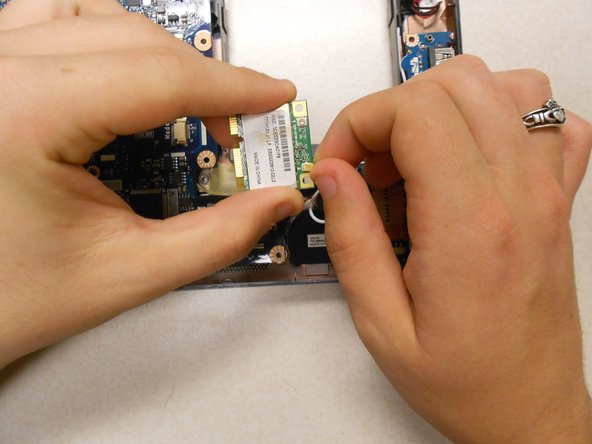
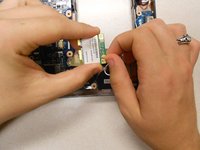
Unscrew this 1 screw to remove the wifi card.
-
Then unplug the wires it is attached to and take it out.
-
-
-
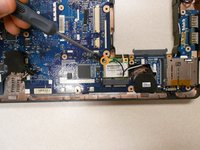
Use the phillps #00 screw driver to remove these 3 small scows so the motherboard can be removed.
-
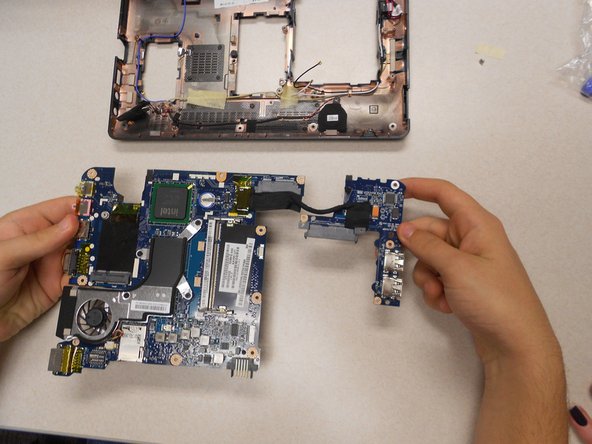
Then remove it from the base of th computer.
-
-
-
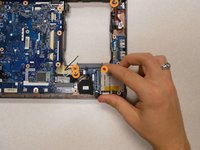
Use the Phillips #00 screw driver to remove the 4 circled screws.
-
-
-
Disconnect the wires from the motherboard.
-
The fan should now be fully disconnected and ready to replace.
-


To reassemble your device, follow these instructions in reverse order.
crwdns2935221:0crwdne2935221:0
crwdns2935227:0crwdne2935227:0
crwdns2935287:0crwdne2935287:0

UMass Dartmouth, Team 3-2, Calaway Spring 2014 crwdns2935289:0UMass Dartmouth, Team 3-2, Calaway Spring 2014crwdne2935289:0
UMASSD-CALAWAY-S14S3G2
crwdns2931471:04crwdne2931471:0
crwdns2935297:06crwdne2935297:0