crwdns2915892:0crwdne2915892:0
If your Gateway GWTC116-2BL laptop is having problems with no power, no display, no sound, random crashes, or error messages, you may be experiencing a faulty motherboard. The motherboard is the main circuit board that connects and controls all the components of the computer. This can entail things like RAM and hard drive ports. Replacing a motherboard is simple, and below has step-by-step instructions to help you replace it in an orderly fashion.
crwdns2942213:0crwdne2942213:0
-
-
Remove the ten 3.0 mm Phillips #00 screws from the back panel of the laptop.
-
-
-
Use the spudger to pry the back panel away from the body of the laptop.
-
-
-
Remove the five 3.0 mm Phillips #00 screws.
-
-
-
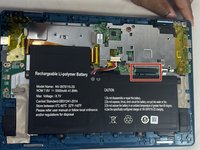
Using your fingers, flick open the battery connector bracket.
-
Remove the connector from bracket.
-
-
-
Pull up the battery to remove from the base.
-
-
-
-
Using your fingers, flick the cable connector bracket open.
-
Remove the cable from the connector.
-
-
-
Using your fingers, disconnect the black and white connector brackets underneath the gray cable.
-
-
-
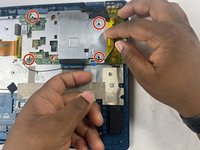
Remove the four 3.0 mm Phillips #00 screws located on the motherboard casing.
-
-
-
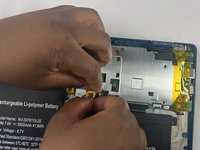
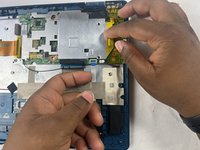
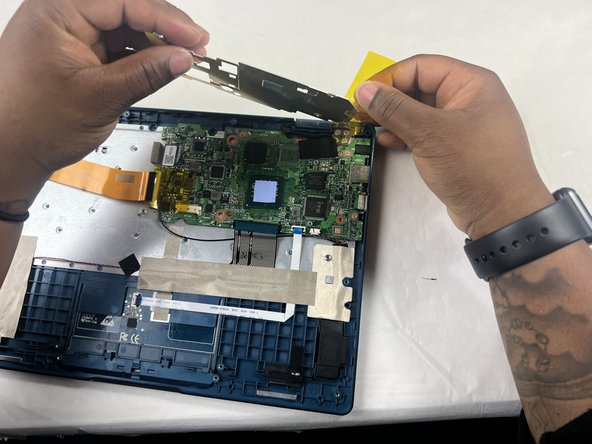
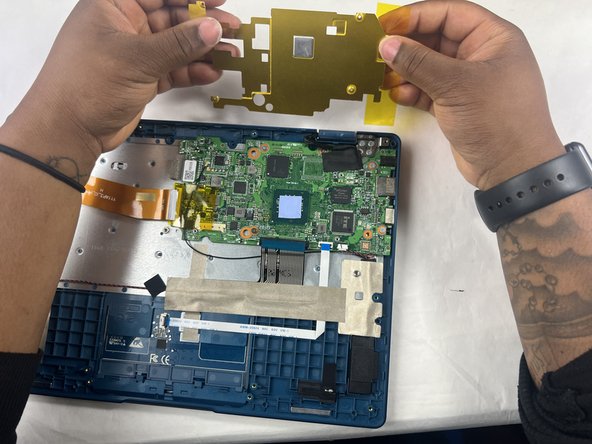
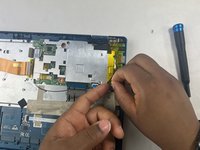
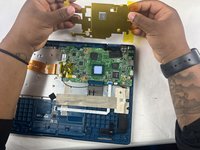
Peel the yellow tape off of the casing.
-
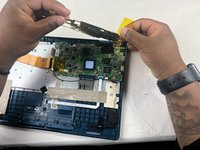
Lift the casing off of the motherboard.
-
-
-
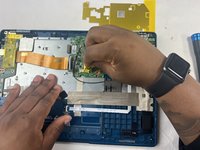
Peel off the yellow tape.
-
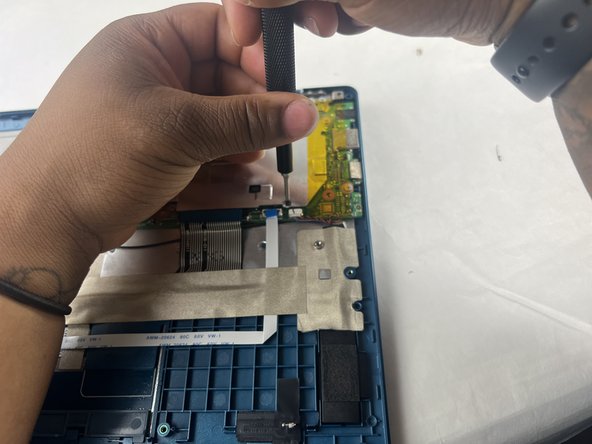
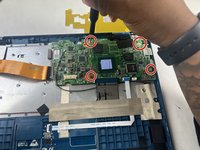
Remove four 3.0 mm Phillips #00 screws.
-
-
-
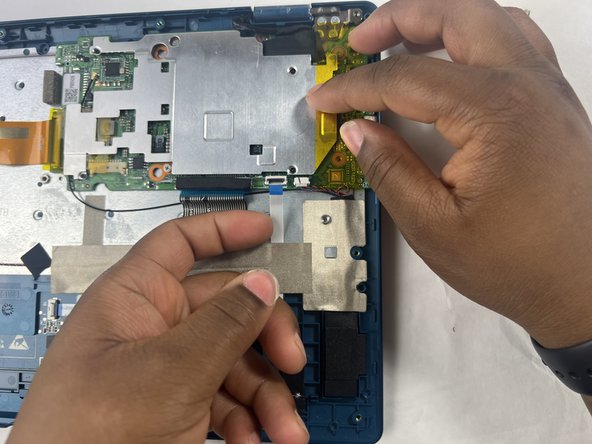
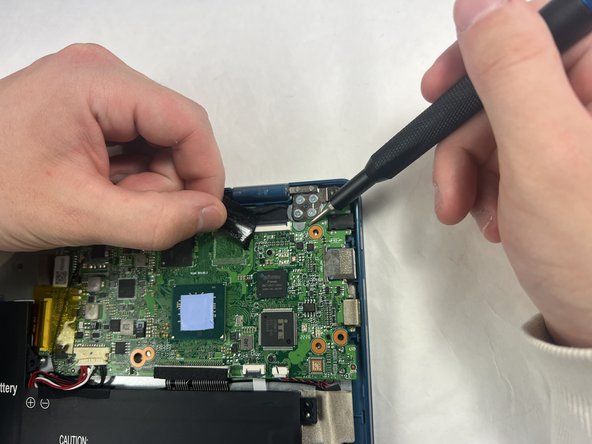
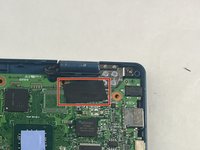
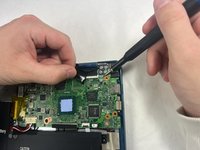
Peel off the black piece of tape covering the display cable.
-
-
-
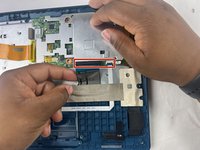
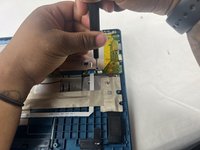
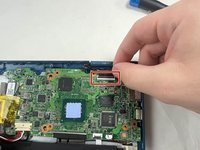
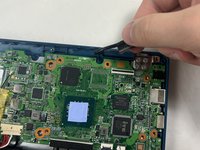
Flick open the bracket securing the display cable and disconnect the cable from the motherboard.
-
-
-
Remove the motherboard from the device.
-
To reassemble your device, follow these instructions in reverse order.
To reassemble your device, follow these instructions in reverse order.


