crwdns2933423:0crwdne2933423:0

Garmin inReach Mini Back Case Replacement

crwdns2942213:0crwdne2942213:0

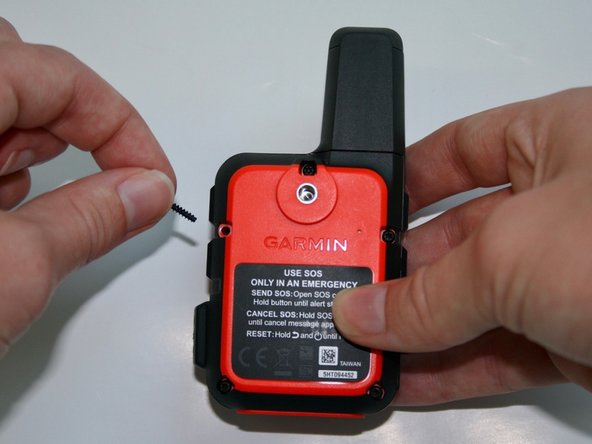
  1. Garmin inReach Mini Back Case Replacement, Nylon Strap: crwdns2935265:01crwdnd2935265:01crwdnd2935265:01crwdne2935265:0
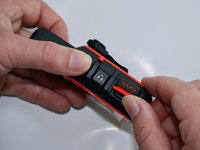
    • Place the device on a level surface with the back hard case facing up.

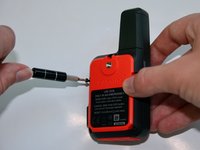
  2. Garmin inReach Mini Back Case Replacement: crwdns2935265:02crwdnd2935265:01crwdnd2935265:03crwdne2935265:0 Garmin inReach Mini Back Case Replacement: crwdns2935265:02crwdnd2935265:02crwdnd2935265:03crwdne2935265:0 Garmin inReach Mini Back Case Replacement: crwdns2935265:02crwdnd2935265:03crwdnd2935265:03crwdne2935265:0
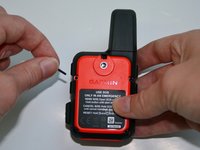
    • Use the T5 to remove the 1.9mm screw attached to the nylon strap.

    • Remove the nylon strap.

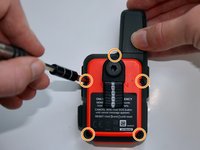
  3. Garmin inReach Mini Back Case Replacement, Back Case: crwdns2935265:03crwdnd2935265:01crwdnd2935265:03crwdne2935265:0 Garmin inReach Mini Back Case Replacement, Back Case: crwdns2935265:03crwdnd2935265:02crwdnd2935265:03crwdne2935265:0 Garmin inReach Mini Back Case Replacement, Back Case: crwdns2935265:03crwdnd2935265:03crwdnd2935265:03crwdne2935265:0
    • Remove the five 1.8 mm screws located on the top, sides, and bottom corners of the backside of the device.

  4. Garmin inReach Mini Back Case Replacement: crwdns2935265:04crwdnd2935265:01crwdnd2935265:03crwdne2935265:0 Garmin inReach Mini Back Case Replacement: crwdns2935265:04crwdnd2935265:02crwdnd2935265:03crwdne2935265:0 Garmin inReach Mini Back Case Replacement: crwdns2935265:04crwdnd2935265:03crwdnd2935265:03crwdne2935265:0
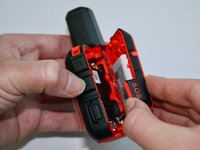
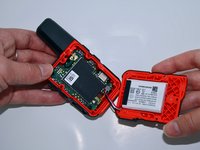
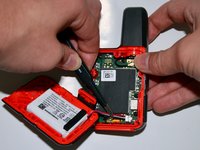
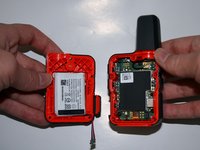
    • Lastly, lift the protective cap on the side of the device that states "SOS". Slowly pull it to the right in order to remove the back hard case.

  5. Garmin inReach Mini Back Case Replacement: crwdns2935265:05crwdnd2935265:01crwdnd2935265:03crwdne2935265:0 Garmin inReach Mini Back Case Replacement: crwdns2935265:05crwdnd2935265:02crwdnd2935265:03crwdne2935265:0 Garmin inReach Mini Back Case Replacement: crwdns2935265:05crwdnd2935265:03crwdnd2935265:03crwdne2935265:0
    crwdns2935267:0crwdne2935267:0
    Tweezers
    $4.99
    crwdns2942207:0crwdne2942207:0
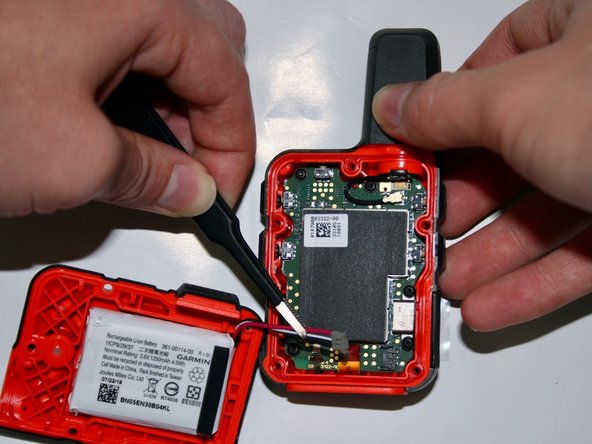
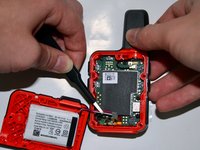
    • Using the precision tweezers with the round tips, detach the battery connector from the motherboard.

    • Disconnecting the battery stops the flow of power into the motherboard. This is for your own safety.

    • If utilizing this guide as a prerequisite to replacing the motherboard, it is crucial not to damage the cable connecting the battery to the motherboard. When the new motherboard is introduced, it will need to be reconnected with that cable.

crwdns2915888:0crwdne2915888:0

To reassemble your device, follow these instructions in reverse order.

Ellie Taube

crwdns2935283:009/03/21crwdne2935283:0

505 crwdns2915208:0crwdne2915208:0

crwdns2935297:04crwdne2935297:0

crwdns2915084:0crwdne2915084:0

University of Alabama, Team 2-2, Bedsole Fall 2021 crwdns2935289:0University of Alabama, Team 2-2, Bedsole Fall 2021crwdne2935289:0

UA-BEDSOLE-F21S2G2

crwdns2931471:04crwdne2931471:0

crwdns2935297:04crwdne2935297:0

crwdns2944067:00crwdne2944067:0

crwdns2917038:0crwdne2917038:0

crwdns2936625:0crwdne2936625:0:

crwdns2936751:024crwdne2936751:0 1

crwdns2936753:07crwdne2936753:0 7

crwdns2936753:030crwdne2936753:0 24

crwdns2942667:0crwdne2942667:0 690