crwdns2915892:0crwdne2915892:0
This guide shows how to remove the touch screen on your Garmin Nuvi 2455LMT through the back panel assembly.
crwdns2942213:0crwdne2942213:0
-
-
Remove the four 2.5mm screws from the back assembly with a Torx #04 Screwdriver.
-
Holding the GPS with a free hand while unscrewing the small screws will help stabilize the device.
-
-
-
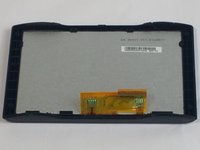
Use the plastic opening tool on all four sides of the device to open the Garmin Nuvi LMT2455 Back Panel.
-
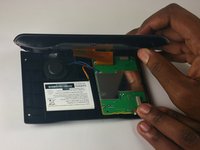
To properly remove the back cover assembly pry open both the back and sides of the assembly.
-
-
-
-
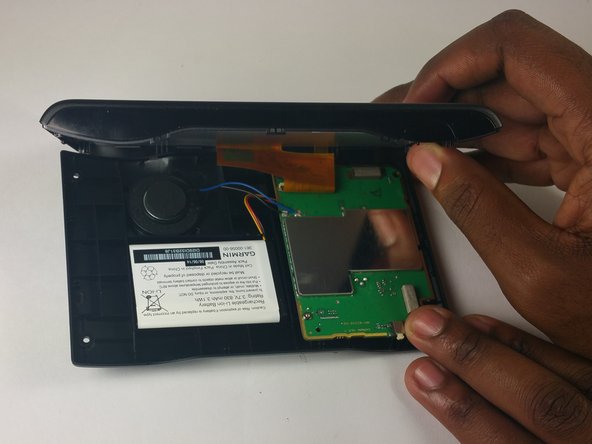
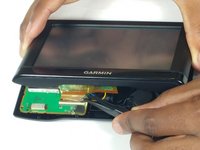
Open the device carefully being wary of the orange band that is going from the screen to the motherboard.
-
Remove the orange band by carefully lifting the lip that connects it to the motherboard.
-
-
-
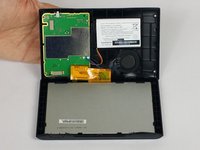
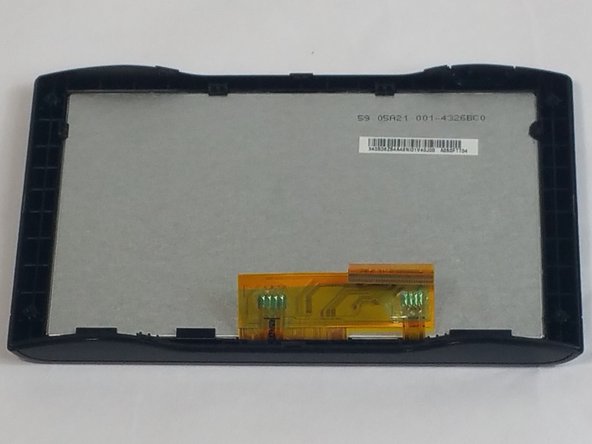
Locate the edge of the screen that fits into the plastic case
-
To separate the connector, gently push the tip of a spudger under the clip.
-
Then, swing the clip over to the other side of the socket, so that it lays flat against the cable.
-
-
-
Use the plastic opening tool to wedge between the plastic cover and screen.
-
Using your hands, gently push the front of the screen towards you to push the screen out of the casing.
-


To reassemble your device, follow these instructions in reverse order.
crwdns2935287:0crwdne2935287:0

USF Tampa, Team 2-3, Blackwell Fall 2016 crwdns2935289:0USF Tampa, Team 2-3, Blackwell Fall 2016crwdne2935289:0
USFT-BLACKWELL-F16S2G3
crwdns2931471:04crwdne2931471:0
crwdns2935297:05crwdne2935297:0