crwdns2915892:0crwdne2915892:0
This guide explains how to remove the outer case so that you can access the internal components of the Game Boy. This will be helpful for other guides related to this hand-held gaming console.
crwdns2942213:0crwdne2942213:0
-
-
Switch your Game Boy off and remove the cartridge.
-
-
-
Use a fingernail (or small coin) to push down on the battery door latch and remove the battery door.
-
-
-
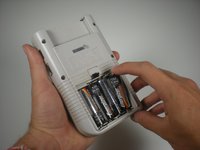
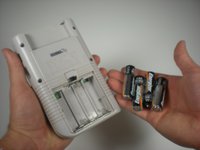
Use a fingernail to pry each battery outward from the positive (+) terminal to remove them.
-
-
-
-
Remove the six Triwing screws from the back of the device.
-
-
-
Gently separate the device's front casing from the back casing after you remove the screws.
-
-
-
Slide the front side of the casing down to expose the ribbon cable connector.
-
-
-
Grip the ribbon connector with your thumb and forefinger. Pull down gently until the connector, not the ribbon itself, comes out of its socket.
-
Separate the front and back casings.
-
To reassemble your device, follow these instructions in reverse order.
To reassemble your device, follow these instructions in reverse order.
crwdns2935221:0crwdne2935221:0
crwdns2935229:013crwdne2935229:0
crwdns2947412:02crwdne2947412:0
U need a tri-wing screwdriver not a Philips #00
It is a Philips if gb was made after 1998 or so.


